


KEV S FURY ROAD
BUILD

FURY ROAD
This is my Fury Road inspired car to
accompany our new Wasteland Warriors 20mm
figures. The car I picked is a Hot Wheels 69
Tooned Camaro #Z28, because I think it sort of
suits the Fury Road vibe, or will do when I’m
done, but this is the base car. I bought it
second-hand on eBay.
As I wanted to install a driver, I drilled the rivet
with my big DIY drill to get the body apart. It
went better than I expected but you do need
another pair of hands or a vice to hold the car
body while you drill it. I’m told the trick is to drill
pilot with a smaller bit first and then open it up
with a bigger one. Using a smaller drill first
helps to stop the car trying to twist in your hand.
The next step was to add some stuff. The long
spikes are spears from North Star and the other
bits and pieces are mostly from Implements of
Carnage also from North Star. I fixed the bits
on with superglue and tried to arrange the tyres
around to help fix the rest in place securely. I
added a massive i-section beam bumper from a
bit of plastic strut I had lying about.

I did a similar thing to the inside driving compartment.
I painted in the metallic bits in Army Painter Gun Metal.
This shows he inside compartment back on the chassis, also I have painted the fan belt in black
and highlighted it up using more Skeleton Bone.
The car I picked is a Hot Wheels 69 Tooned Camaro
#Z28.
As I wanted to install a driver, I drilled the rivet with my big
DIY drill to get the body apart.
With the undercoat all dry, I dry brushed the black with Army Painter Matt Black.
With the undercoat all dry, I dry brushed the black with Army Painter Matt Black mixed with
Skeleton Bone, adding more Skeleton Bone, I did four layers gradually getting lighter and lighter.
I glossed them all first then matt varnished with several coats of matt.
I then had to paint the War Boys to go in it and on it as I wanted more than just a driver.
I painted the flags in red using Army Painter paints, firstly Chaotic Red mixed with Dragon Red,
then Dragon Red, and then Dragon Red mixed with Pure Red and finally a layer of Pure Red.
Next some graffiti in the style of the War Boys, in Army Painter Matt White.


I added some poles for the weird flags.
accelerator.


, this really pulls it all together to look at, but not essential if you aren’t going to repaint the body.")
, this really pulls it all together to look at, but not essential if you aren’t going to repaint the body.")


Now I added some dirt, dry brushing on AK Paints Brown Leather.


The next step was to give the chassis and wheels a wash of Army Painter Quickshade Mid Brown
Wash, and the end of the exhausts a daub of Dark Tone Quickshade.


What I thought was the last big job was varnishing, I glossed them all first then matt varnished with
several coats of matt.

Then came the real tricky bit, getting it all back
together. I wasn’t expecting it to be a problem, I
had tried getting the bits back together before I
painted them and that seemed ok. I had
forgotten what several thickness of paint can
do; I wasn’t expecting the build tolerances on
Hot Cars to be so fine.
The War Boys were glued in place with rapid
epoxy resin, which I had coloured with a tiny
spot of black oil paint to make it almost
invisible. I had previously drilled holes for the
roof crew to get a better fix and they went into
the holes OK and were solid. The driver was
again more problematical, as he didn’t fit in his
slot either. Again I just didn’t allow for the paint,
so I forced him in sting on a blob of epoxy to fix
him in, even then I didn’t quite get him in the
right place as his nogging is touching the
underside of the car roof.
With the all Boys glued in place I trued to put
the car back together and it was tight fit, very
tight, I had to apply quite a bit of pressure, not
helped by the bonce of the driver in the way,
and I soon realised that once I had got it
together it wasn’t coming apart, so I went for it
and it clicked back into place, more or less. I
then glued up what I could with superglue and
filled the rivet hole with more epoxy to secure it.
You will have noticed by now that some of the
graffiti is a bit obscured by the exhausts, well I
forgot they came up that far when I did the
writing, which would mean a short trip to the
Thunder Dome for me…


The next step was to add some stuff. The long spikes are
spears from North Star and the other bits and pieces are
mostly from Implements of Carnage also from North Star.
The driver I picked is from the new metal
Wasteland Warriors but he needed some
radical surgery to fit him in. I chopped him off at
the waist below his trouser belt and he fitted in
fine. I am probably going for a right-hand drive
just for a laugh.

The driver I picked is from the new metal Wasteland
Warriors but he needed some radical surgery to fit him in.
I added some poles for the weird flags; like that
you see on the bikes in Fury Road, this is when
I drilled right through the car body and into my
index fingers below. Do not do this as it hurts
like hell…
Then I added the flags from old toothpaste foil
tubes, of which I have an enormous store.
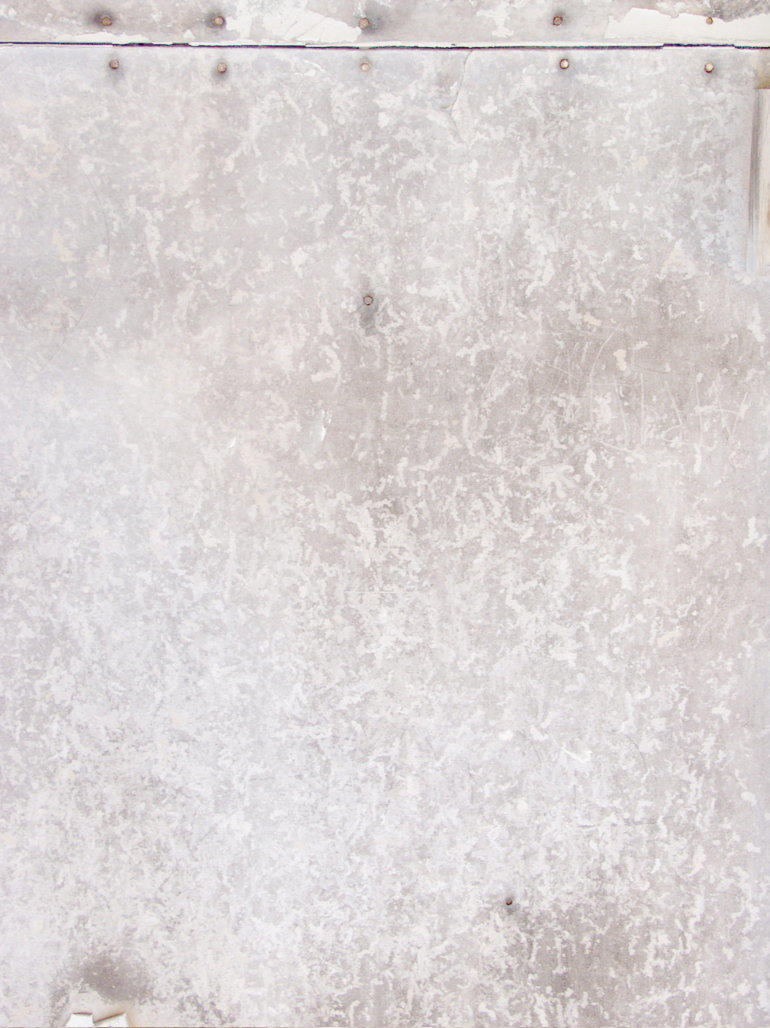
I primed the body grey, with real car primer!
Really just to see what it all looked like, as I had
already decided to pant the car black, which
seemed more Mad Max to me.
I undercoated the body and part of the inside compartment black.
I primed the body grey, with real car primer! Really just to see what it all looked like, as I had already decided to pant the
car black, which seemed more Mad Max to me.
accelerator.

I then added some rust, using Army Painter Wet Mud and Fire Lizard.
And I did the same with wheels and chassis.
I then did similar washing on the body with the same Quickshades, paying particular attention to
things like the spare wheels, the guns and around where I have added other bits and pieces.


I then had to paint the War Boys to go in it and on it as I wanted more than just a driver, I planned
firstly to have a guy firing out of the hatch and then I thought why not have a bloke standing in an
improbable manner on the roof of the car behind the hatch, what could possibly go wrong! These
are all from the new metal Wasteland Warriors by North Star sculpted by the great Mark
Copplestone.


