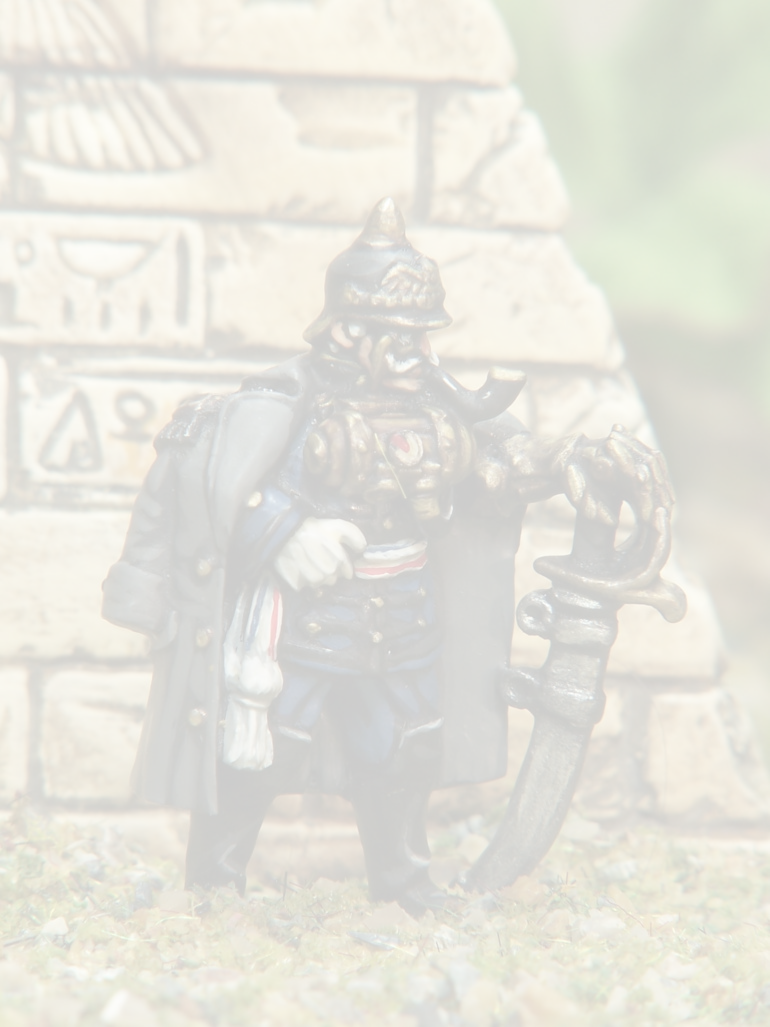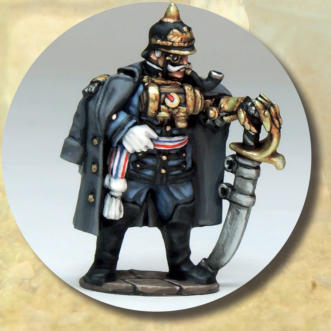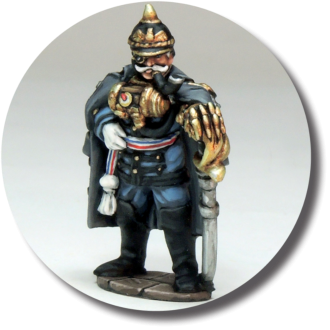


JACKET & TROUSERS
1.
AP-WP1119 - Wolf Grey
2.
AP-WP1119 - Wolf Grey mixed with
AP-WP1113 - Electric Blue
3.
+ more AP-WP1113 - Electric Blue
4.
+ AP-WP1102 - Matt White
PICKELHAUBE, COLLAR, PIPING,
BOOTS, HILT & PIPE
These are all the same colour, so it is a good opportunity to get quite a few things done in one go. When
 highlighting, leave plenty of the original layer of black
 showing. To make sure all the black areas are really black
 I re-coat them in pure AP-WP1101 - Matt Black, before
 commencing the highlighting.
 BLACK
1.
AP-WP1101 - Matt Black mixed with
AP-WP1125 - Skeleton Bone
2.
+ AP-WP1125 - Skeleton Bone
3.
+ more AP-WP1125 - Skeleton Bone
4.
and lastly more AP-WP1125 - Skeleton Bone
THE GREATCOAT
Worn in an arrogant on the shoulders fashion the
 greatcoat is the largest area of solid colour on the model
 so will repay careful attention. Keep it simple; try to follow
 the folds that are there and you won’t go far wrong.
 1.
AP-WP1101 - Matt Black mixed with AP-WP1118 -
Uniform Grey
2.
+ AP-WP1118 - Uniform Grey
3.
+ more AP-WP1118 - Uniform Grey
4.
and finally pure AP-WP1118 - Uniform Grey
 to get quite a few things done in one go. When
 highlighting, leave plenty of the original layer of black
 showing. To make sure all the black areas are really black
 I re-coat them in pure AP-WP1101 - Matt Black, before
 commencing the highlighting.
 BLACK
1.
AP-WP1101 - Matt Black mixed with
AP-WP1125 - Skeleton Bone
2.
+ AP-WP1125 - Skeleton Bone
3.
+ more AP-WP1125 - Skeleton Bone
4.
and lastly more AP-WP1125 - Skeleton Bone
THE GREATCOAT
Worn in an arrogant on the shoulders fashion the
 greatcoat is the largest area of solid colour on the model
 so will repay careful attention. Keep it simple; try to follow
 the folds that are there and you won’t go far wrong.
 1.
AP-WP1101 - Matt Black mixed with AP-WP1118 -
Uniform Grey
2.
+ AP-WP1118 - Uniform Grey
3.
+ more AP-WP1118 - Uniform Grey
4.
and finally pure AP-WP1118 - Uniform Grey

THE REST OF THE MODEL
THE WHITE THINGS
Mostly his one glove, sash, hair and moustaches, and some fine piping on the top edge of his collar. I did these
 first as they are very small areas and would be more
 difficult to do at the end. Painting them in first allows you
 to correct any mistakes by painting over the slips with
 black AP-WP1101 - Matt Black.
WHITE
1.
AP-WP1102 - Matt White
+ AP-WP1117 - Ash Grey
2.
+ more AP-WP1102 - Matt White
3.
+ more AP-WP1102 - Matt White
4.
pure AP-WP1102 - Matt White
SASH
Infuriatingly his sash has narrow bands of red and blue
 running along it; I painted these on in AP-WP1104 - Pure
 Red and AP-WP1116 - Deep Blue, with no shading or
 highlighting. Try to do them in one steady stroke, both
 colours cover quite well when painted over the white of
 the sash, and you can easily correct mistakes by
 touching in with pure AP-WP1102 - Matt White. You
 could paint the sash silver if you prefer and forget the
 stripes!
UNIFORM
Now normally I would have done all the piping on his
 uniform first, but as the piping is to be black I decided to
 leave it till after I had painted the blue of the jacket as
 that was likely to be the trickiest bit to do. I could then
 correct any mistakes with AP-WP1101 - Matt Black.
 some fine piping on the top edge of his collar. I did these
 first as they are very small areas and would be more
 difficult to do at the end. Painting them in first allows you
 to correct any mistakes by painting over the slips with
 black AP-WP1101 - Matt Black.
WHITE
1.
AP-WP1102 - Matt White
+ AP-WP1117 - Ash Grey
2.
+ more AP-WP1102 - Matt White
3.
+ more AP-WP1102 - Matt White
4.
pure AP-WP1102 - Matt White
SASH
Infuriatingly his sash has narrow bands of red and blue
 running along it; I painted these on in AP-WP1104 - Pure
 Red and AP-WP1116 - Deep Blue, with no shading or
 highlighting. Try to do them in one steady stroke, both
 colours cover quite well when painted over the white of
 the sash, and you can easily correct mistakes by
 touching in with pure AP-WP1102 - Matt White. You
 could paint the sash silver if you prefer and forget the
 stripes!
UNIFORM
Now normally I would have done all the piping on his
 uniform first, but as the piping is to be black I decided to
 leave it till after I had painted the blue of the jacket as
 that was likely to be the trickiest bit to do. I could then
 correct any mistakes with AP-WP1101 - Matt Black.


