


I really like being able to use my miniatures in multiple
gaming systems, so the vast majority of my current
collection are based with magnets – most notably
seen in my Midgard Heroic Battles units. When a
test game of Hairfoot Jousting popped up at the club,
Northstar’s Nick asked me if I’d consider doing
some of the figures with magnets. Having had a look
at the range (being particularly enamoured of the
goblin riding a horn frog) I thought about it for thirty
seconds and said yes!
The mechanisms of Hairfoot and Wartnose
Jousting require models used to have a 60mm
diameter round base. This is actually really important
in the game, as it fits onto the movement templates
and determines your rider’s area of effect (especially
important when giant geese and cockroaches will
often have their own ideas about where they want to
go on the table!) However, not everyone’s going to
want to mount their minis permanently onto a 60mm
base – including me - so here’s how I went about it.
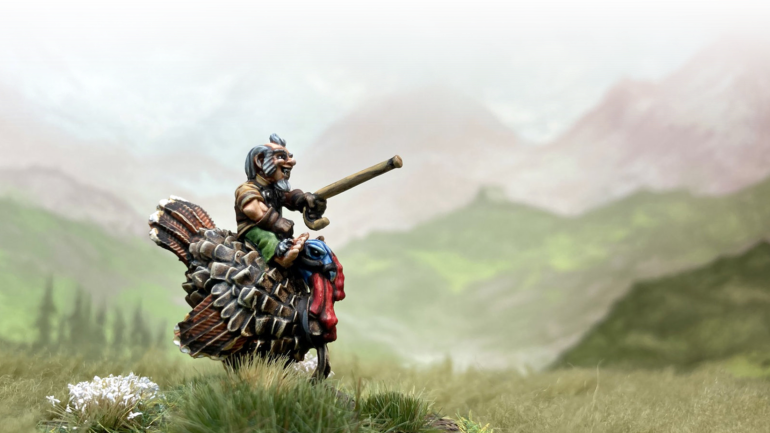
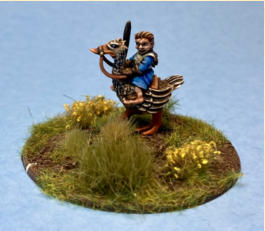
Above. Turkey Rider.
Background by Jon Hodgson Backdrops, used under licence.
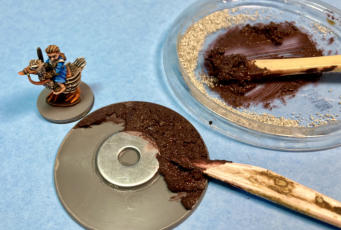
STEP 3: TEXTURING THE BASES
I use a home-made mix of acrylic paint, filler and
chinchilla sand to build up texture on my bases and
hide the model’s integral base, which is applied with
some a cheap plastic clay sculpting tool. You could,
of course, use one of the numerous ready-mixed
basing options on the market. Whichever you
choose, the golden rule is always to avoid getting any
texture in between the magnetic surfaces, as this will
stop the model sticking to its base! When covering
the 60mm base, there’s no problem if a few gaps get
left – this can be covered up with tufts.
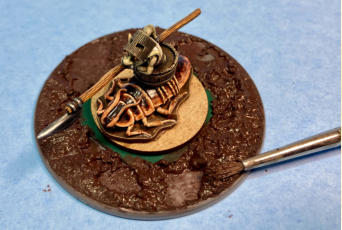
The Wartnose Goblins apparently like to joust in
muddy arenas, so I thought I’d vary their bases from
the lush fields of the Halflings. I decided to use the
same technique I had done for my Great War Western
Front models, creating puddles and pools. This was
done by leaving some areas of the base uncovered
and then using an old wet paint brush to round these
into puddle shapes.
STEP 4: BASE PAINTING
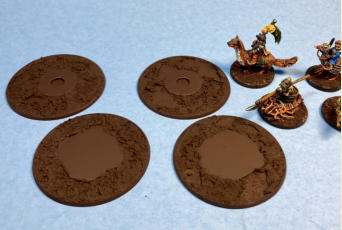
After drying, all the 60mm bases were sprayed with
a quick coat of dark brown aerosol paint (Halfords
Camo Brown in this case). This gave the base a
uniform colour and covered up the edges and
magnetic areas.
Now I used some dry brushing to bring the bases to
life: first up was an all-over brush of Army Painter
Fanatic Leather Brown, followed by a very light
highlight on selected areas with AP Barren Dune. (Be
careful not to go mad with this unless you want a
desert-themed base!)
Finally, the goblins’ muddy bases merited some
further attention on the puddle areas. Two layers of
brown ink really helps to create the impression of
depth here. I used Winsor and Newton Nut Brown ink
but any dark brown ink wash will do the job. When
dry, this was given a coat of Army Painter Fanatic
paint-on Gloss Varnish to create the illusion of water.
Again, you can use any (non-aerosol) gloss varnish
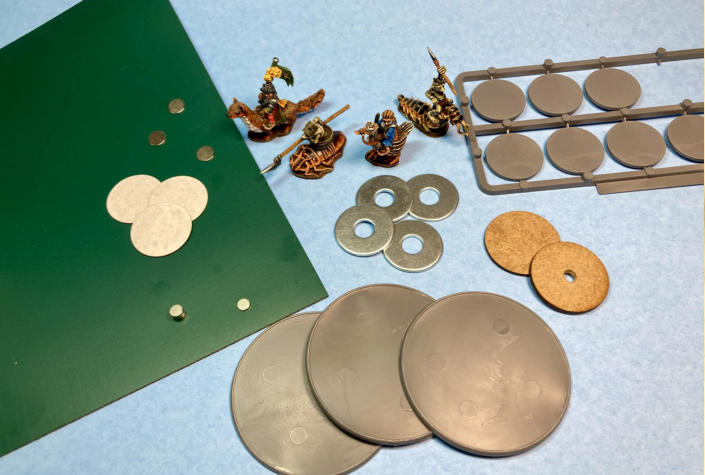
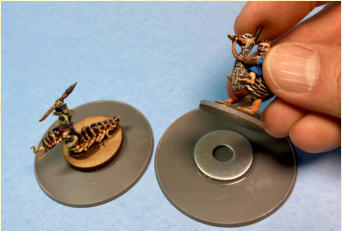
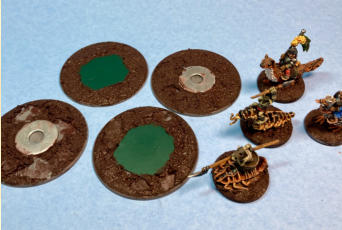
STEP 2: PREPARING THE 60mm
BASES
With the minis on their magnetised bases, I needed to
make sure that there was something secure for them
to stick on to on the 60mm round base. I tried out two
options, 25mm washers from my local hardware store
![Above. Dry brushing to bring the bases to life: stages: 1) plain base, 2) Leather Brown drybrush, 3) Barren Dune drybrush, 4) ink and gloss varnish] Above. Dry brushing to bring the bases to life: stages: 1) plain base, 2) Leather Brown drybrush, 3) Barren Dune drybrush, 4) ink and gloss varnish]](MAGNETIC_BASING_FOR_HAIRFOOT_JOUSTING_1_htm_files/9987.jpg)
Above. I use a home-made mix of acrylic paint, filler and
chinchilla sand to build up texture on my bases.
Above. I decided to use the same technique I had done for
my Great War models, creating puddles and pools.

STEP 1: BASING THE MINIATURES
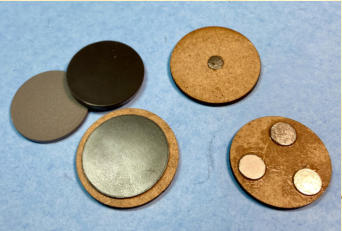
Having painted and varnished the models, I prepared
some magnetised 25mm and 30mm round bases
depending on the size of the mount. The 25mm
bases were Northstar’s own plastic ones; 30mm
were 2mm MDF from Warbases. You can use any
form of magnet that suits as long as it’s strong enough
to hold the model in position (note that some cheap
magnetic tape won’t hold a metal mini very well).
Here I have used some of the pre-cut self-adhesive
magnetic discs from Magnetic Displays, alongside
some neodynium magnets (both ultra-thin, glued to
the bottom of the MDF base or a 1.5mm thick inserted
into a 5mm diameter hole – superglue was used to
attach them in both cases). These kinds of magnets
are also available from Magnetic Displays and many
eBay sellers.
Below. Basing materials.
and some of the self-adhesive green steel paper
(again from Magnetic Displays). The washers were
superglued into position – they sit quite proud of the
base, but this was actually an advantage in that I was
easily able to avoid covering them in basing gunk in
the next step.
Above. The prepared magnetised 25mm and 30mm round
bases depending on the size of the mount.
Above. The 60mm round bases with 25mm washers from my
local hardware store.
The miniatures also received a matching layer of
texture on their bases at this point.
Above. The miniatures also received a matching layer of
texture on their bases at this point.
Above. all the 60mm bases were sprayed with a quick coat
of dark brown aerosol paint.
that you like – this is just what I had to hand as I had
already used it to give the giant roach a particularly
unpleasant slimy look!
STEP 5: TIME FOR TUFTS
Working with thinned-down PVA glue, firstly I added
some patches of static grass to the halfling bases –
goblins got a few pieces of fine grit instead.
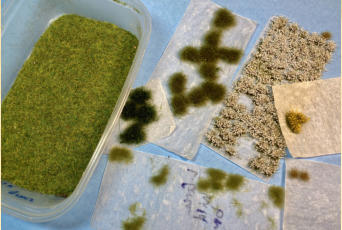
I’m a huge fan of the Gamers Grass tufts - as you can
see, I’ve got quite a collection! It’s by no means
necessary to have this many, but I find that having two
different variants on a base really helps to create a
naturalistic look. These were applied with a pair of
tweezers and a dot of PVA glue.
Gamers Graft tufts used on these bases were as
follows:
Halflings:
•
GG12-SG - Strong Green XL
•
GG12-DG - Dry Green XL
•
GG6-DG - Dry Green
•
GG6-LG - Light Green
•
GGF-YE - Yellow Flowers
•
GGF-WH - White Flowers
Goblins:
•
GG2-DG - Dry Green 2mm
•
GG6-BE - Beige
•
GG12-BE - Dense Beige XL
•
GG12-JU - Jungle XL
The XL variety of tufts are 12mm tall and really come
into their own on bigger bases like movement trays.
In this case, I used them around the edge of the
magnetic area to help conceal the join with the
separate figure base. Some tufts were also snipped
in half down the middle with a pair of scissors to
create different shapes and better fit the area around
the miniature. Once again, take care to keep the
magnetic areas clear so that the model will still stick
into place.
STEP 6: MARK THE FRONT
The only thing left to do at this point was to add a
small white line of acrylic paint at the front of the base
– essential for using the jousting templates that are
used in the game. I considered doing it with a tuft of
flowers or a beige line but decided that those would
be forgotten about in the heat of the arena, so went
for good old white paint instead.
With this done, my jousters were ready to roll. The
models were a joy to paint and I’m very pleased that
Above. Dry brushing to bring the bases to life: stages: 1) plain base, 2) Leather Brown drybrush, 3) Barren Dune drybrush,
4) ink and gloss varnish]
Above. I’m a huge fan of the Gamers Grass tufts - as you
can see, I’ve got quite a collection!
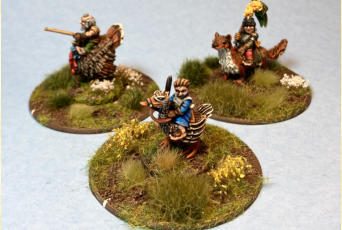
Above & Below. I find that having two different variants of
tufts on a base really helps to create a naturalistic look.
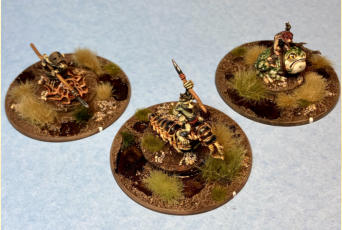
I’m going to be able to switch them between systems
with the magnetic basing…I already have plans for a
Midgard unit of frog-riding goblins! Watch this space.
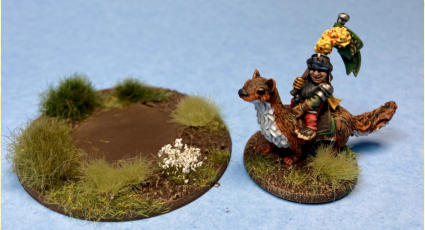
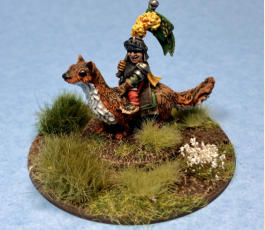
Above. Hairfoot Jouster riding a Giant Weasel mounted on a 30mm base and his 60mm jousting base.
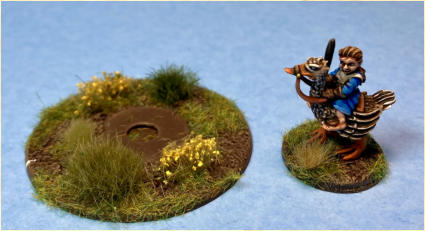
Above. Hairfoot Jouster riding a Goose mounted on a 25mm base and her 60mm jousting base.
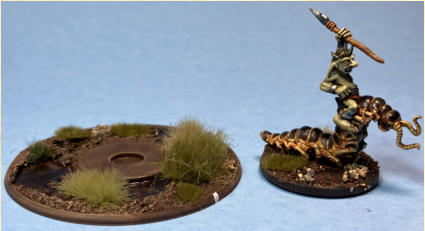
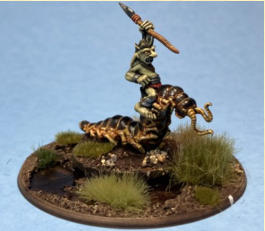
Above. Wartnose Jouster Riding a Centipede mounted on a 30mm base and its 60mm jousting base.
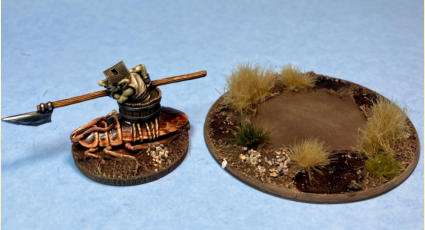
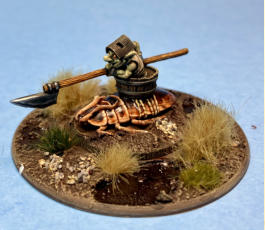
Above. Wartnose Jouster Riding a Roach mounted on a 30mm base and its 60mm jousting base.
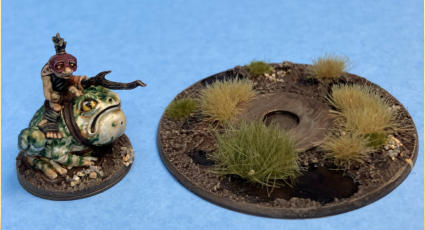
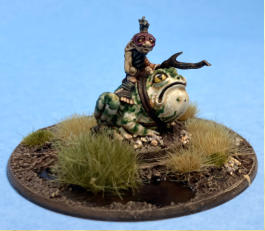
Above. Wartnose Jouster Riding a Hornfrog mounted on a 25mm base and its 60mm jousting base.
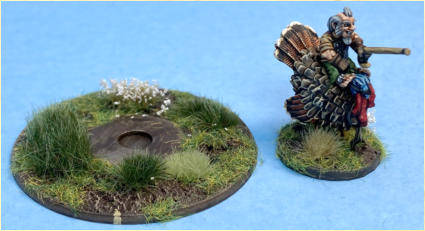
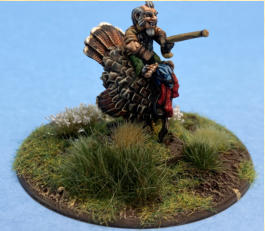
Above. Hairfoot Jouster riding a Turkey mounted on a 25mm base and his 60mm jousting base.
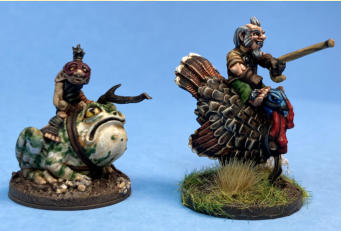
Above. Wartnose Jouster Riding a Hornfrog and Hairfoot
Jouster riding a Turkey both mounted on 25mm bases.
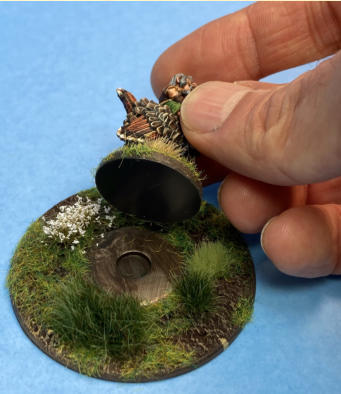
Right. Turkey rider finished showing magnet.

