


2. Skeleton
Bright Bronze Armour
How to Paint
Oathmark Skeletons
from Scratch

Primed
Well he was primed and the washed in exactly the same way and Skeleton number one! In fact I used the picture of him to illustrate the priming above as it was the same in all
 respects (oh and I forgot to take a picture of number one in primer!). I’m not going to
 repeat this bit as it’s to long.
Washed
I applied a coat of Mid Brown Wash all over the bones. I did go back a blob some more
 on in places that I had either missed or I felt needed a bit more shade and I did remove
 some of the bigger pools with my brush if to much had collected in particular place
 In fact I used the picture of him to illustrate the priming above as it was the same in all
 respects (oh and I forgot to take a picture of number one in primer!). I’m not going to
 repeat this bit as it’s to long.
Washed
I applied a coat of Mid Brown Wash all over the bones. I did go back a blob some more
 on in places that I had either missed or I felt needed a bit more shade and I did remove
 some of the bigger pools with my brush if to much had collected in particular place
Bones
1.
Skeleton Bone, for this one I painted more of the bone in this colour but still leaving the brown wash to
 show in the depressions.
  2.
Skeleton Bone plus Matt White.
3.
plus more Matt White.
 bone in this colour but still leaving the brown wash to
 show in the depressions.
  2.
Skeleton Bone plus Matt White.
3.
plus more Matt White.
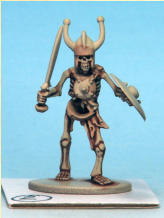
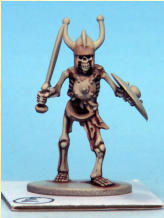
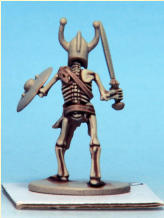
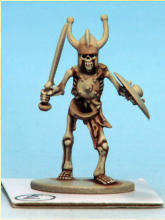
Bones. 1. Skeleton Bone.
Bones. 2. Skeleton Bone plus
Matt White.
Bones. 2. Skeleton Bone plus
Matt White.
Bones. 3. plus more Matt
White.
Bones. 3. plus more Matt
White.
Bones. 3. plus more Matt
White.
Metal. 1. Weapon Bronze.
Metal. 2. Mid Brown Wash.
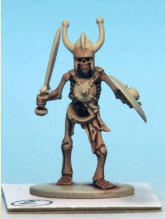
Mid Brown Wash all over the
bones.
Metal
1.
Weapon Bronze.
2.
Mid Brown Wash.
3.
Weapon Bronze (again).
4.
Greedy Gold.
5.
Bright Gold.

Straps
1.
Fur Brown plus Oak Brown.
2.
plus Fur Brown.
3.
plus more Fur Brown.  4.
pure Fur Brown.
5.
plus Matt White just on the edges.
 4.
pure Fur Brown.
5.
plus Matt White just on the edges.
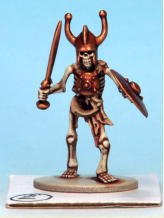
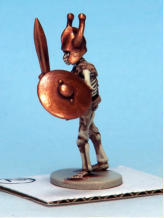
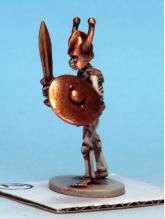
Metal. 3. Weapon Bronze
(again).
Metal. 3. Weapon Bronze
(again).
Metal. 4. Greedy Gold. 

Metal. 4. Greedy Gold. 

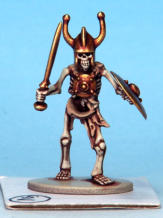
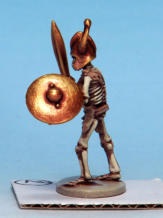
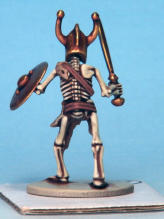
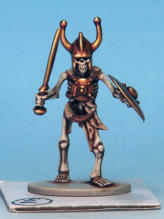
Metal. 5. Bright Gold.
Metal. 5. Bright Gold.
Straps.
Straps.
Remnants of Clothing
1.
Chaotic Red plus Dragon Red.  2.
plus Dragon Red.
3.
pure Dragon Red.
4.
plus Matt White.
5.
plus more Matt White.
 2.
plus Dragon Red.
3.
pure Dragon Red.
4.
plus Matt White.
5.
plus more Matt White.
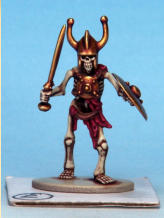
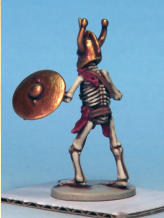
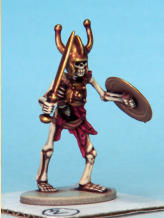
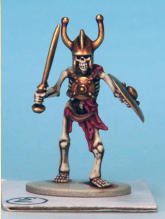
Remnants of Clothing.
Remnants of Clothing.
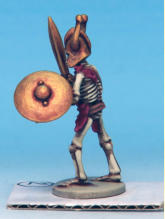
Back Of Shield.

Painting completed.
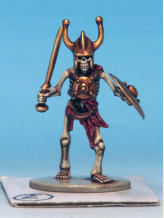
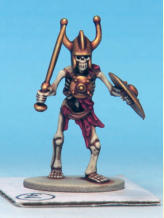
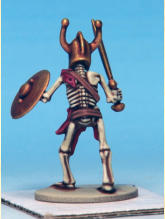
Gloss Varnish.
Matt Varnish.
Matt Varnish.
Matt Varnish.
Back Of Shield
1.
Dirt Splatter.
2.
plus Desert Yellow.
3.
plus more Desert Yellow.
4.
plus Matt White.
Finished Painting
And that’s his painting completed.
Gloss Varnish
The model was then given a coat of Humbrol polyurethane gloss varnish and set aside for 24 hours to
 dry completely.
 polyurethane gloss varnish and set aside for 24 hours to
 dry completely.
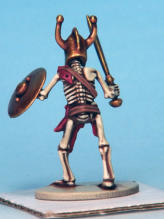
Painting completed.
Painting completed.
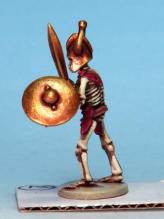
Matt Varnish
Then they were given two coats of Anti-Shine Matt Varnish. Be even more careful when painting on the matt
 varnish. Don’t use the spray version of the Anti-Shine Matt
 Varnish as it can react with the Humbrol gloss.
Basing
The bases are 25mm square plastic ones that come with the
 skeletons. I used superglue to stick the model in place,
 blowing over them to prevent the glue whitening off on the
 models.
I then filled in between the models bases and square base
 with Hombase filler and then left that overnight to go hard.
 Varnish. Be even more careful when painting on the matt
 varnish. Don’t use the spray version of the Anti-Shine Matt
 Varnish as it can react with the Humbrol gloss.
Basing
The bases are 25mm square plastic ones that come with the
 skeletons. I used superglue to stick the model in place,
 blowing over them to prevent the glue whitening off on the
 models.
I then filled in between the models bases and square base
 with Hombase filler and then left that overnight to go hard.
1.
I then glued on some sharp sand with PVA glue and painted it Oak Brown.
2.
I then dry-brushed on Monster Brown.
  3.
I then dry-brushed on Desert Yellow.
  4.
then I dry-brushed on lightly, Skeleton Bone.
 I then added some of the Beige Tufts from Gamers
 Grass.
 Then some Gale Force Nine: Meadow Blend Flock
 stuck on with PVA glue.
The final touch is a very light dry-brush of Desert Yellow
  on the flock and he’s done.
 painted it Oak Brown.
2.
I then dry-brushed on Monster Brown.
  3.
I then dry-brushed on Desert Yellow.
  4.
then I dry-brushed on lightly, Skeleton Bone.
 I then added some of the Beige Tufts from Gamers
 Grass.
 Then some Gale Force Nine: Meadow Blend Flock
 stuck on with PVA glue.
The final touch is a very light dry-brush of Desert Yellow
  on the flock and he’s done.
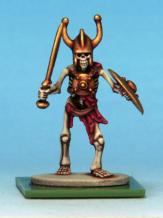
Superglue was used to stick
the model in place.
Basing. 1. Sand is glued on
and painted Oak Brown.
Basing. 2. Monster Brown
dry-brushed on.
Basing. 3. Desert Yellow dry-
brushed on.
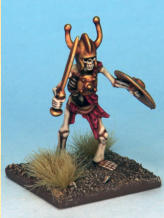
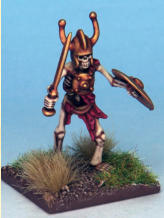
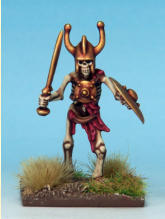
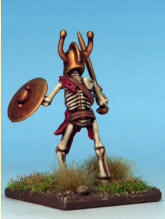
Basing. Beige Tufts added.
Basing. Meadow Blend
Flock added.
Basing. The final touch is a very light dry-brush of Desert
Yellow on the flock and he’s done.
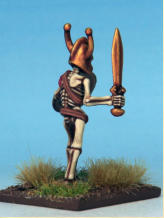
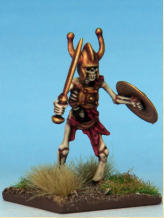
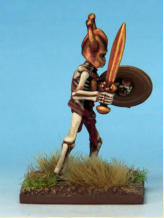
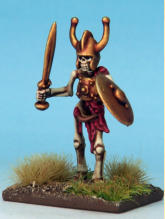
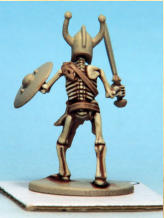
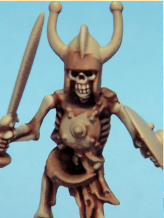
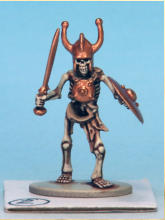
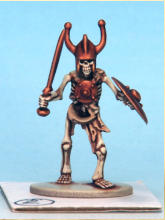
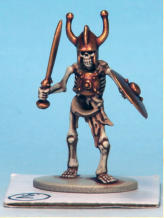
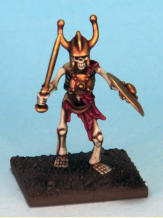
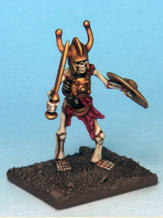
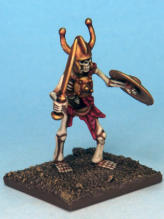
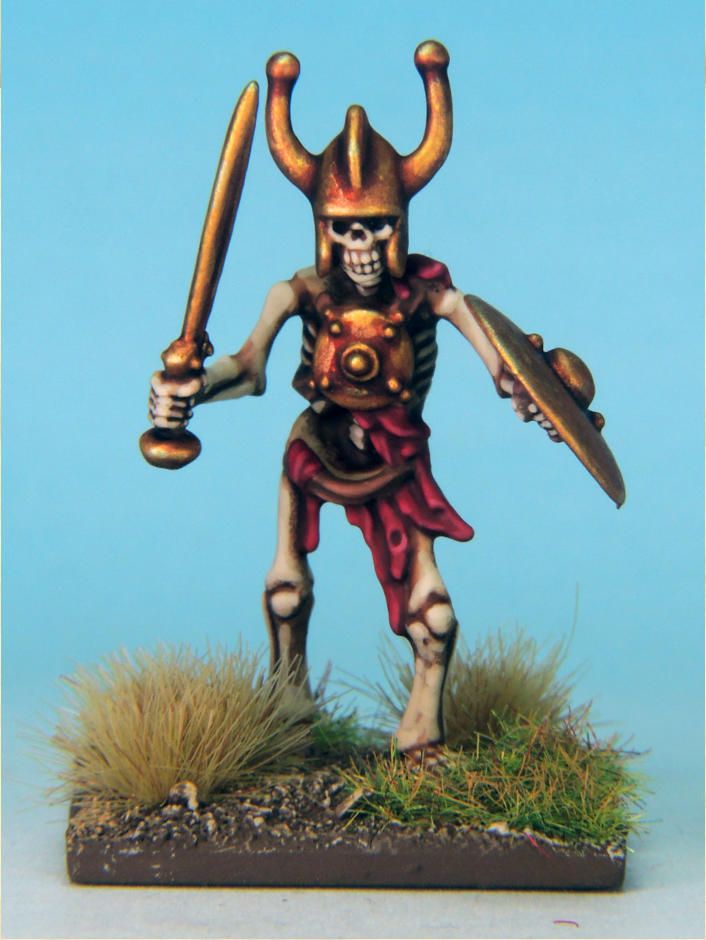
Finished Skeleton in Bright Bronze Armour.
Finished Skeleton in Bright Bronze Armour.
The Paint
I used Army Painter War Paints to paint the skeletons, mixing up colours to suit my style and
 preferences. The names here reference The Mega
 Paint Set provides an adequate range of colours for
 almost all needs, but you will usually need to mix
 colours to get the desired results.
 skeletons, mixing up colours to suit my style and
 preferences. The names here reference The Mega
 Paint Set provides an adequate range of colours for
 almost all needs, but you will usually need to mix
 colours to get the desired results.


