





WHY?
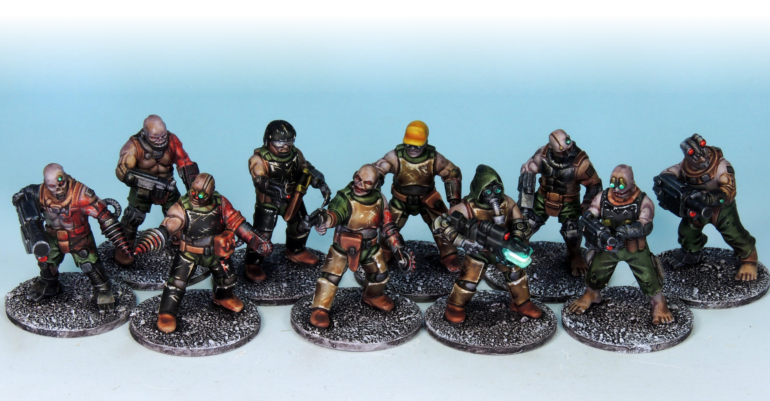
After photographing the exploded views for the Automatons box, I had five models left over. Wanting
 a completely different look from the ten I painted for
 the Death Vector book, I decided to use Speedpaints
 — ensuring they’d be distinct and, best of all, quick to
 finish.
MORE
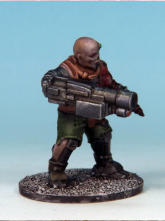
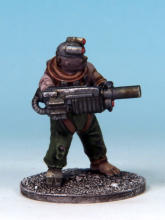
As always with these, I had plenty of leftover heads and arms, so I kit-bashed them with some Stargrave
 Troopers and speed-painted those as well!
OTHERS
If Automatons aren’t your thing, check out my other Speedpaints articles — I’ve covered Broo, AWI
 British, and Frostgrave Ghost Archipelago crews. I’ve
 also written a full series on fast-painting armies for
 Oathmark using The Army Painter’s Quickshade
 washes and Quickshade Varnish. [CLICK HERE] to
 explore them!
THOUGHT
Speedpaints definitely demand a bit more forethought than traditional paints, particularly when it comes to
 preparation and planning. The key is to anticipate how
they'll flow and interact with the surface, but once you get the hang of it, the process becomes second
 nature.
 they don’t cut down on preparation or finishing time —
 you’ll still need to invest just as much effort in cleaning
up, assembling, varnishing, and basing. That said,
 Speedpaints did prove useful during the basing stage,
speeding that part of the process.
 a white zenithal undercoat from above. If you're
 unfamiliar with the technique, a quick search for
 "zenithal undercoat" on YouTube will provide plenty of
 examples. I used my very elderly airbrush, but a white
 primer spray can work just as well. If you're using The
 Army Painter cans, keep in mind that they release a
 lot of paint, so a light touch is essential.
The goal isn’t to completely cover the darker primer
 but to allow it to show through, creating natural
 shadows and adding depth for free. You can also
 apply the zenithal white over a black undercoat or opt
 for dry-brushing white — often referred to as "slap
 chop" if you’d like to look it up.
 get the hang of it, the process becomes second
 nature.
TIME
While Speedpaints streamline the painting process, they don’t cut down on preparation or finishing time —
 you’ll still need to invest just as much effort in cleaning
up, assembling, varnishing, and basing. That said,
 Speedpaints did prove useful during the basing stage,
speeding that part of the process.
TOP
Since the models were already primed grey, I applied a white zenithal undercoat from above. If you're
 unfamiliar with the technique, a quick search for
 "zenithal undercoat" on YouTube will provide plenty of
 examples. I used my very elderly airbrush, but a white
 primer spray can work just as well. If you're using The
 Army Painter cans, keep in mind that they release a
 lot of paint, so a light touch is essential.
The goal isn’t to completely cover the darker primer
 but to allow it to show through, creating natural
 shadows and adding depth for free. You can also
 apply the zenithal white over a black undercoat or opt
 for dry-brushing white — often referred to as "slap
 chop" if you’d like to look it up.
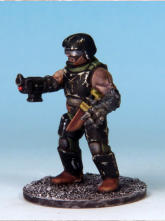
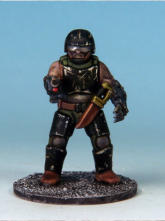
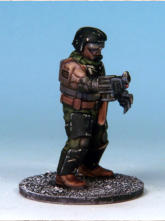
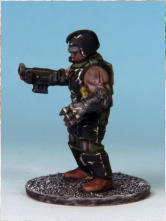
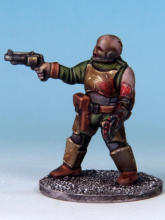
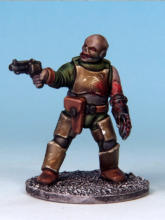
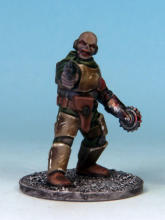
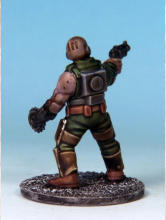
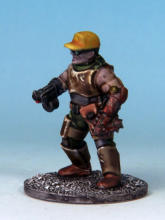
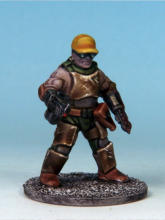
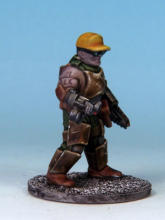
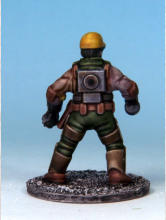
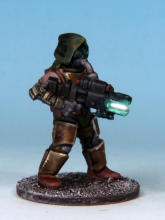
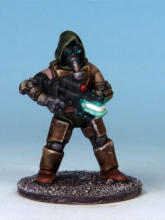
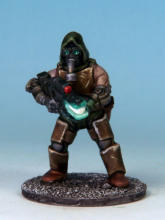
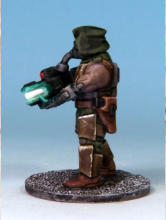
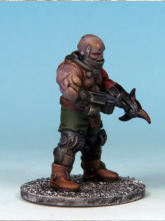
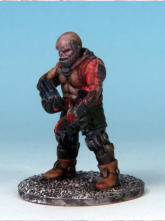
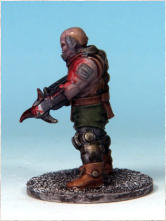
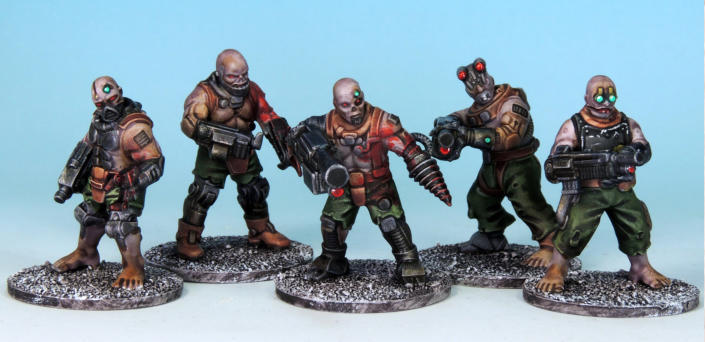
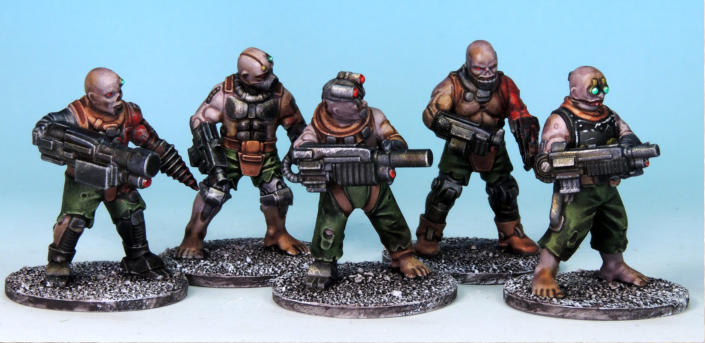
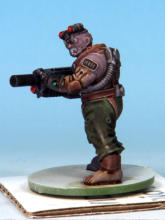
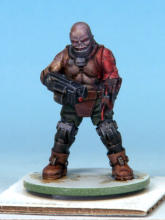
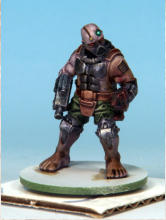
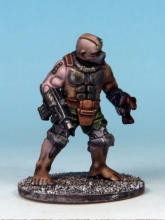
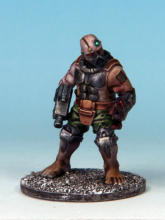
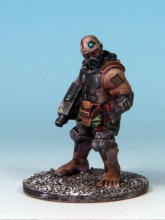
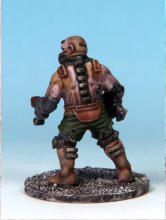
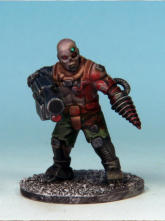
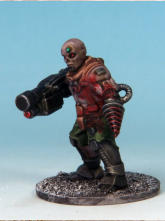
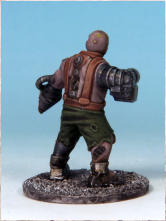
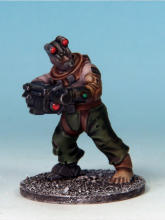
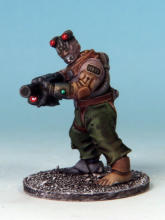
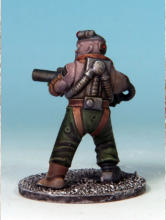
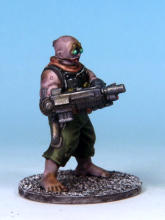
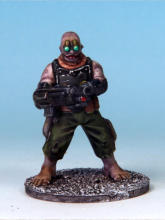
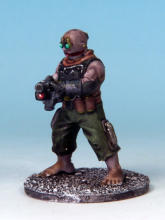
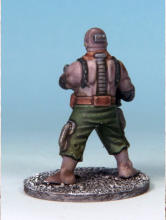
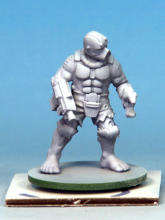
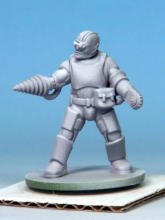
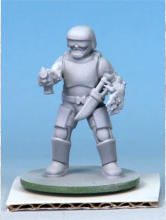
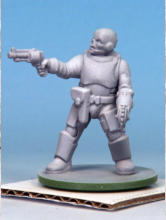
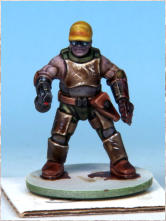
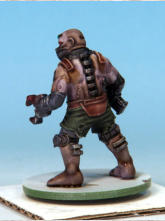
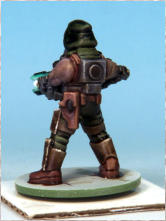
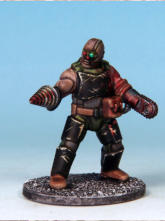
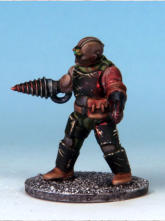
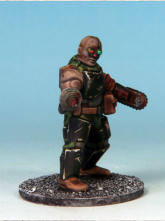
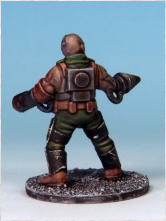
Above. The Stargrave Automatons, both straight builds and kit-bashed creations, have been
speed-painted in double quick time and are now wreaking havoc across the galaxy!
PAINTS
Speedpaints are semi-transparent and behave more like a wash or stain, reminiscent of old watercolour
 blocks but with richer pigments and a unique flow that
 avoids tidemarks. Their properties require careful
 planning, as mistakes are harder to correct with
 additional layers compared to conventional paints. I
 usually start with lighter colours and gradually move
 to darker shades to minimize errors, but on these I
 had the metallic paint out for another job so I did that
 first on these chaps. Additionally, Speedpaints tend to
highlight any mould lines on models, so thorough
 cleanup beforehand is essential.
FANATIC
Also this time I used the occasional Fanatic Wash and or Fanatic Warpaints to enhance or give a
 particular effect. You don’t have to just stick to
 Speedpaints creating a hybrid style is much more fun.
BRUSHES
The fluid nature of Speedpaints means they tend to run up the bristles into the metal ferrule, making them
 notoriously difficult to clean out completely. Because
 of this, it's best to avoid using your finest brushes. I
 keep a stash of older brushes that are no longer fit for
precision work but are perfect for Speedpaint duty
 until they reach the end of their lifespan.
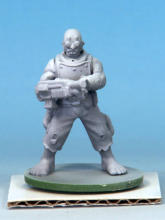
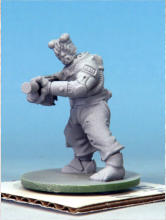
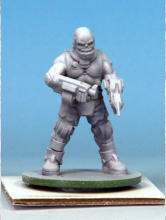
Above. As the models were already primed grey, I went for a white zenithal undercoat applied from above over the grey. If
you search on YouTube for zenithal undercoat you will see what it is. Standard all Automatons builds top row.
SHAKE
Make sure to shake the bottles thoroughly — this has a noticeable impact on how Speedpaints apply. Each
 bottle contains at least two ball bearings to help mix
 the paint evenly, so give it a vigorous shake to ensure
 consistent results. To simplify paint mixing, I picked up
 a vibrating mixer designed for nail varnish on Nick’s
 recommendation. While I initially got it for the
 Warpaints Fanatic paints, I’ve found it equally as
 effective for Speedpaints
APPLICATION
The key to using Speedpaints effectively is control — despite their name, rushing the application won’t yield
 the best results. Avoid overloading your brush, as the
 paint naturally flows and spreads. Apply it carefully,
 keeping within the intended areas to prevent
 unwanted spills. As you can see, I slipped a little but
 anticipated that the darker shades would help conceal
 it. For finer details, I used a very fine yet slightly worn
 brush that previously served for painting faces.
SPEEDPAINTS
As I said earlier I didn’t start with flesh, even though that’s what I usually do. This time I stared with guns
 as I had the paint on the go using it on another job
 more of which subsequently. Also it gave me an
 opportunity to tweak the metal somewhat by lightly
 dry-brushing with Warpaints Fanatic Metallic Mithril,
 just catching the edges.
WEAPONS, Enchanted Steel.
GREY FLESH, a 50/50 mix of Goddess Glow
and Ashen Stone.
GREEN SHORTS & TROUSERS, Camo Cloak.
BROWN EQUIPMENT, BOOTS & BELTS,
Warrior Skin.
DISTRESSING
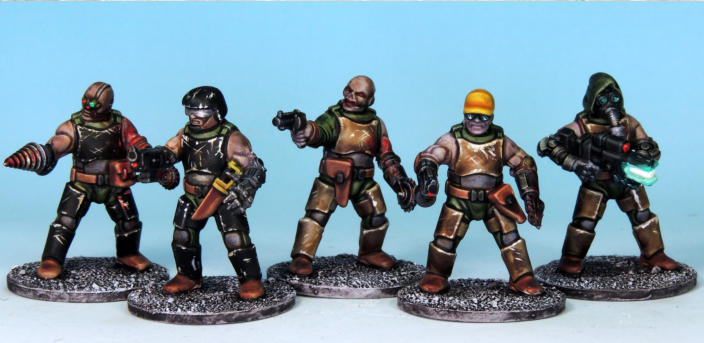
The next step was adding blood, dirt, and battle damage. I started by distressing the armour with
 Warpaints Fanatic: Matt White, then painted the
 eyes, lenses, LEDs, and laser beam weapon. These
 were then over-painted with Speedpaints like Blood
 Red and Plasmatic Bolt for the desired effect. To
 unify the tones and slightly tone down the brightness,
 I applied an overall wash of Warpaints Fanatic
 Wash: Wash Medium. Finally, I added blood spatter
 using Blood Red Speedpaint to bring out the gritty,
 battle-worn look.
TIDY
I used Warpaints Fanatic: Matt White to repaint and thus tidy some of the areas where I had
 inadvertently gone over with the Speedpaint like the
 belts.
BASING
I applied fine sand with PVA glue, letting it harden before painting it with Warpaints Fanatic: Matt
 White. Once the white had dried, I followed up with a
 coat of Gravelord Grey to bring out the texture and
 depth.
FINISHED
I finished them off with a coat of spray Anti Shine Matt Varnish. It’s a great choice for Speedpaints,
 as it doesn’t create a completely flat finish but instead
 provides a subtle low sheen — particularly useful for
 enhancing the depth of darker colours. I applied a tiny

SPEED PAINTING STARGRAVE AUTOMATONS WITH SPEEDPAINTS
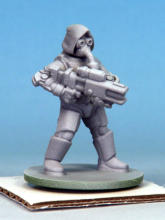
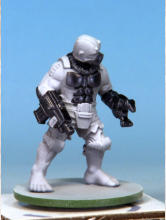
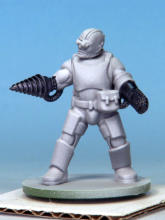
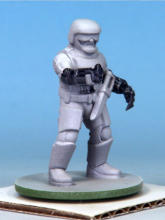
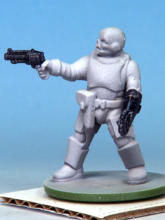
Above. The weapons and some bits and pieces, all painted in Enchanted Steel Speedpaint. Again standard all Automaton
builds top row.
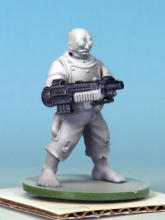
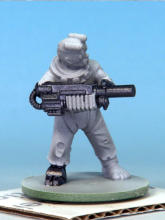
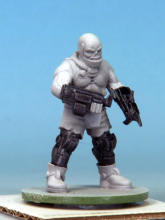
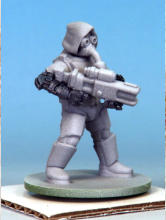
Then dry-brushed with Warpaints Fanatic Metallic Mithril.
 Mithril.
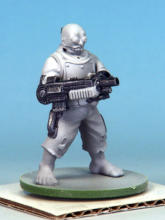
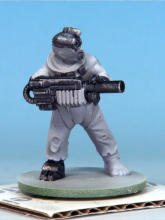
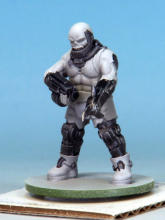
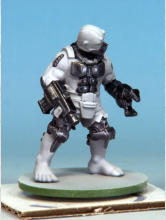
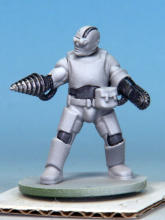
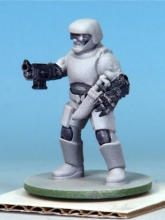
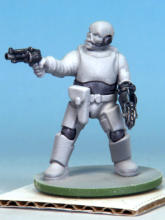
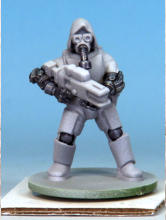
Above. The Enchanted Steel Speedpaint gave a deep, shadowed base, but the weapons needed a touch of wear. A flick of
Warpaints Fanatic Metallic Mithril caught the edges, adding a subtle battle-forged gleam.
BLACK BITS, Grim Black.
LIGHT BROWN ARMOUR, Boney Matter.
BRASS FITTINGS, Aztec Gold.
YELLOW CAP, Ancient Honey.
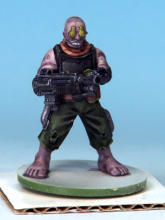
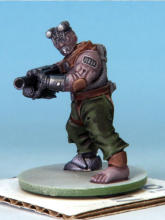
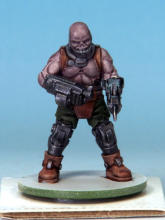
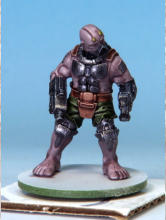
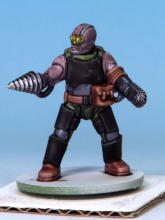
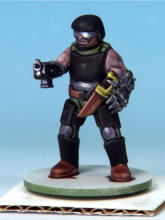
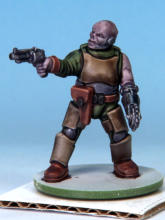
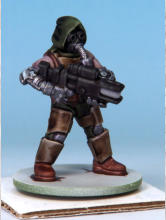
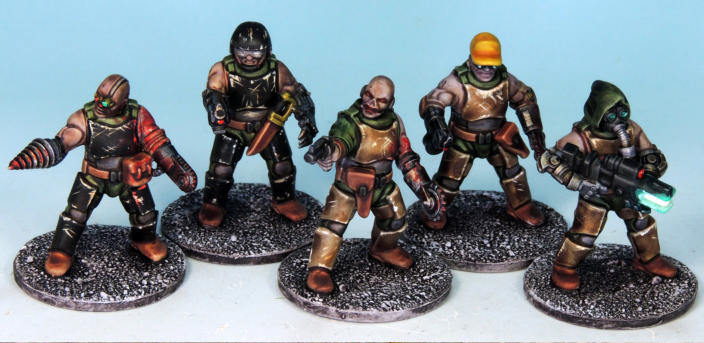
Above & right. All the main colours have been painted in,
maybe too neat! Time to rough things up a bit, add a few
scuffs, and make them look like they’ve seen some action.
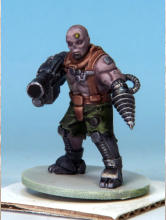
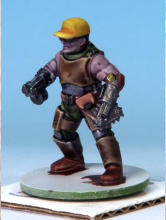
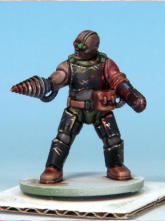
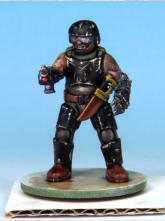
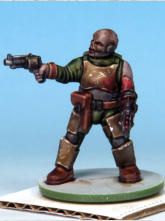
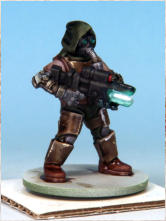
Above & right. The armour needed to tell a story, so I
distressed it with Warpaints Fanatic: Matt White, roughing
it up like battle-worn plating. Then came the eyes, lenses,
LEDs, and that deadly laser beam, each carefully over-
painted with Speedpaints like Blood Red and Plasmatic Bolt
to bring them to life. I didn’t hold back on the damage, these
warriors have seen heavy action in the Ravaged Galaxy, and
now they wear every scrape and scorch mark as proof.
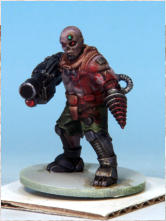
drop of gloss varnish to lenses and LEDs just to make them pop.
 them pop.
