











WHY?
I was inspired to have a go at the new The Army Painter
Speedpaints after seeing Nick’s work on a batch of Crusader
Miniatures Brood. I thought they looked fun and wanted to
see if I could achieve a similar result. Also the Brood are
quite nice and simple for a first run out with a new set of
paints that I had not even tried before.
UNPAINTED
Another thing that has been growing on my mind recently the
amount of undercoated but wholly unpainted figures I have
around the place. There are also all the models from North
Star that I prime up grey for my photography and thinking
(wrongly) one day I’ll have time paint, and further added to by
a number of complete armies which need painting that haven’t
even got out of the box yet! So Speedpaints I hoped might be
an answer to some of it at least.
ODD
It might seem odd that I wanted to dabble with Speedpaints,
but as those of you who are regular readers of some of my
painting guides will know I am no stranger to fast painting (in
spite of my reputation), in fact I have just (possibly) completed
a series of articles on fast painting armies for Oathmark using
the previous iteration of The Army Painter fast painting
method using their Quickshade washes and Quickshade
Varnish, CLICK HERE. However I was keen to see if the
Speedpaints offer something different and they did.
GRAIL
First thing to say is that these paints are not the Holy Grail;
they will not “do it all for you”, and they will not win you the
painting competition at Salute. They are another useful tool in
the painting arsenal and used correctly, on the right models
will give a very pleasing result. To get the best out of them
they need to be used on a good well sculpted model, they
won’t do well on a model without much detail. Like all paints
they require thought and handling in the correct way to get the
best out of them and this does extend to the choice of model
they are used upon. I am still getting to grips with them and
I’m sure I have more to learn.
FIRST
So the first thing I did was to read the article about them in
Wargames Illustrated by their very talented painting team.
Following that I went on YouTube and watched their vid and
then searched out more vids on the use of the Speedpaints. I
spoke to Nick about his experience of them any gleaned any
tips he had. Nick also pointed out that Speedpaints have no
metallic paint so those areas need to be dealt with in a more
traditional way.
UNIT
So I set out to complete a whole unit in a shorter space of
time as I could. I didn’t have time to do it all in one sitting as I
was fitting it in around my proper job and other painting
commitments. Luckily most of the cleaning up was done and
they were primed grey, as these were models I had already
photographed for North Star web images. As it turned out I
reckon the painting took about half an hour per model when
doing a whole unit, which for me ranks as very speedy. The
observant will have noticed that I did some conversions of the
Brood adding the odd extra weapon culled form my spares
draw and making them a banner, this however did not save
me any time...
TIME
Where these paints aren’t much help is speeding up the
preparation and finishing time of the models. You will still need
to spend as much time cleaning up and/or assembling your
models and the same sort of time varnishing and basing them
up, although I did find a Speedpaint assist in the basing. Now
some people just love the prep and finishing and hate
painting, Speedpaints are made for them.
ZENITHAL
From the recommendations from those that know, and as the
models were already primed grey, I went for a white zenithal
undercoat applied from above over the grey. If you search on
YouTube for zenithal undercoat you will see what it is. I
applied it with my very elderly airbrush, but a spray can of
white primer would do just as well. The idea is not to obliterate
all the darker primer but leaving it underneath, creating a
shadow effect and thus some shading for free, so a light touch
is needed. You can also spray apply the zenithal white over a
black undercoat too. I will try a straight flat white undercoat at
some point to see how it fairs, but I do have a lot figures
languishing in black undercoat to get through first. I stuck the
boys to a piece of wood and sprayed white along the line.
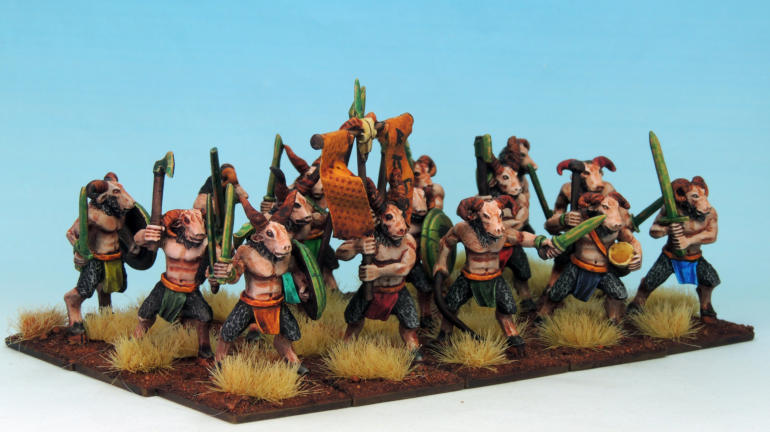
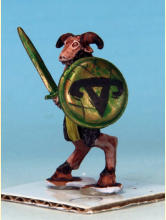
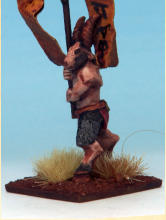
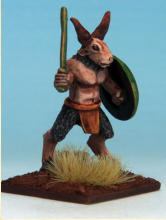
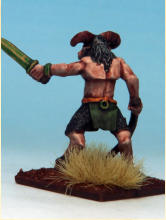
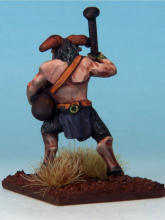
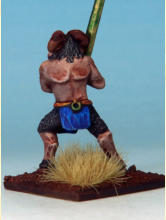
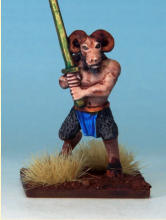
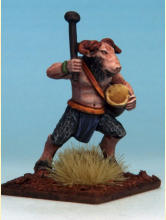
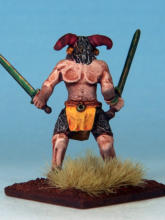
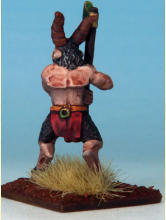
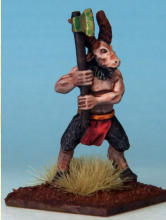
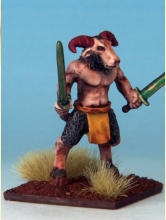
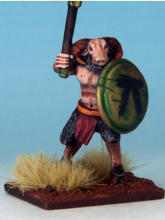
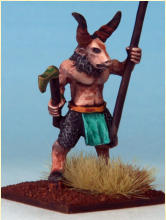
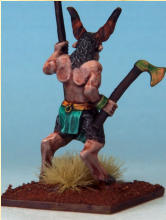
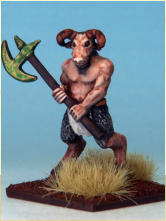
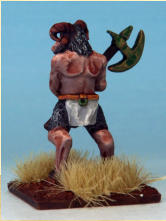
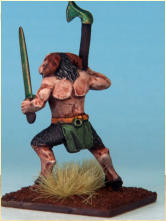
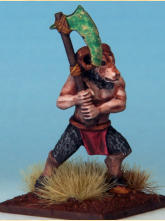
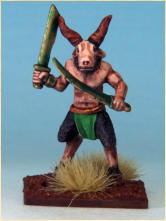
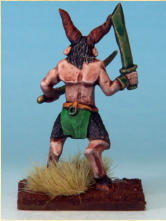
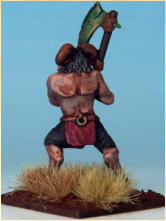
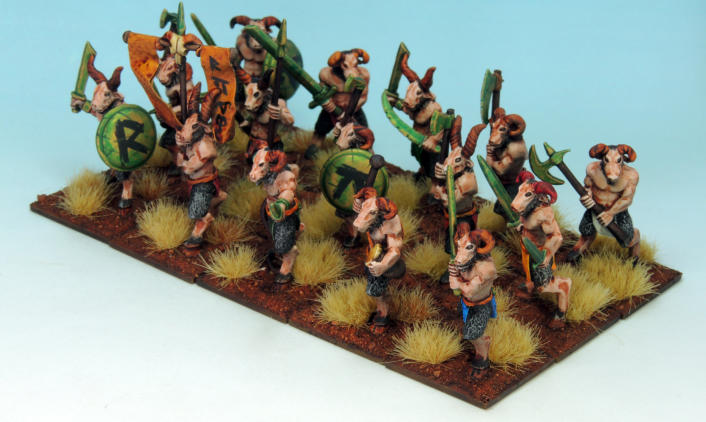
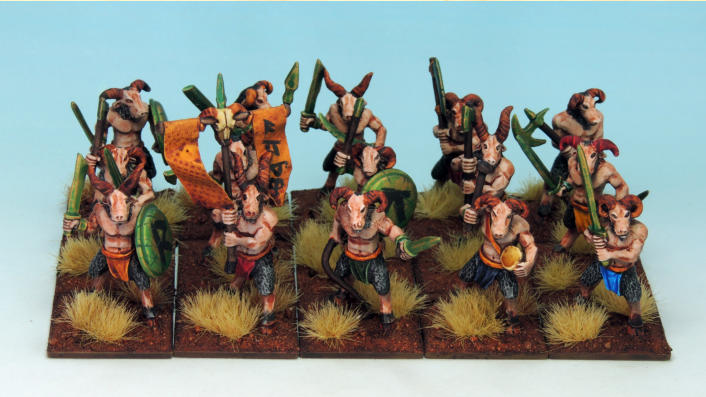
Above. The finished unit of speed painted Crusader BROOd.
PAINTS
Speedpaints are not paints. They are transparent. They are
much more akin to a wash or a stain, but have a more
sustained pigment and an interesting way flowing and don’t
seem to leave tidemarks. These almost unique properties
require some planning as you are less able to hide errors with
subsequent layers or colours as you could with conventional
painting. I planned to use lighter colours first and then go
darker in the hope to minimize any mistakes. Also the peculiar
properties of the Speedpaints mean that if you have left any
mould line on the models they will accentuate them, so be
prepared to clean up the models well. They also have another
unusual property which is, when you paint over the
Speedpaint with normal Army Painter War Paint, the
Speedpaint has a tendency to bleed into the normal paint as
stain it slightly, so if you are trying to correct an error by
applying more white undercoat, expect this phenomenon.
Lastly the watery nature of these paints means that they will
run up the bristles of the brush into the metal ferrule and are
the devils own job to completely clean out, so don’t use your
best finest brushes.
SHAKE
Do shake the bottles up well, really well, as this can make a
real difference to how the Speedpaint goes on. Each bottle
has no less than 2 ball bearings in them to ensure they mix
Above. I went for a white zenithal undercoat applied from above over the grey. I stuck the boys to a piece of wood and
sprayed white along the line.
up well when you shake them. Be aware when you are
squirting out some of the Speedpaint that you don’t have a
ball bearing lodged in the nozzle as it can make a rather
messy accident if you just keep squeezing… like I did, my
bad.
APPLICATION
There is no great secret, but try to be controlled with them,
there is a tendency because of the speed thing to slap them
on any old how, and this will not yield the most satisfactory
results. Don’t overload your brush. The Speedpaint will flow; I
think it must have a low surface tension that allows it to flow
so successfully. Be careful and apply them only to the areas
needed, avoiding slipping into other areas if you can, as you
will see I slipped over a bit but I was thinking they are mostly
going to be darker areas so I could get away with it.
SPEEDPAINTS
I started with flesh, as that’s what I usually do when using
normal paints and it would be the same colour on all these
models, so I would get a good run-up at it, so to speak. Also I
chose the flesh as it seemed to be amongst the lighter
colours. It is really worth planning the order of colours you are
going to use from light to dark. I didn’t use the free (and very
nice) brush that is included in the sets, as it was bit too manly,
I used a smaller, old and a bit knackered Army Painter brush,
already well broken in from other painting.
FLESH Crusader Skin

PLOT
I then slightly lost the plot about the light colours first, and
went to Hardened Leather as my next choice, in my defence I
thought these would be well away from the lighter colours,
also I decided to do their loincloths in lots of different colours
to try out as many colours as possible. I then used Dark Wood
for well, the woodwork and some other bits and pieces and
these pictures show it thus far with the many colours of
loincloth.
For all of them.
HORNS & HOOVES Hardened Leather WOOD & WHIP Dark WoodThe many colours of loincloth.
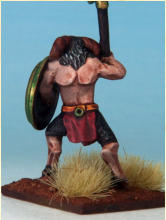
LOINCLOTH Camo Cloak LOINCLOTH Blood Red LOINCLOTH Plasmatic Bolt LOINCLOTH Magic Blue LOINCLOTH Sand Golem LOINCLOTH Holy White LOINCLOTH Cloudburst Blue, note the still wet paint on the drum skin, see what a hurry I was in, which is Pallid Bone! LOINCLOTH Malignant Green LOINCLOTH Slaughter Red LOINCLOTH Orc Skin, Zealot Yellow
HOLY
The only real problem I had was with the Holy White
Speedpaint, which was looking like it was going to be just
grey not white, so I wiped it off with my thumb to reveal the
white undercoat but nothing more sophisticated than that and
no highlighting here. I think I should have thinned it, but even
then the judicial application of the painters thumb might be
needed to get a whiter than white finish.
FOREWARNED
The final bits to do were the belts in Sand Golem and fur Grim
Black and lastly the metal. For the belts I did try touching in
the white undercoat, as I realised I had gone over them a bit
with some of the loincloth colours, and as some were quite
dark so they would show though the Sand Golem and look
messy. I used The Army Painter Warpaints Matt White; this is
when I noticed that Speedpaints slightly bleed into the
Warpaints, when the Warpaints are painted over them, Nick
had mentioned this but I had forgotten. However it’s not a
major issue but be aware, I did find a solution but more of that
at the end. Nick had also forewarned me about the Grim
Black, that it was very grim and very black, so I tried some out
and I realised it needed thinning otherwise it risked not
showing up the detail of the fur, especially as the fur is quite
fine on the models. I had read that it was best to use the
actual Speedpaints thinner, so I did. On balance I might have
over thinned it but I could always give it another coat, which I
did to some areas where it looked a bit pale.
METAL
There aren’t any metallic Speedpaints as I said. But I wanted
Bronze metal throughout so I used I used The Army Painter
Warpaints Weapon Bronze, with Plasmatic Bolt Speedpaint
over it to represent verdigris.
For all of them
BELTS Sand Golem FUR Grim Black METAL Weapon Bronze and Plasmatic Bolt

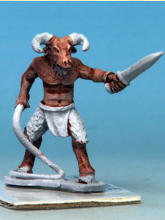
Above and below. FLESH Crusader Skin.
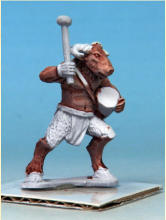
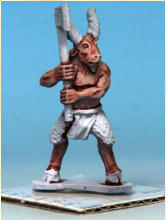
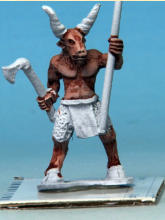
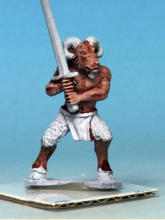
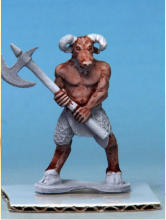
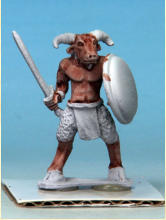
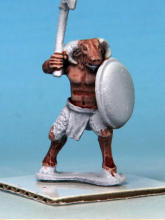
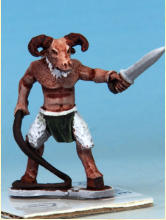
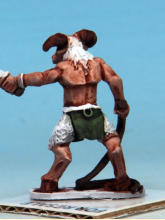
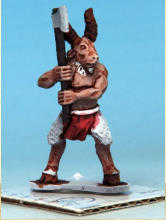
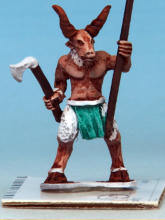
Above. LOINCLOTH in Camo Cloak.
Above. LOINCLOTH in
Blood Red.
Above. LOINCLOTH in
Plasmatic Bolt.
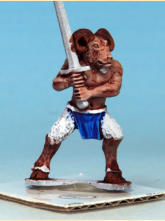
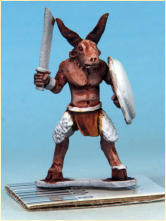
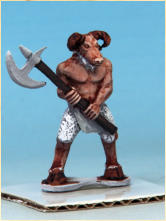
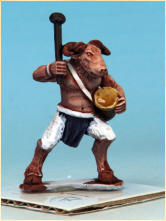
Above. LOINCLOTH in
Holy White.
Above. LOINCLOTH in
Cloudburst Blue.
Above. LOINCLOTH in
Magic Blue.
Above. LOINCLOTH in
Sand Golem.
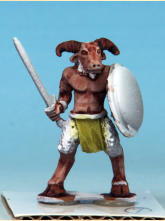
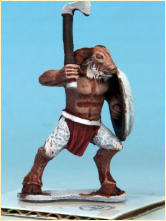
Above. LOINCLOTH in
Malignant Green.
Above. LOINCLOTH in
Slaughter Red.
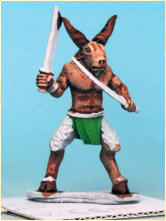
Above. LOINCLOTH in Orc
Skin.
Above. LOINCLOTH in
Zealot Yellow.
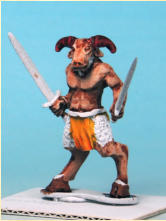
MORE
I then realised I didn’t have enough for a full Oathmark unit so
I did some more Brood but this time with some conversions,
and eventually I made the unit up to fifteen including a
banner. The conversion bits are all Oathmark or Frostgrave
plastic bits and pieces from my enormous plastic spares draw.
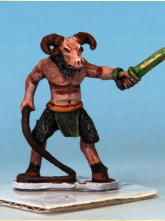
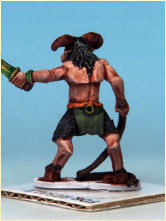
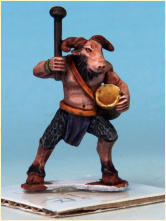
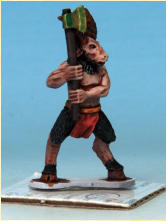
Above and below. BELTS Sand Golem, FUR Grim Black, METAL Weapon Bronze and Plasmatic Bolt.
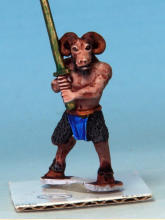
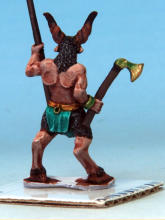
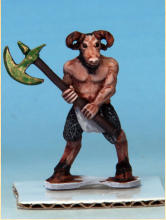
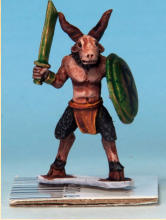
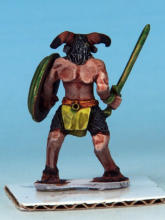
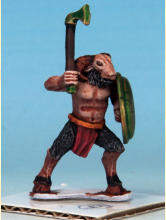
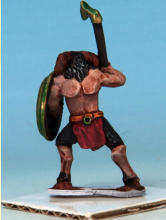
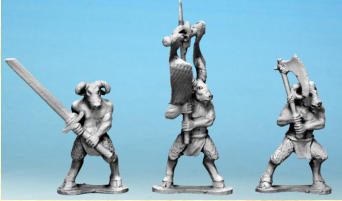
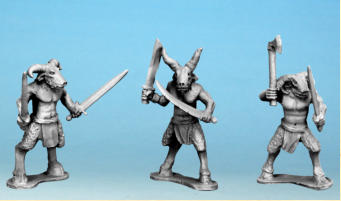
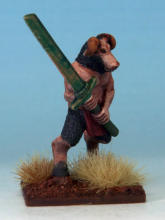
Above. I did some more Brood with some conversions, and eventually I made the unit up to fifteen including a banner.
For all of them
BELTS Sand Golem FUR Grim Black METAL Weapon Bronze and Plasmatic Bolt LOIN CLOTH Zealot Yellow LOIN CLOTH Orc Skin LOIN CLOTH Camo Cloak (again)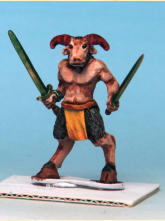
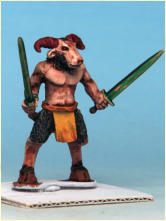
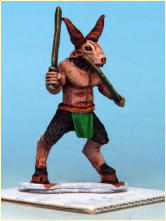
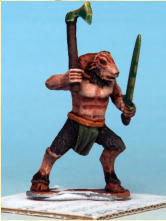
Above and below. BELTS Sand Golem, FUR Grim Black, METAL Weapon Bronze and Plasmatic Bolt, LOIN CLOTHS Zealot
Yellow, Orc Skin, Camo Cloak (again).
BASING
I wanted to carry on the Speedpaints to the bases if I could.
I glued on my usual sharp sand and when that had dried I
painted the edges of the base with Hardened Leather. Then
I painted the sand itself with Hardened Leather mixed 60/40
with the thinners. That was left to dry then I stuck on some
Gamers Grass 6mm tufts for a quick finish!
FINISHED
So that’s it, a unit of fifteen of them done in about a day, if I
did it all together, for the painting. This is very quick for me
and I can now visualise doing one or more whole armies using
the Speedpaints and not only that, also combining them with
more conventional painting for particular effects that I have
liked, like flesh and fur.
MORE SPEEDPAINTING
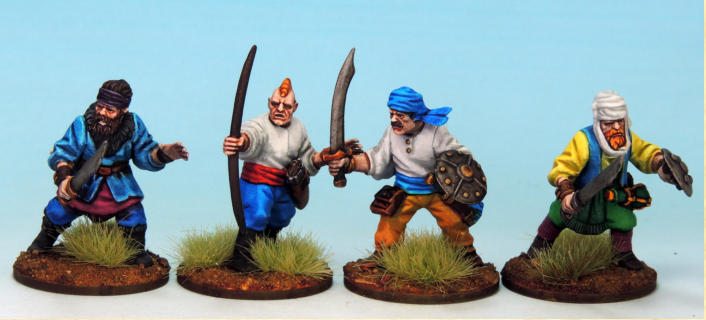
These are more conventional figures, ie humans, which were
also lying around waiting to be painted one day. So I primed
them up and got on with them (they hail from the fantasy
world of Frostgrave Ghost Archipelago). I found similar
problems and successes with these, with the middle and
lighter colours working on the whole better than the darker,
the most pleasing aspect of them I think is their flesh,
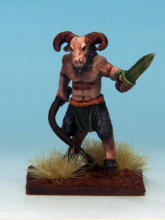
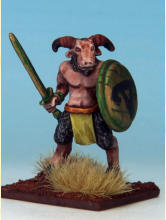
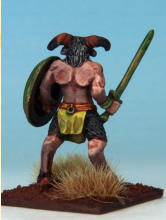
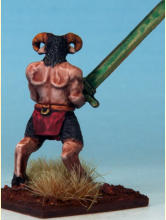
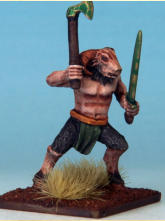
Crusader Skin is my favourite of the Speedpaints, and works
very well indeed when combined with a well sculpted model.
See what you think.
TIDY
I used some Humbrol white enamel paint to repaint and thus
tidy some of the areas where I had inadvertently gone over
with the Speedpaint like the belts, and it seems to work.
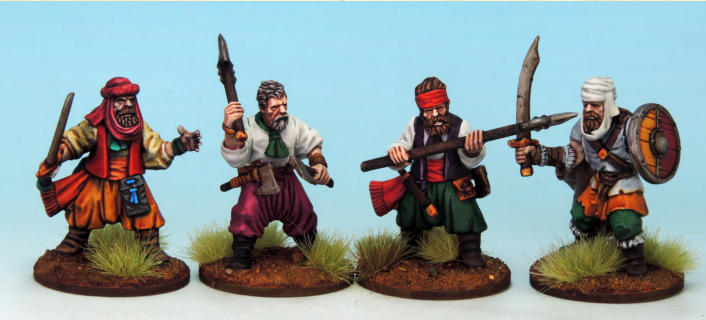
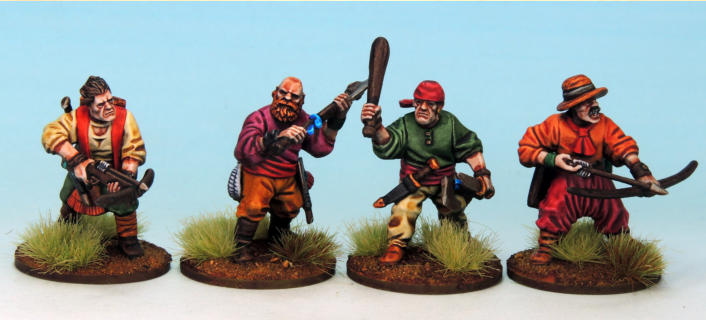
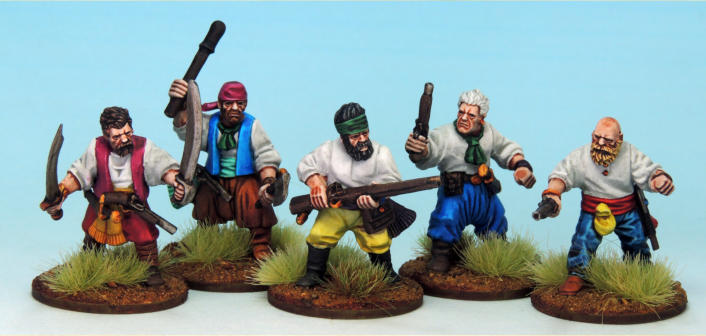
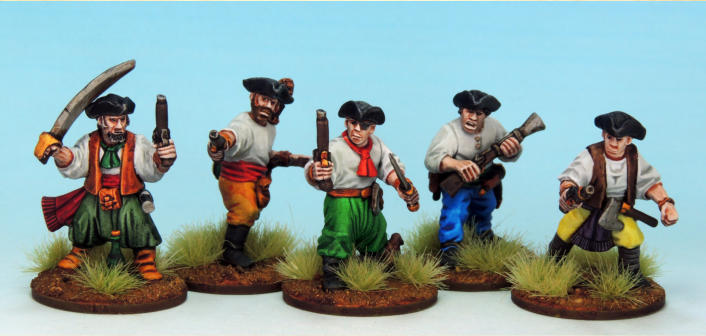
Above. These last two groups are conversions on the Frostgrave Ghost Archipelago Crewmen converting them into 18th
Century pirates with Crewmen Pirate Conversion Pack. On all of these I have used a wide variety of the Speedpaints.


