st

Highlights
Then the highlights, however, you could leave the flesh without doing any more work, and that would look fine, but
 with darker flesh it is nice to make it really zing, so I like to
 do a couple of highlights on the basic colour. All applied using
the Detail brush.
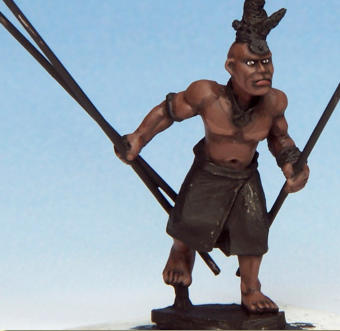
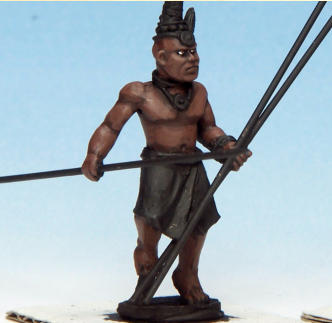
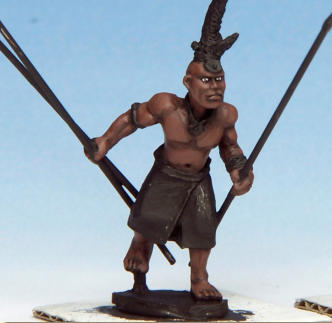
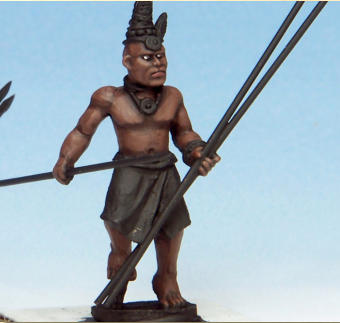
The colour for the first highlight is a mix of Oak Brown and
 Tanned Flesh, which gives a nice warm lighter brown. This
 goes over the first two coats forming a highlight, paying
 particular attention to the nose and to delineate the fingers,
 knuckles and toes. Leave some of the first two coats showing
 around the edges and in the musculature.
The facial detail is clearly delineated by the highlight.
 without doing any more work, and that would look fine, but
 with darker flesh it is nice to make it really zing, so I like to
 do a couple of highlights on the basic colour. All applied using
the Detail brush.
The colour for the first highlight is a mix of Oak Brown and
 Tanned Flesh, which gives a nice warm lighter brown. This
 goes over the first two coats forming a highlight, paying
 particular attention to the nose and to delineate the fingers,
 knuckles and toes. Leave some of the first two coats showing
 around the edges and in the musculature.
The facial detail is clearly delineated by the highlight.
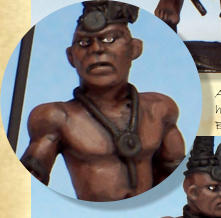
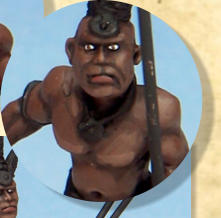
Again the next stages are optional. For this final extra highlight I mixed in more Tanned Flesh to the highlight mix and applied
 it to just the very highest points like the nose, knuckles,
 cheekbones, chest and so forth. And the final touch was
 painting the lip in with a mix of the final highlight colour with a
 touch of Pure Red, on the bottom lip only.
 I mixed in more Tanned Flesh to the highlight mix and applied
 it to just the very highest points like the nose, knuckles,
 cheekbones, chest and so forth. And the final touch was
 painting the lip in with a mix of the final highlight colour with a
 touch of Pure Red, on the bottom lip only.
Above & below. The first
highlight is a mix of Oak
Brown and Tanned Flesh.
Below. The extra highlight mix is applied to just the very
highest points like the nose, knuckles, cheekbones, chest and
so forth.
