





NICK’S WORK
I was inspired to try this style of painting by Nick’s epic painting of his ACW armies (when I say inspired I was
 really just copying!). Now I have not painted anything like
 the numbers he managed to get on the table but his
 methods certainly signposted the way to achieve larger
 numbers of troops on the table while still getting a good
 standard of work. The nice thing too is that this style is
 good for all sorts of models, from the more uncomplicated
 models like the Soviets I am using here (a good starting
 point these) to anything almost you can think of, as I said
 Nick used it very successfully on ACW troops, but I see no
reason not to try it out on anything that’s takes your fancy.
KEV’S WORK
Having said all that I did in the end fiddle with Nick’s style
 a bit, and then realised this style is even more flexible
 than I thought, because you can stop at whatever level of
 finish you like, and still have a good troops that you won’t
 be ashamed to put on the table.
  STARTING
The models are cleaned up before painting. This is
 removing any metal on the models that is there as a result
 of the moulding process, like vents and sprues, with
 clippers, and then carefully filing down moulding line that
 can sometime appear on the models.
 PRIMING
I tend now to prime everything I paint with grey car primer.
 It’s not essential if you are black-undercoating, but as
 painting of his ACW armies (when I say inspired I was
 really just copying!). Now I have not painted anything like
 the numbers he managed to get on the table but his
 methods certainly signposted the way to achieve larger
 numbers of troops on the table while still getting a good
 standard of work. The nice thing too is that this style is
 good for all sorts of models, from the more uncomplicated
 models like the Soviets I am using here (a good starting
 point these) to anything almost you can think of, as I said
 Nick used it very successfully on ACW troops, but I see no
reason not to try it out on anything that’s takes your fancy.
KEV’S WORK
Having said all that I did in the end fiddle with Nick’s style
 a bit, and then realised this style is even more flexible
 than I thought, because you can stop at whatever level of
 finish you like, and still have a good troops that you won’t
 be ashamed to put on the table.
  STARTING
The models are cleaned up before painting. This is
 removing any metal on the models that is there as a result
 of the moulding process, like vents and sprues, with
 clippers, and then carefully filing down moulding line that
 can sometime appear on the models.
 PRIMING
I tend now to prime everything I paint with grey car primer.
 It’s not essential if you are black-undercoating, but as
FAST PAINTING SOVIETS
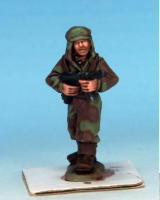
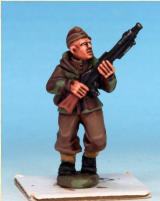
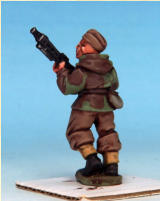
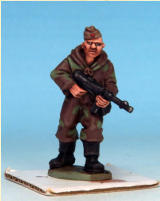
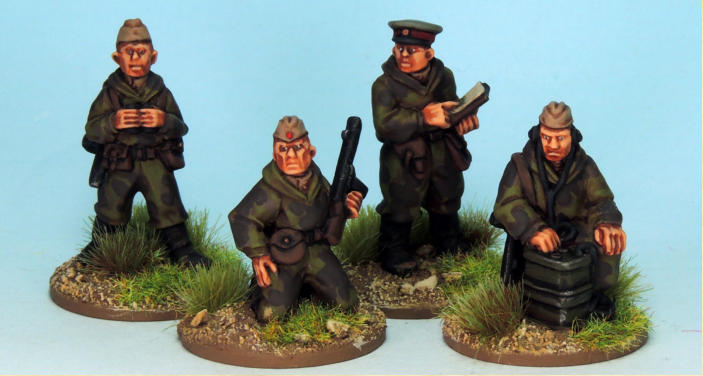
WW2 Soviets Scouts with German Weapons
often as not I am photographing them for our websites in grey before they get painted, so it is has become
 convenient for me to prime all the models I get. And for
 this particular painting method it is also useful if your
 troops happen to be dressed in grey.
 The next stage is priming them again! Here I have chosen
 to most appropriate colour for these particular troops
 which was The Army Painter Army Green Colour
 Primer Spray, but could have been Leather Brown. You
 need to assess which colour your troops have the most of,
 and pick a primer accordingly. Or you can miss out the
 colour primer stage and go straight to brush painting them
 in the colours you require.
  Once the primer is dry (usually left overnight if I can), I
 glue the model to a small scarp of card so I can hold him
 without touching the model itself whilst painting.
 grey before they get painted, so it is has become
 convenient for me to prime all the models I get. And for
 this particular painting method it is also useful if your
 troops happen to be dressed in grey.
 The next stage is priming them again! Here I have chosen
 to most appropriate colour for these particular troops
 which was The Army Painter Army Green Colour
 Primer Spray, but could have been Leather Brown. You
 need to assess which colour your troops have the most of,
 and pick a primer accordingly. Or you can miss out the
 colour primer stage and go straight to brush painting them
 in the colours you require.
  Once the primer is dry (usually left overnight if I can), I
 glue the model to a small scarp of card so I can hold him
 without touching the model itself whilst painting.

Inspired by Nick to have a go at a different
painting method
Kev Dallimore
HIGHLIGHTING
Well it’s not really actual highlighting, it’s painting the colours back in that you have gone all over with the brown
 wash, the same colours go over where they were before,
 however leave some of the brown washed areas in the
 depressions and creases to give the shading effect. On
 the flesh area I have left some washed areas showing on
 the face to represent five-o’clock shadow. Essentially
 colours back in that you have gone all over with the brown
 wash, the same colours go over where they were before,
 however leave some of the brown washed areas in the
 depressions and creases to give the shading effect. On
 the flesh area I have left some washed areas showing on
 the face to represent five-o’clock shadow. Essentially
PAINTING
All of the paints and washes used are from The Army Painter, as is the colour primer.
I was painting eight models, four primed green and four
 primed brown. But they all followed along similar lines.
 The real key here is to be neat; this might be a bit slower
 but will pay off in the long run when they are finished and
 this is good practise if you chose to use another style of
 painting later on your other models.
 BLOCKING IN
This is painting in all of the colours neatly ready for
 shading. It doesn’t really matter what order to paint
 colours, but I like to start with the flesh.
Now I carried on with each colour in turn, being as neat as
 I can, given that I want to do these models reasonably
 quickly. The colours used are as follows in the order I did
 them.
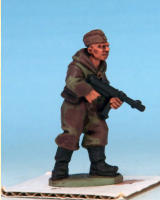
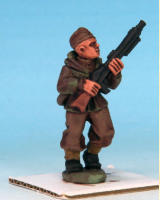
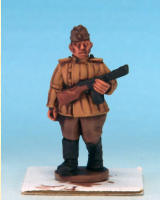
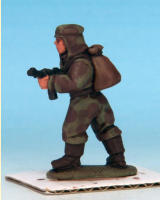
Barbarian Flesh – hands and face.
 Werewolf Fur – amoeba camouflage pattern.
Monster Brown – uniforms were showing and caps,
 backpack and gaiters.
  Castle Grey – water bottles.
 Oak Brown – leather straps and brown boots.
  Fur Brown – hair and wooden parts on the guns.
 Hardened Carapace – metal guns, black boots, hair
 and SMG magazine pouches.
Hemp Rope – gaiters.
 Desert Yellow – padded jacket.
FINISH HERE
You could stop here, varnish and base them up and have
 respectable, but more toy like, soldiers on the tabletop
 (I’m not saying toy like is not as good, it’s just a different
 look). Or you can carry on the next stage. (Perhaps I
 should write the next painting article as a program
 paragraph book…)
 Painter, as is the colour primer.
I was painting eight models, four primed green and four
 primed brown. But they all followed along similar lines.
 The real key here is to be neat; this might be a bit slower
 but will pay off in the long run when they are finished and
 this is good practise if you chose to use another style of
 painting later on your other models.
 BLOCKING IN
This is painting in all of the colours neatly ready for
 shading. It doesn’t really matter what order to paint
 colours, but I like to start with the flesh.
Now I carried on with each colour in turn, being as neat as
 I can, given that I want to do these models reasonably
 quickly. The colours used are as follows in the order I did
 them.
Barbarian Flesh – hands and face.
 Werewolf Fur – amoeba camouflage pattern.
Monster Brown – uniforms were showing and caps,
 backpack and gaiters.
  Castle Grey – water bottles.
 Oak Brown – leather straps and brown boots.
  Fur Brown – hair and wooden parts on the guns.
 Hardened Carapace – metal guns, black boots, hair
 and SMG magazine pouches.
Hemp Rope – gaiters.
 Desert Yellow – padded jacket.
FINISH HERE
You could stop here, varnish and base them up and have
 respectable, but more toy like, soldiers on the tabletop
 (I’m not saying toy like is not as good, it’s just a different
 look). Or you can carry on the next stage. (Perhaps I
 should write the next painting article as a program
 paragraph book…)
SHADING
Shading is achieved with the use of a wash; this is a relative thin and semi-transparent paint or ink that allows
 details to show through when applied, and thus creating a
 more three-dimensional effect, shaded effect. The brown
 wash goes all over the model, hands, face, clothes, guns,
 everything in fact. Some areas might need more coats,
 you will be able to see when it dries if additional
 applications are needed.
  The Army Painter Quickshade Mid Brown Wash goes
 over everything
 On these particular models I am only using one colour
 wash to shade the models, in this case The Army Painter
 Quickshade Mid Brown Wash. I picked only colours that
 would look ok shaded with the brown of this wash. On
 more complicated models you could use a number
 different shading washes, like Blue Tone on blue things
 and Green Tone on green, but I stuck to one shading
 paint the save time and to see how that would turn out. (If
 you have a look at my other articles on fast painting you
 will see how this works. Click here)
FINISH HERE
You could stop here, varnish and base them up and have
 respectable, but quite dark and dirty troops, which may
 well be appropriate for WW2. Or you can carry on to the
 next stage. (It feels even more like a paragraph game…)
 relative thin and semi-transparent paint or ink that allows
 details to show through when applied, and thus creating a
 more three-dimensional effect, shaded effect. The brown
 wash goes all over the model, hands, face, clothes, guns,
 everything in fact. Some areas might need more coats,
 you will be able to see when it dries if additional
 applications are needed.
  The Army Painter Quickshade Mid Brown Wash goes
 over everything
 On these particular models I am only using one colour
 wash to shade the models, in this case The Army Painter
 Quickshade Mid Brown Wash. I picked only colours that
 would look ok shaded with the brown of this wash. On
 more complicated models you could use a number
 different shading washes, like Blue Tone on blue things
 and Green Tone on green, but I stuck to one shading
 paint the save time and to see how that would turn out. (If
 you have a look at my other articles on fast painting you
 will see how this works. Click here)
FINISH HERE
You could stop here, varnish and base them up and have
 respectable, but quite dark and dirty troops, which may
 well be appropriate for WW2. Or you can carry on to the
 next stage. (It feels even more like a paragraph game…)
HIGHLIGHTING
This stage in this painting process is a very final quick proper highlight. This involved adding a small amount of
 white the all colours and painting in some of the high
 points on the folds and creases and edges, and to the
 high points on the face, cheek bones, nose and so on.
 Now obviously this step requires a bit more judgement as
 proper highlight. This involved adding a small amount of
 white the all colours and painting in some of the high
 points on the folds and creases and edges, and to the
 high points on the face, cheek bones, nose and so on.
 Now obviously this step requires a bit more judgement as
VARNISH
Make sure all the paint on the model is thoroughly dry before commencing varnishing.
 Gloss
The models were then given a coat of Humbrol
 polyurethane gloss varnish and set aside for 24 hours to
 dry completely. Be careful not to let the varnish pool,
 especially under the legs and on the feet. You don't need
 a very thick coat of varnish.
  FINISH HERE
Some people do like there toys soldiers in gloss, so you
 could stop here and base them up… or carrying on to the
 next stage.
Matt
 before commencing varnishing.
 Gloss
The models were then given a coat of Humbrol
 polyurethane gloss varnish and set aside for 24 hours to
 dry completely. Be careful not to let the varnish pool,
 especially under the legs and on the feet. You don't need
 a very thick coat of varnish.
  FINISH HERE
Some people do like there toys soldiers in gloss, so you
 could stop here and base them up… or carrying on to the
 next stage.
Matt
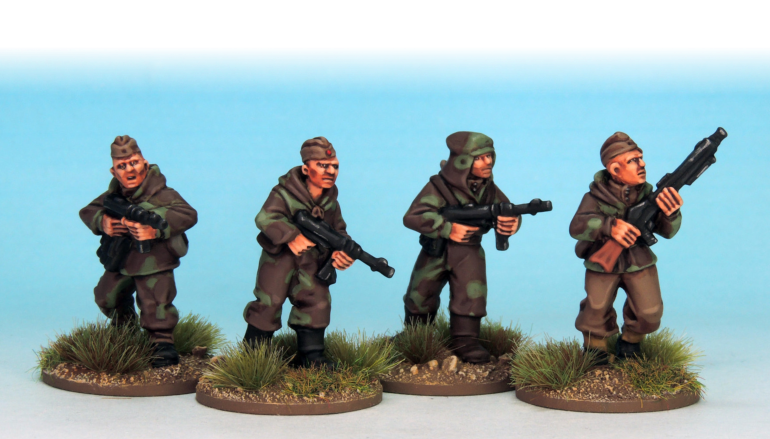
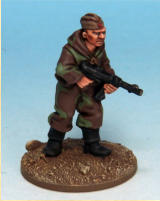
The Finished Troops
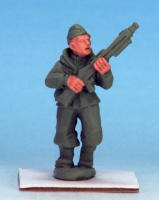
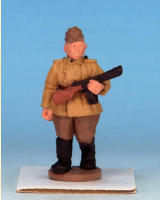
The models are primed with grey car primer and then
primed again with The Army Painter Army Green Colour
Primer Spray, this shot shows them in the grey.
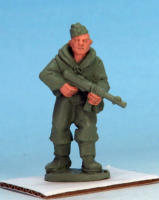
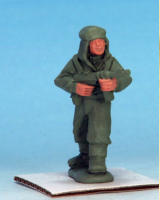
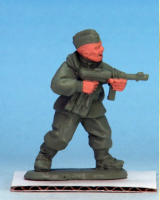
Painting starts with blocking in hands and face with Barbarian Flesh.
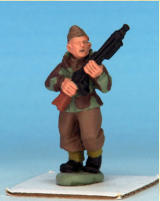
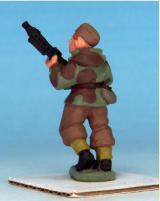
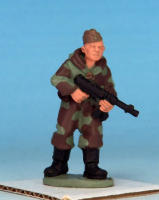
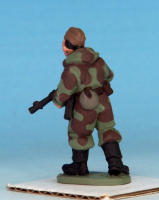
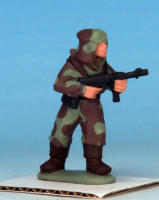
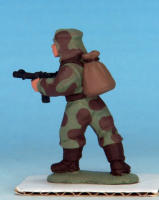
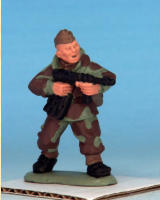
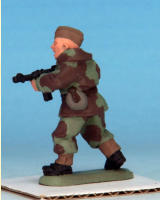
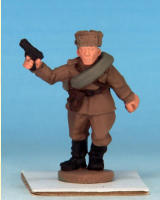
Carry on blocking in is all of the colours neatly ready for
shading.
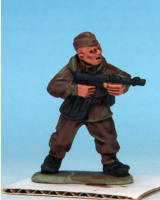
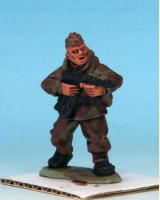
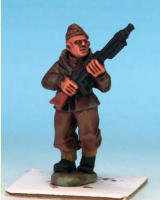
These are the models primed brown then the other
colours blocked in.
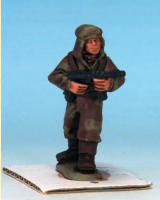
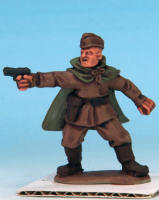
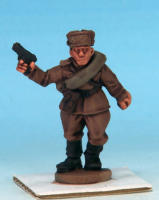
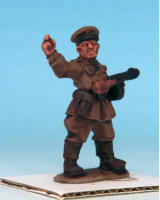
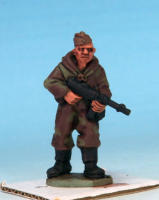
Shading is achieved with the use of a wash; this is a relative thin and semi-transparent paint or ink that allows details to
show through when applied, The Army Painter Quickshade Mid Brown Wash – over everything.
using the same colours as used to start with as a broad highlight, leaving the folds and the recesses in the brown
 washed over colour.
  FINISH HERE
You could stop here, varnish and base them up and have
 more than respectable troops, you really could, and I think
 they look great. Or you can carry on the next and last
 painting stage.
 highlight, leaving the folds and the recesses in the brown
 washed over colour.
  FINISH HERE
You could stop here, varnish and base them up and have
 more than respectable troops, you really could, and I think
 they look great. Or you can carry on the next and last
 painting stage.
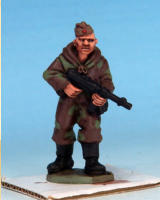
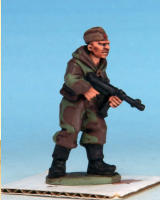
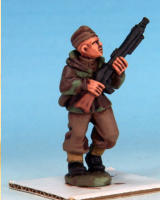
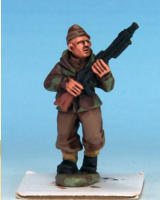
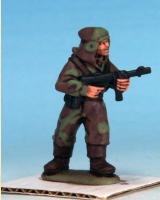
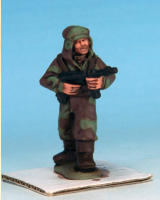
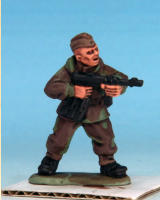
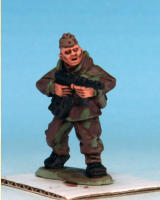
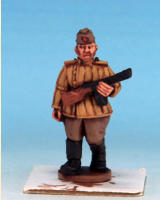
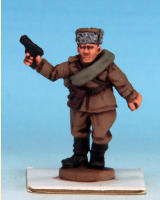
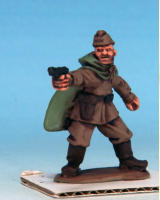
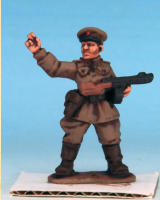
Well it’s not really actual highlighting, paint the colours back in that you have gone over with the brown wash, the same
colours go over where they were before, leaving some of the brown areas in the depressions and creases to give the
shading effect.
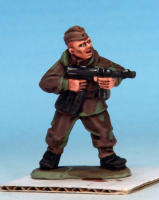
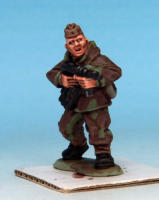
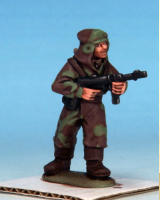
to where to place the highlights, but with a bit of practice it will become easier, probably less is more at this stage.
 Also at this stage I popped in some eyes and even some
 teeth and gave the guns some ware marks in Gun Metal.
 FINISH HERE
That really is the finish of the painting.
 will become easier, probably less is more at this stage.
 Also at this stage I popped in some eyes and even some
 teeth and gave the guns some ware marks in Gun Metal.
 FINISH HERE
That really is the finish of the painting.
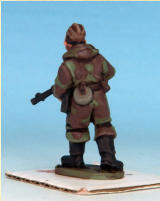
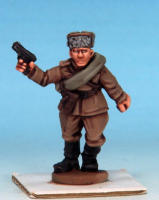
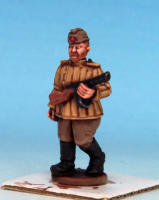
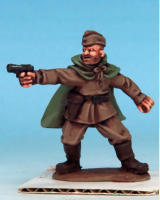
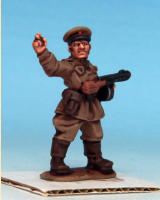
This stage in this painting process is a very final quick proper highlight. This involved adding a small amount of white the
all colours and painting in some of the high points on the folds and creases and edges, and to the high points on the
face, cheek bones, nose and so on.
Then they were given two coats of Anti-Shine Matt Varnish. Be even more careful when painting on the matt
 varnish. When applying the matt, brush it out well from
 any nooks and crannies where it is likely to collect and
 pool.
FINISH HERE
And that is them finished apart from a decent base. It may
 seem counterintuitive to spend time on a decent looking
 base but there are very sound reasons for it. A nice neat
 base can make a world of difference to a model no matter
 what style or finish, and you get to practice dry-brushing,
 an extremely useful technique that will stand you in good
 stead in your painting in the future.
 Varnish. Be even more careful when painting on the matt
 varnish. When applying the matt, brush it out well from
 any nooks and crannies where it is likely to collect and
 pool.
FINISH HERE
And that is them finished apart from a decent base. It may
 seem counterintuitive to spend time on a decent looking
 base but there are very sound reasons for it. A nice neat
 base can make a world of difference to a model no matter
 what style or finish, and you get to practice dry-brushing,
 an extremely useful technique that will stand you in good
 stead in your painting in the future.
BASING
The bases are 25mm round plastic. I used superglue to stick the models in place, blowing over them to prevent
 the glue whitening off on the models.
 I then filled in between the models bases and round base
 with household filler and then left that overnight to go
 hard.
hard.
 stick the models in place, blowing over them to prevent
 the glue whitening off on the models.
 I then filled in between the models bases and round base
 with household filler and then left that overnight to go
 hard.
hard.
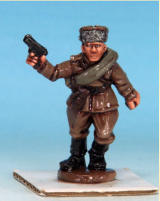
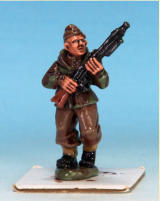
Gloss varnishing. The models were then given a coat of
Humbrol polyurethane gloss varnish; some people like
there toys soldiers in gloss, so you could stop here and
base them up.
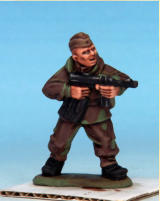
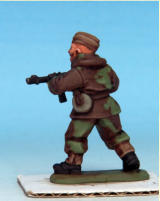
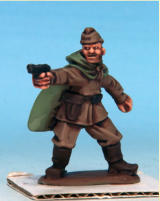
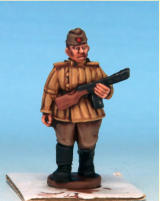
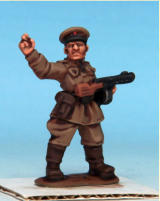
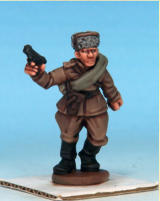
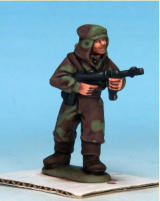
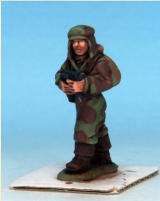
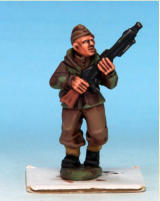
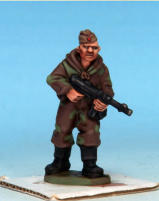
Matt Varnish. They were given two coats of Anti-Shine Matt Varnish. Be even more careful when painting on the matt
varnish. When applying the matt, brush it out well from any nooks and crannies where it is likely to collect and pool.
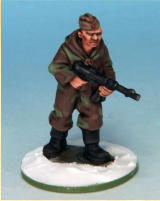
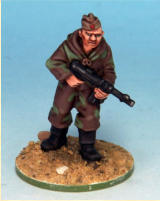
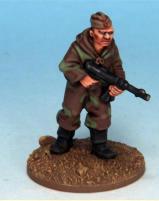
Fill in between the models
bases and round base with
household filler.
Then glue on some sharp
sand with PVA glue.
I then glued on some sharp sand with PVA glue.
When the sand was dried hard I painted the whole base with Leather Brown, I then dry-brushed on Desert Yellow.
  I then dry-brushed on lightly, Skeleton Bone.
  I then added some flora. Tufts from Gamers Grass, and
 they are ready for battle!
 with Leather Brown, I then dry-brushed on Desert Yellow.
  I then dry-brushed on lightly, Skeleton Bone.
  I then added some flora. Tufts from Gamers Grass, and
 they are ready for battle!
FINISH HERE
Finally that is them finished, to a very pleasing standard I hope you will agree, while still be many many times faster
 than normal for me, or it would be if I didn’t write about it!
 hope you will agree, while still be many many times faster
 than normal for me, or it would be if I didn’t write about it!
Paint the whole base with Leather Brown, then dry-brush
on Desert Yellow.
Then dry-brush on lightly, Skeleton Bone.
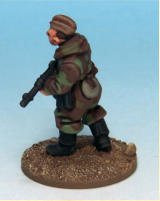
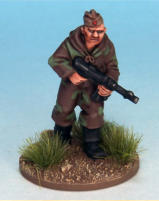
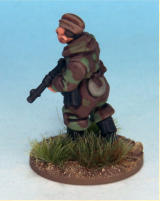
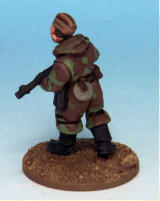
Add some flora Tufts from Gamers Grass, and they are
ready for battle!
FASTER
What is described here is a fast style of painting, but it is not the quickest style I use, that I have written about in a
 long series articles starting here.
 not the quickest style I use, that I have written about in a
 long series articles starting here.
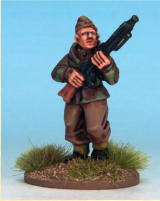
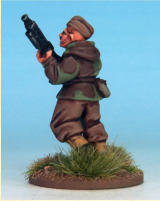
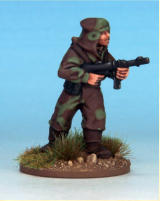
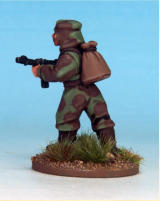
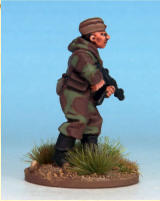
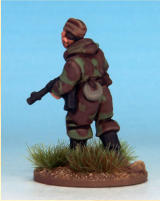
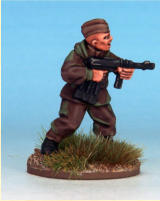
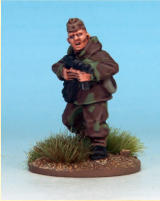
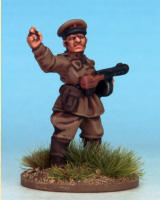
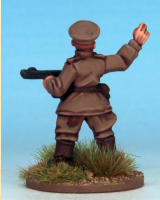
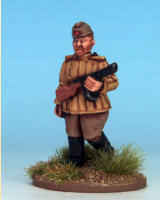
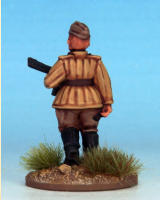
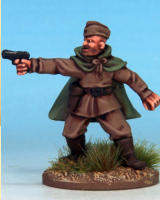
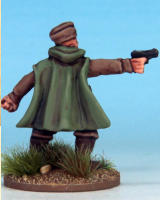
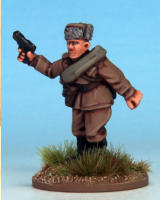
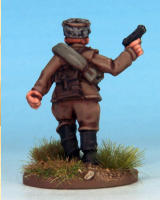
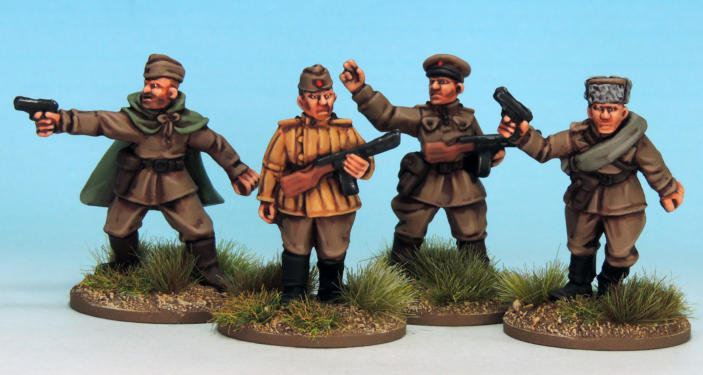
WW2 Soviet Characters.
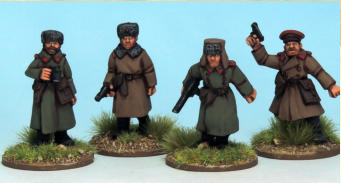
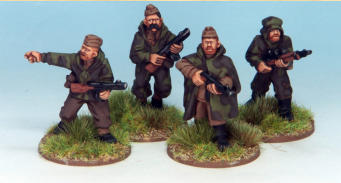
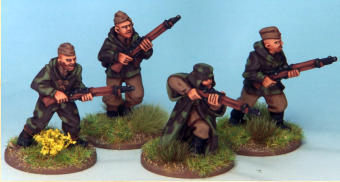
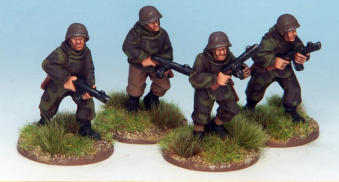
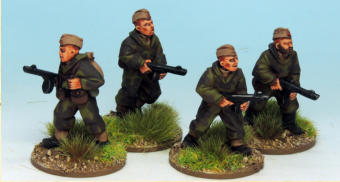
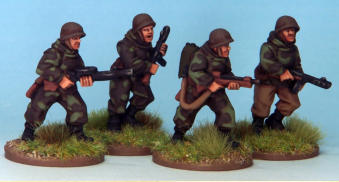
Soviet Command (Winter Gear).
Soviet Scouts.
Soviet Assault Engineers.
Soviet Scouts with Rifles.
Soviet Assault Engineer Support Weapons.
Soviet Scouts with SMG.
Soviet Scout Command


