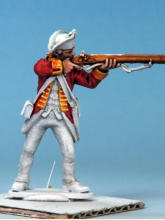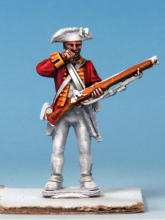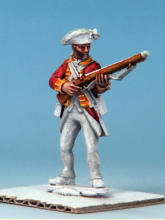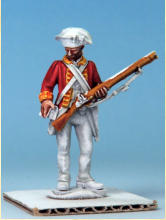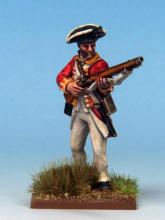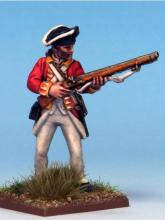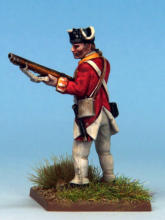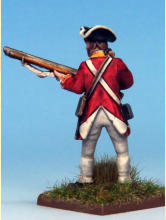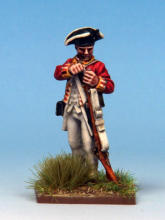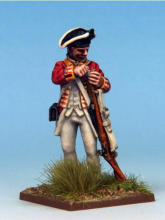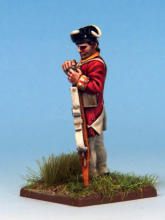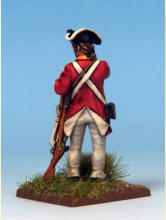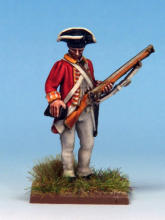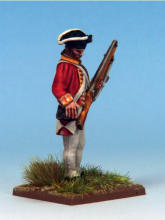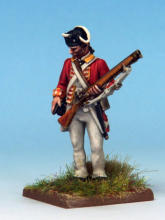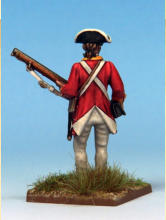


WHY?
I have tried painting various things now with The Army Painter Speedpaints, from Broo to Wolves to Stargrave,
 and I have to say I like ‘em. So for a change I thought I
 would have a go at something more uniform, well
 something wearing uniforms to be exact, something that
 has definite colours and that would have to be near
 enough the right colours too. Now I’m not talking 1970’s
 Humbrol Authentic colours, but near enough to pass
 muster. I also wanted to see if I could use them in a fine
 precise enough way for 18th century British regular
 infantry, a way that might not be their raison d'etre I
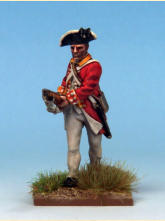
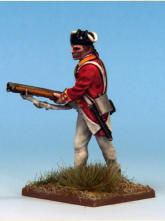
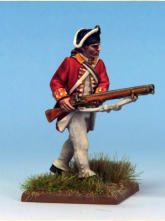
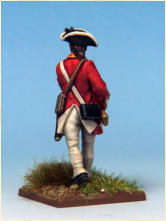
 should think. The British regular infantry in this case are
 from North Star’s Muskets & Tomahawks American War of
 Independence range.
 UNPAINTED
For those of you that read my first go at the Speedpaints
 will know I have more than a few undercoated and or
 wholly unpainted figures around the place and still more
 from my day job at North Star that I prime up grey for my
 photography. But Speedpaints seem to be denting the
 ever increasing pile of lead.
 NOT ODD
I’m a convert to the Speedpaints and that’s not odd, given
 what I do for a living, there are so many models to paint
 and game with and, well to be blunt, only one lifetime in
 which to do it. I am no stranger to fast painting (in spite of
 my reputation), I’ve been doing it for years. In fact I have
 completed a whole series of articles on fast painting
 armies for Oathmark using the previous iteration of The
 Army Painter fast painting method using their Quickshade
 washes and Quickshade Varnish, CLICK HERE.
 GRAIL SHAPED
They are still not the Holy Grail but they may be a grail
 shaped object; but they still won’t do it all for you. They do
 require thought and handling in the correct way to get the
 Painter Speedpaints, from Broo to Wolves to Stargrave,
 and I have to say I like ‘em. So for a change I thought I
 would have a go at something more uniform, well
 something wearing uniforms to be exact, something that
 has definite colours and that would have to be near
 enough the right colours too. Now I’m not talking 1970’s
 Humbrol Authentic colours, but near enough to pass
 muster. I also wanted to see if I could use them in a fine
 precise enough way for 18th century British regular
 infantry, a way that might not be their raison d'etre I
 should think. The British regular infantry in this case are
 from North Star’s Muskets & Tomahawks American War of
 Independence range.
 UNPAINTED
For those of you that read my first go at the Speedpaints
 will know I have more than a few undercoated and or
 wholly unpainted figures around the place and still more
 from my day job at North Star that I prime up grey for my
 photography. But Speedpaints seem to be denting the
 ever increasing pile of lead.
 NOT ODD
I’m a convert to the Speedpaints and that’s not odd, given
 what I do for a living, there are so many models to paint
 and game with and, well to be blunt, only one lifetime in
 which to do it. I am no stranger to fast painting (in spite of
 my reputation), I’ve been doing it for years. In fact I have
 completed a whole series of articles on fast painting
 armies for Oathmark using the previous iteration of The
 Army Painter fast painting method using their Quickshade
 washes and Quickshade Varnish, CLICK HERE.
 GRAIL SHAPED
They are still not the Holy Grail but they may be a grail
 shaped object; but they still won’t do it all for you. They do
 require thought and handling in the correct way to get the
best out of them, and in some ways require more thought than normal paints, especially in preparation and planning
 as I will explain.
UNIT
So I set out to complete this whole unit in a shorter space
 of time as I could. I didn’t have time to do it all in one
 sitting as I was fitting it in around my proper job and other
 painting commitments. Luckily most of the cleaning up
 was done and they were primed grey, as these were
 models I had already photographed for North Star web
 images. As it turned out I reckon the painting took about
 half an hour per model when doing a whole unit, which for
 me ranks as super speedy.
TIME
As I said before these paints aren’t any help speeding up
 the preparation and finishing time of the models. You will
 still need to spend as much time cleaning up and/or
 assembling your models and the same sort of time
 varnishing and basing them up, although Speedpaint
 could assist in the basing, but not this time. Some people
 just love the prep and finishing and hate painting,
 Speedpaints are ideal for them.
 FROM THE TOP
As the models were already primed grey, I went for a
 white zenithal undercoat applied from above over the grey.
 If you search on YouTube for zenithal undercoat you will
 see what it is. I applied it with my very elderly airbrush, but
 a spray can of white primer could do just as well, if you are
 using Army Painter cans be aware they put out a lot of
 paint. The idea is not to obliterate all the darker primer but
 leaving it underneath, creating a shadow effect and thus
 some shading for free, so a light touch is needed. You can
 also spray apply the zenithal white over a black undercoat
 too. Or you can dry-brush white on, know as slap chop if
 you want to look it up. When using spray cans always test
 the spray out before you commit it to the figures, it can go
 gritty if not shaken up properly, just saying.
 than normal paints, especially in preparation and planning
 as I will explain.
UNIT
So I set out to complete this whole unit in a shorter space
 of time as I could. I didn’t have time to do it all in one
 sitting as I was fitting it in around my proper job and other
 painting commitments. Luckily most of the cleaning up
 was done and they were primed grey, as these were
 models I had already photographed for North Star web
 images. As it turned out I reckon the painting took about
 half an hour per model when doing a whole unit, which for
 me ranks as super speedy.
TIME
As I said before these paints aren’t any help speeding up
 the preparation and finishing time of the models. You will
 still need to spend as much time cleaning up and/or
 assembling your models and the same sort of time
 varnishing and basing them up, although Speedpaint
 could assist in the basing, but not this time. Some people
 just love the prep and finishing and hate painting,
 Speedpaints are ideal for them.
 FROM THE TOP
As the models were already primed grey, I went for a
 white zenithal undercoat applied from above over the grey.
 If you search on YouTube for zenithal undercoat you will
 see what it is. I applied it with my very elderly airbrush, but
 a spray can of white primer could do just as well, if you are
 using Army Painter cans be aware they put out a lot of
 paint. The idea is not to obliterate all the darker primer but
 leaving it underneath, creating a shadow effect and thus
 some shading for free, so a light touch is needed. You can
 also spray apply the zenithal white over a black undercoat
 too. Or you can dry-brush white on, know as slap chop if
 you want to look it up. When using spray cans always test
 the spray out before you commit it to the figures, it can go
 gritty if not shaken up properly, just saying.
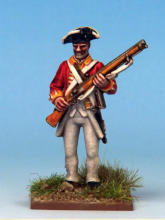
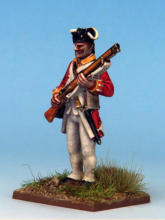
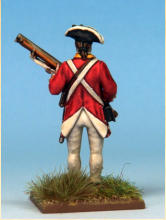
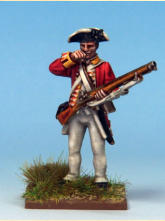
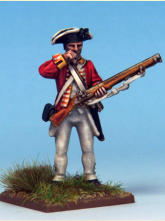
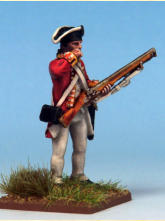
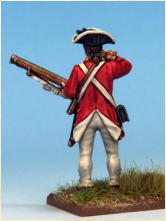
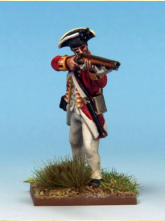
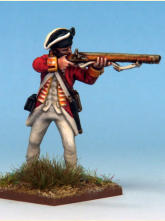
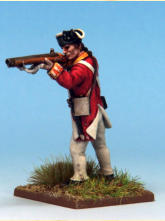
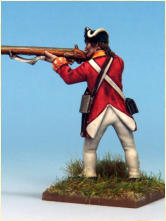
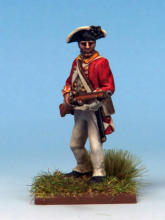
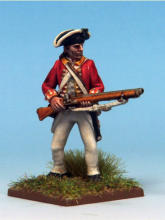
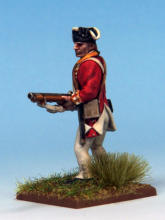
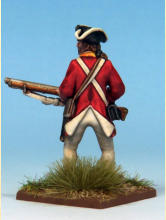
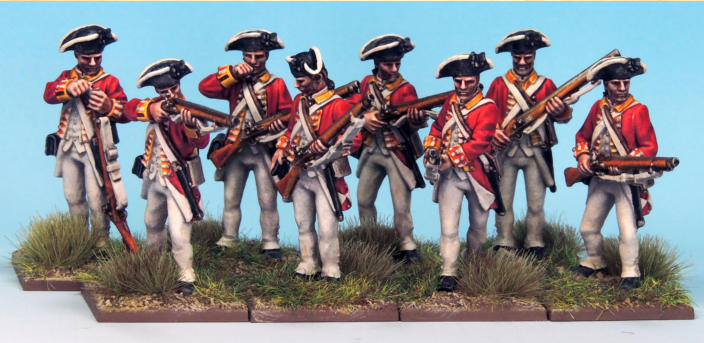
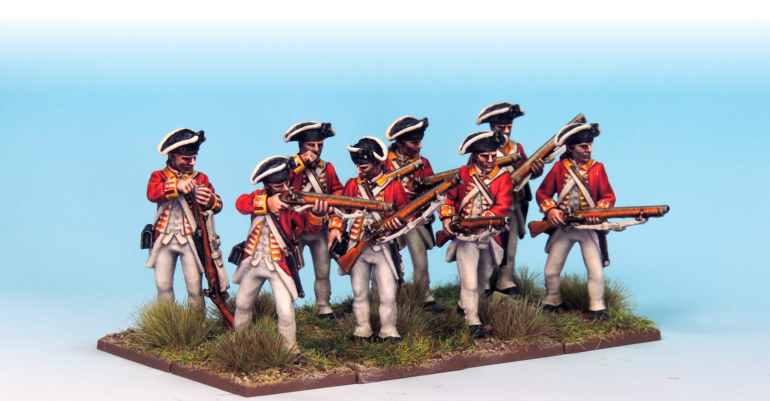
Above. The finished unit of speed painted Muskets & Tomahawks AWI British Regular Infantry.
PLANNING
Speedpaints are semi-transparent, they are much more akin to a wash or a stain, similar to the old watercolour
 blocks, but have a more sustained pigment and an
 interesting way flowing and don’t seem to leave
 tidemarks. The paint properties require some planning as
 you are less able to hide errors with subsequent layers or
 colours as you could with conventional painting. With
 them I always plan to use lighter colours first and then go
 darker in the hope to minimize any mistakes. Also the
 peculiar properties of the Speedpaints mean that if you
 have left any mould line on the models they will
 accentuate them, so be prepared to clean up the models
 diligently.
PAINTS
These Mk1 paints also have another unusual property
 which is, when you paint over the Speedpaints with
 normal Army Painter War Paint, the Speedpaint has a
 tendency to bleed into the normal paint as stain it slightly,
 so if you are trying to correct an error by applying more
 white undercoat, expect this phenomenon. These models
 are mostly done in the Mk1, using only a few colours of
 the new Mk2, as I didn’t have some specific colours I
 needed in the Mk1 (and not wanting to waste the paint I
 am trying to use up all my Mk1s before using the Mk2, but
I only had the small set of the Mk1). The Mk2 versions
 seem to have cured this phenomenon, so hooray,
 although it didn’t overly bother me, I have noted the Mk2
 as I use them.
BRUSHES
The watery nature of these paints means that they will run
 up the bristles of the brush into the metal ferrule and are
 the devils own job to completely clean out, so don’t use
 akin to a wash or a stain, similar to the old watercolour
 blocks, but have a more sustained pigment and an
 interesting way flowing and don’t seem to leave
 tidemarks. The paint properties require some planning as
 you are less able to hide errors with subsequent layers or
 colours as you could with conventional painting. With
 them I always plan to use lighter colours first and then go
 darker in the hope to minimize any mistakes. Also the
 peculiar properties of the Speedpaints mean that if you
 have left any mould line on the models they will
 accentuate them, so be prepared to clean up the models
 diligently.
PAINTS
These Mk1 paints also have another unusual property
 which is, when you paint over the Speedpaints with
 normal Army Painter War Paint, the Speedpaint has a
 tendency to bleed into the normal paint as stain it slightly,
 so if you are trying to correct an error by applying more
 white undercoat, expect this phenomenon. These models
 are mostly done in the Mk1, using only a few colours of
 the new Mk2, as I didn’t have some specific colours I
 needed in the Mk1 (and not wanting to waste the paint I
 am trying to use up all my Mk1s before using the Mk2, but
I only had the small set of the Mk1). The Mk2 versions
 seem to have cured this phenomenon, so hooray,
 although it didn’t overly bother me, I have noted the Mk2
 as I use them.
BRUSHES
The watery nature of these paints means that they will run
 up the bristles of the brush into the metal ferrule and are
 the devils own job to completely clean out, so don’t use
Above. As the models were already primed grey, I went for a white zenithal undercoat applied from above over the grey. If
you search on YouTube for zenithal undercoat you will see what it is.
your best finest brushes. I have a decent stock of brushes that are no longer any good for frontline service but are
 ideal for Speedpaints duty till they meet there end.
 SHAKE
Do shake the bottles up well; very well, this can make a
 real difference to how the Speedpaint goes on. Each
 bottle has no less than 2 ball bearings in them to ensure
 they mix up well when you shake them, so do that.
APPLICATION
The secret is to be controlled with them, there is a
 tendency because of the speed label to slap them on any
 old how, and this will not yield the most satisfactory
 results. Don’t overload your brush, the Speedpaints will
 flow. Be careful and apply them only to the areas needed,
 avoiding slipping into other areas if you can, as you will
 see I slipped over a bit but I was thinking they are mostly
 going to be darker areas so I could get away with it. For
 some fine work like the brown canteen strap for example I
 used a very fine, if a bit worn, brush that I used to use for
 faces.
SPEEDPAINTS
I started with flesh, as that’s what I usually do when using
 normal paints. Also I chose the flesh as it seemed to be
 amongst the lighter colours. It is really worth planning the
 order of colours you are going to use from light to dark. I
 didn’t use the free (and very nice) brush that is included in
 the sets, as it was bit too large for my taste, I used a
 smaller, old and a bit knackered Army Painter brushes,
 already well broken in from other painting.
  FLESH, Crusader Skin.
BEARD, Runic Grey.
 that are no longer any good for frontline service but are
 ideal for Speedpaints duty till they meet there end.
 SHAKE
Do shake the bottles up well; very well, this can make a
 real difference to how the Speedpaint goes on. Each
 bottle has no less than 2 ball bearings in them to ensure
 they mix up well when you shake them, so do that.
APPLICATION
The secret is to be controlled with them, there is a
 tendency because of the speed label to slap them on any
 old how, and this will not yield the most satisfactory
 results. Don’t overload your brush, the Speedpaints will
 flow. Be careful and apply them only to the areas needed,
 avoiding slipping into other areas if you can, as you will
 see I slipped over a bit but I was thinking they are mostly
 going to be darker areas so I could get away with it. For
 some fine work like the brown canteen strap for example I
 used a very fine, if a bit worn, brush that I used to use for
 faces.
SPEEDPAINTS
I started with flesh, as that’s what I usually do when using
 normal paints. Also I chose the flesh as it seemed to be
 amongst the lighter colours. It is really worth planning the
 order of colours you are going to use from light to dark. I
 didn’t use the free (and very nice) brush that is included in
 the sets, as it was bit too large for my taste, I used a
 smaller, old and a bit knackered Army Painter brushes,
 already well broken in from other painting.
  FLESH, Crusader Skin.
BEARD, Runic Grey.
TROUSERS, BELTS,
MUSKET SLING & HAT
LACE, Holy White.
HOLY
The Holy White Speedpaint was thinned with the thinner
 supplied, and then the
 judicial application of the
 painters thumb was be
 needed to get a whiter than
 white finish.
 was thinned with the thinner
 supplied, and then the
 judicial application of the
 painters thumb was be
 needed to get a whiter than
 white finish.
THE REST
TRICORN HAT, SHOES, BAYONET SCABBARD,
CARTRIDGE BOX, HAIR BOW, Grim Black.
CANTEEN STRAP, Warrior Skin (2nd edition).
HAIR, Dark Wood.
GUN BARREL, CANTEEN, BAYONET, BUTTONS, Not
Speedpaints, normal Army Painter Warpaints, Gun
Metal, then a wash of Mid Brown and then a wash of
Strong Tone.
TIDY
I used some Humbrol white enamel paint to repaint and thus tidy some of the areas where I had inadvertently
 gone over with the Speedpaint like the belts and turn-
 thus tidy some of the areas where I had inadvertently
 gone over with the Speedpaint like the belts and turn-
backs, and it seems to work fine and more resistant to the Speedpaint bleeding through.
 BASING
Normal Army Painter Warpaints again, to match existing
 figures bases. Leather Brown all over the basing
 materials, then dry-brushed with Desert Yellow then very
 lightly with Skeleton Bone, you can see much more
 details about basing in my many other painting article in
 the magazine.
FINISHED
Before basing they were finished off with a coat of spray
 Anti Shine Matt Varnish. The Anti Shine Matt is a good
 choice to use with the Speedpaints as it’s not a dead flat
 finish it confers a subtle low sheen with is quite helpful
 especially on the darker colours.
 Speedpaint bleeding through.
 BASING
Normal Army Painter Warpaints again, to match existing
 figures bases. Leather Brown all over the basing
 materials, then dry-brushed with Desert Yellow then very
 lightly with Skeleton Bone, you can see much more
 details about basing in my many other painting article in
 the magazine.
FINISHED
Before basing they were finished off with a coat of spray
 Anti Shine Matt Varnish. The Anti Shine Matt is a good
 choice to use with the Speedpaints as it’s not a dead flat
 finish it confers a subtle low sheen with is quite helpful
 especially on the darker colours.
MORE SPEED PAINTING
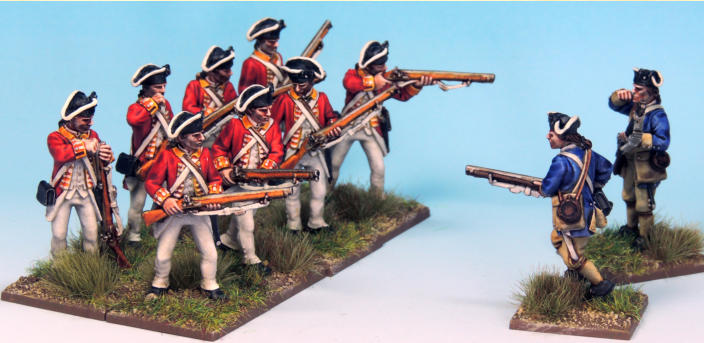
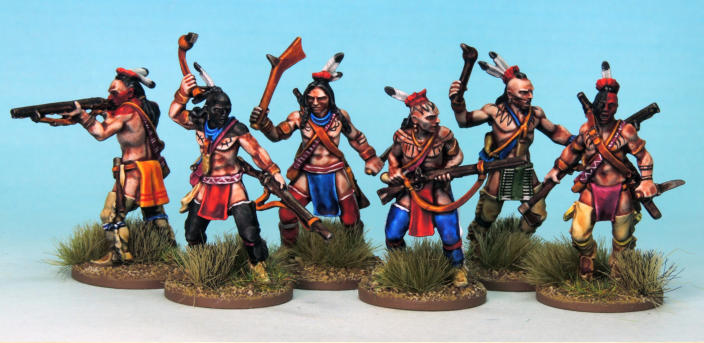
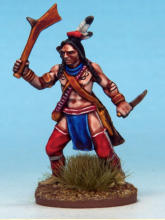
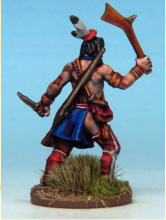
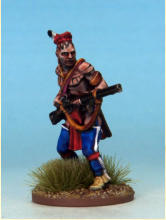
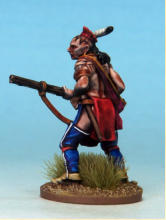
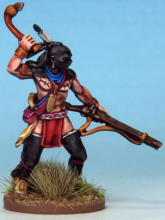
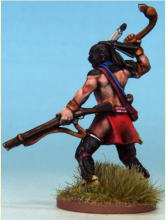
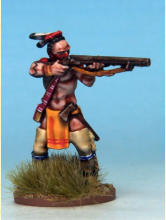
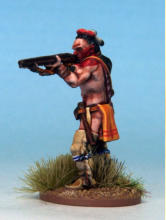
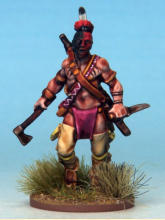
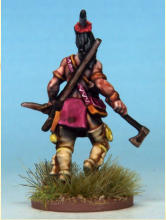
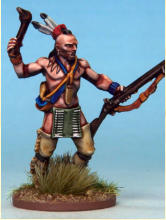
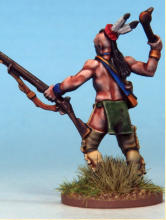
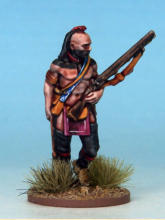
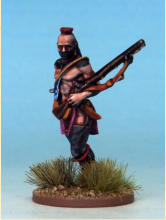
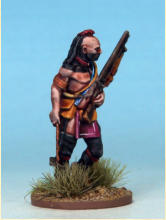
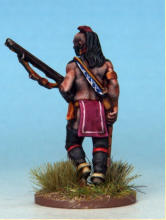
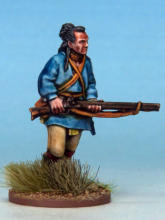
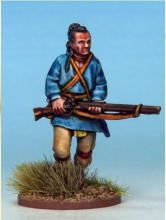
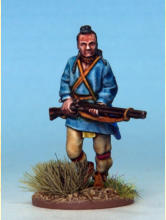
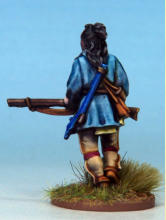
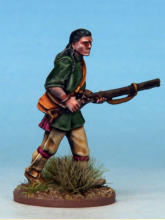
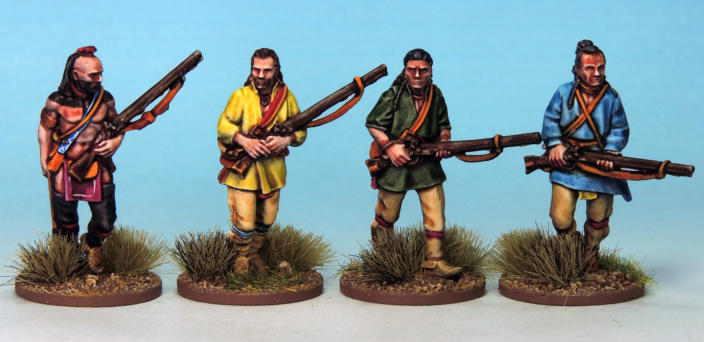
I had a few American Continental infantry lying around so I did them too, and I also had previously painted the
 Hurons and Mohicans from the range. See what you
 think.
YANKS
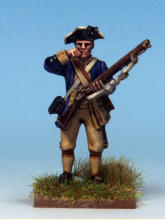
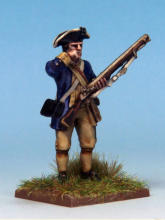
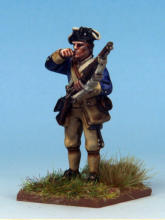
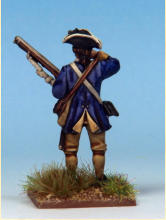
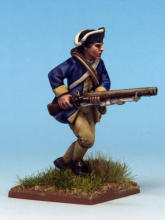
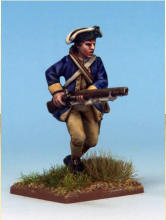
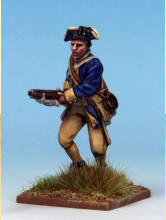
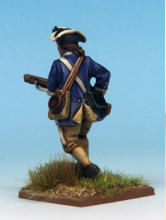
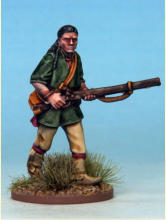
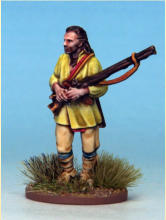
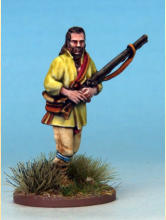
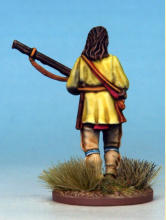
FLESH, Crusader Skin. JACKET, Beowulf Blue.
 so I did them too, and I also had previously painted the
 Hurons and Mohicans from the range. See what you
 think.
YANKS
FLESH, Crusader Skin. JACKET, Beowulf Blue.
CARTRIDGE BOX BELT, MUSKET SLING & HAT
LACE, Holy White.
TURN-BACKS, BRITCHES, STOCKINGS, WAISTCOAT,
BREAD-BAG, Pallid Bone.
MUSKET STOCK, WATER BOTTLE, HAIR, Dark Wood.
CANTEEN STRAP, Warrior Skin (2nd edition).
TRICORN HAT, SHOES, BAYONET SCABBARD,
CARTRIDGE BOX, HAIR BOW, Grim Black.
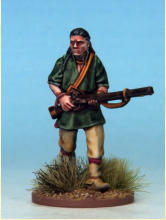
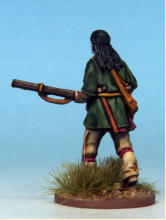
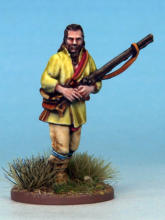
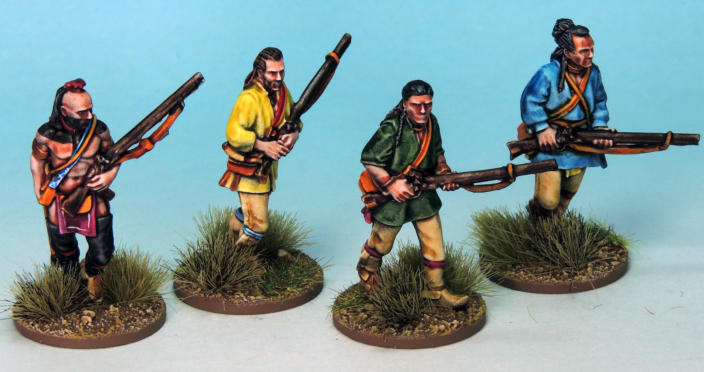
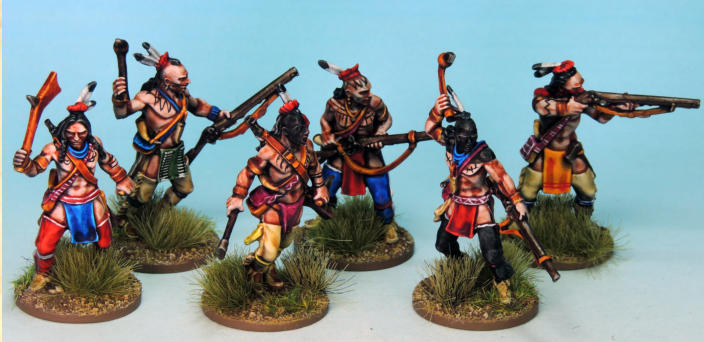
HURONS
INDIAN CHARACTERS


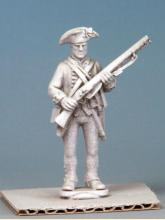
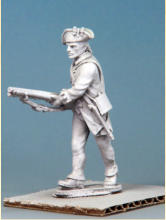
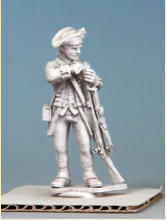
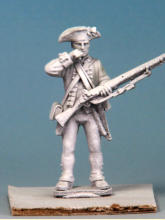
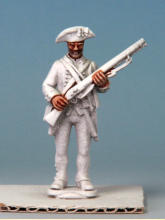
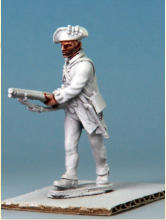
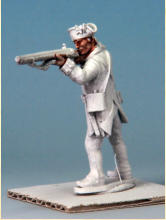
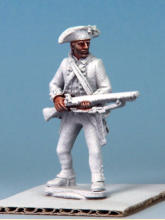
Above. The Crusader Skin goes all over the flesh areas, with the Runic Grey just on the beard.
JACKET, Slaughter Red (2nd edition).
CUFFS & TURN BACKS, Zealot yellow.
MUSKET STOCK, Hardened Leather.
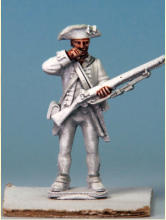
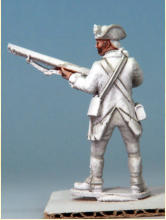
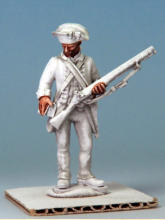
Above. The Holy White Speedpaint was thinned with the thinner supplied.
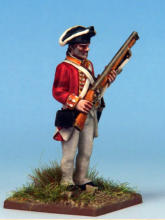
Above. JACKET, Slaughter Red. CUFFS & TURN BACKS, Zealot yellow. MUSKET STOCK, Hardened Leather.
