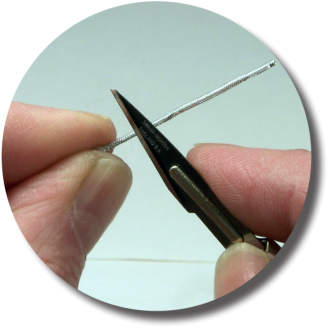
Above. Carefully straighten the cable
Above. Carefully scrape along the cable with your knife.
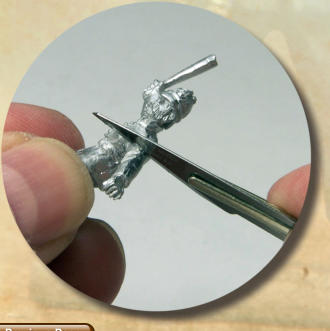
Below. While you have your knife out, you can clean up
the Constable too.


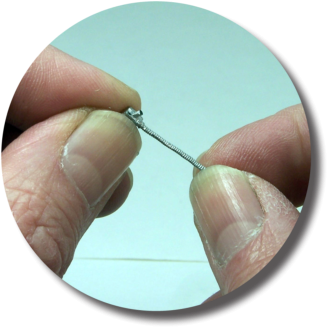
the length of the cable, across the ribbing detail. This can be removed carefully scraping along the cable with
 your knife, allowing the blade to lightly dig into the
 surface detail, enough to remove the mould line, but not
 enough to cut deeply into or through the cable. This is
 not easy, but with a bit of practice it can be done.
 Fortunately the cables are all over long so I would
 recommend practising on the end of the cable furthest
 away from the power pack, so if you do accidentally
 chop through the cable it won’t be disastrous.
 (Remember your blade will be very sharp, so please do
 not cut against your fingers). While you have your knife
 out, you can clean up the Constable himself, using a
 similar technique.
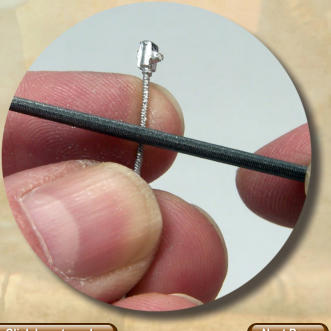
You can the finish both off with a fine file. Again be
 aware when you are filing the cable that it is fragile, try to
 draw the file across the detail, while supporting the cable
 can be removed carefully scraping along the cable with
 your knife, allowing the blade to lightly dig into the
 surface detail, enough to remove the mould line, but not
 enough to cut deeply into or through the cable. This is
 not easy, but with a bit of practice it can be done.
 Fortunately the cables are all over long so I would
 recommend practising on the end of the cable furthest
 away from the power pack, so if you do accidentally
 chop through the cable it won’t be disastrous.
 (Remember your blade will be very sharp, so please do
 not cut against your fingers). While you have your knife
 out, you can clean up the Constable himself, using a
 similar technique.
You can the finish both off with a fine file. Again be
 aware when you are filing the cable that it is fragile, try to
 draw the file across the detail, while supporting the cable
with your finger, allowing the file to go into all the ribbing detail of the cable, this will help to restore any detail you
 might have lost in the cleaning process. I then snipped off
 a tiny bit of the locating pin on the back of the power pack
 to allow it to seat properly in the hole on the Constable.
 FIXING THE CABLE
With a satisfactorily cleaned up cable I moved on the
 fixing the thing in place. Firstly I held the cable in place
 trying to imagine the run of the cable. Having got that in
 my head, I proceeded to bend the cable so it would run
 from the belt pack to the bottom of the truncheon and
 hang in a convincing manner. To save stress on the cable
 during bending, I slowly formed it around an old
 paintbrush.
 When the cable was bent around, I again held it in place
 to see if it fitted and made and little adjustments needed.
 detail of the cable, this will help to restore any detail you
 might have lost in the cleaning process. I then snipped off
 a tiny bit of the locating pin on the back of the power pack
 to allow it to seat properly in the hole on the Constable.
 FIXING THE CABLE
With a satisfactorily cleaned up cable I moved on the
 fixing the thing in place. Firstly I held the cable in place
 trying to imagine the run of the cable. Having got that in
 my head, I proceeded to bend the cable so it would run
 from the belt pack to the bottom of the truncheon and
 hang in a convincing manner. To save stress on the cable
 during bending, I slowly formed it around an old
 paintbrush.
 When the cable was bent around, I again held it in place
 to see if it fitted and made and little adjustments needed.
