


THE BLACK BITS
Belts, scabbards and other bits and pieces, colours as follows:
1. Matt Black plus Skeleton Bone
 2.
2. plus Skeleton Bone
3.
 plus more Skeleton Bone
 4.
4. plus more Skeleton Bone
 THE SHIELDS & TRANSFERS
This is where things are a bit different. The LBMS shield
 Transfers are superb designs and fit the elf shields perfectly
 well, but need a bit of careful preparation to get right (there are
 also transfers for quivers and banners). However if you follow
 the correct procedure they will reward you with stunning
 shields with consistent and beautiful designs that are ideal for
 the models.
The first thing to say is they are not waterside transfers in the
 traditional sense, in that you don’t throw then in some warm
 water and watch them float away from the backing paper. Think
 of them more as a kind of sticker and you won’t go very far
 wrong.
What you see when you look at the designs on the sheet of
 LMB transfers is the surface that actually sticks down to the
 shield or whatever, so it is in fact, a reverse of the final image
 (this become more obvious if there is any writing on the
 design). And so that final image is able to be seen through the
 transfer as they are translucent, and this means you must to
 apply them on a white or light surface otherwise you won’t see
 the design at all clearly, (the printed transfers has no white in it
 as it is printed on a RGB printer). All clear so far?
 Well it’s not a complicated as I made it sound, as follows.
1.
 Paint the shield Uniform Grey then Matt White as a
 ground to the transfer.
2.
 Then while that is drying thoroughly, cut out the design
 you want to match the shield. Remembering the design you see
 on the sheet is in reverse. I used my best pair of scissors to cut
 Matt Black plus Skeleton Bone
 2.
2. plus Skeleton Bone
3.
 plus more Skeleton Bone
 4.
4. plus more Skeleton Bone
 THE SHIELDS & TRANSFERS
This is where things are a bit different. The LBMS shield
 Transfers are superb designs and fit the elf shields perfectly
 well, but need a bit of careful preparation to get right (there are
 also transfers for quivers and banners). However if you follow
 the correct procedure they will reward you with stunning
 shields with consistent and beautiful designs that are ideal for
 the models.
The first thing to say is they are not waterside transfers in the
 traditional sense, in that you don’t throw then in some warm
 water and watch them float away from the backing paper. Think
 of them more as a kind of sticker and you won’t go very far
 wrong.
What you see when you look at the designs on the sheet of
 LMB transfers is the surface that actually sticks down to the
 shield or whatever, so it is in fact, a reverse of the final image
 (this become more obvious if there is any writing on the
 design). And so that final image is able to be seen through the
 transfer as they are translucent, and this means you must to
 apply them on a white or light surface otherwise you won’t see
 the design at all clearly, (the printed transfers has no white in it
 as it is printed on a RGB printer). All clear so far?
 Well it’s not a complicated as I made it sound, as follows.
1.
 Paint the shield Uniform Grey then Matt White as a
 ground to the transfer.
2.
 Then while that is drying thoroughly, cut out the design
 you want to match the shield. Remembering the design you see
 on the sheet is in reverse. I used my best pair of scissors to cut

Painting Elves
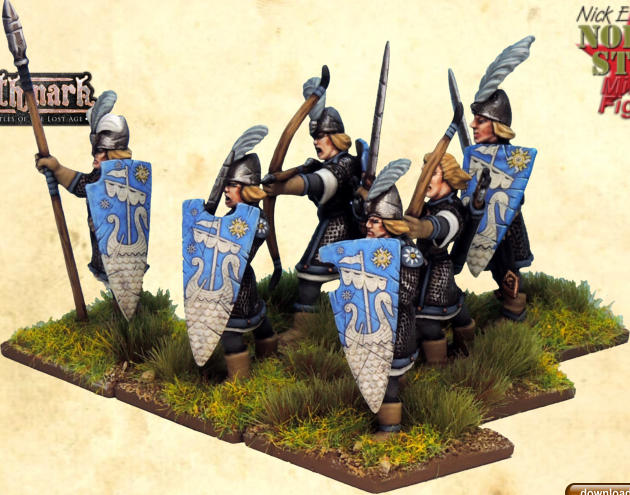
Above. The painted Elves.
out the main shape and a very sharp new bladed scalpel to trim out the small cut-outs in the design.
3.
 Peal off the shiny plastic film from the transfer as you
 look at the design, now you have a sticky transfer waiting to be
 applied to the prepared surface of the shield. Now the bit I
 found most tricky, align your transfer and pop him in place on
 the shield. Ouch. Now, all is not lost, if you don’t quite get it
 right as you can peal him off and have another go but not to
 many times. Best to have a few practice runs, not on the
 models, to get the feel of it.
 4.
4. Once you are happy with the positioning of the transfer
 you moisten the white backing paper, which is now all you can
 see, and it comes away with ease and quite a bit of satisfaction.
5.
 To make sure the transfer is firmly down I burnished
 over it with the round shiny end of one of my old sculpting
 tools, if you see any trapped air pockets you can pop them with
 a pin and rub it down.
6.
 The last stage is to disguise the fact that you have used
 transfers by painting the bits that show round the edges of the
 shield.
Sometimes, as I did, you may not get an exact fit of the transfer
 and it leaves a bit of the white ground showing without any
 design on it. Not only does this untidy but it completely gives
 away the fact you have used transfers! I disguised this as
 follows.
 For the top blue bit I used Crystal Blue mixed with Matt White
 to match the blue of the transfer, and then carried this over to
 the edge of the shield too. I highlighted this mix by adding Matt
 White.
For the bottom halve of the design I used Drake Tooth mixed
 with Filthy Cape, again carried this over the edge of the shield
 as well, and then highlighted that mix by adding Matt White.
Now that looks okay, but now to really sell the illusion, I
 carried the sword cut-marks across the edges and sides of the
 shields. Again highlighting these cut-marks with the appropriate
colours highlight really finishes it off.
 out the small cut-outs in the design.
3.
 Peal off the shiny plastic film from the transfer as you
 look at the design, now you have a sticky transfer waiting to be
 applied to the prepared surface of the shield. Now the bit I
 found most tricky, align your transfer and pop him in place on
 the shield. Ouch. Now, all is not lost, if you don’t quite get it
 right as you can peal him off and have another go but not to
 many times. Best to have a few practice runs, not on the
 models, to get the feel of it.
 4.
4. Once you are happy with the positioning of the transfer
 you moisten the white backing paper, which is now all you can
 see, and it comes away with ease and quite a bit of satisfaction.
5.
 To make sure the transfer is firmly down I burnished
 over it with the round shiny end of one of my old sculpting
 tools, if you see any trapped air pockets you can pop them with
 a pin and rub it down.
6.
 The last stage is to disguise the fact that you have used
 transfers by painting the bits that show round the edges of the
 shield.
Sometimes, as I did, you may not get an exact fit of the transfer
 and it leaves a bit of the white ground showing without any
 design on it. Not only does this untidy but it completely gives
 away the fact you have used transfers! I disguised this as
 follows.
 For the top blue bit I used Crystal Blue mixed with Matt White
 to match the blue of the transfer, and then carried this over to
 the edge of the shield too. I highlighted this mix by adding Matt
 White.
For the bottom halve of the design I used Drake Tooth mixed
 with Filthy Cape, again carried this over the edge of the shield
 as well, and then highlighted that mix by adding Matt White.
Now that looks okay, but now to really sell the illusion, I
 carried the sword cut-marks across the edges and sides of the
 shields. Again highlighting these cut-marks with the appropriate
colours highlight really finishes it off.
THE WOODWORK
The backs of the shields, bows and arrows, and the spear, I have
tried to paint a wood grain effect, sometimes you regret putting the shield in a certain place and making it awkward for yourself
 to paint the back of the damn thing! Colours as follows:
 the shield in a certain place and making it awkward for yourself
 to paint the back of the damn thing! Colours as follows:
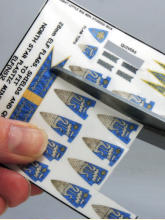
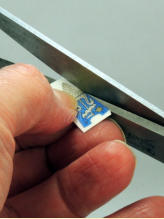
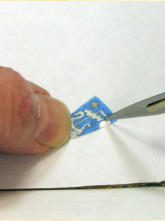
2. Trim out the small cut-outs
in the design.
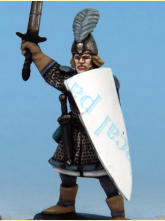
3. Align your transfer and
pop him in place.
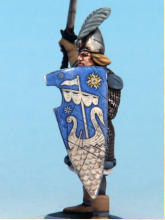
4. The moistened backing
paper comes away.
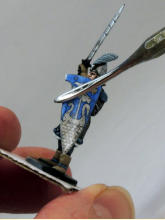
5. Burnish over the transfer
to get it down firmly.
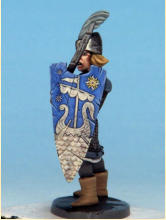
1. Dirt Splatter
  2.
2. plus Desert Yellow
3.
 plus more Desert Yellow
 4.
4. plus Matt White
 Dirt Splatter
  2.
2. plus Desert Yellow
3.
 plus more Desert Yellow
 4.
4. plus Matt White
THE BRONZE
I wanted a nice deep bronze to set off the light steel armour so I used the colours as follows.
1.
 Rough Iron
2.
 Rough Iron plus True Copper
3.
 True Copper
4.
 Weapon Bronze
 used the colours as follows.
1.
 Rough Iron
2.
 Rough Iron plus True Copper
3.
 True Copper
4.
 Weapon Bronze
VARNISH
Make sure all the paint on the model is thoroughly dry before commencing varnishing.
Gloss
The models were then given a coat of Humbrol polyurethane
 gloss varnish and set aside for 24 hours to dry completely. Be
 careful not to let the varnish pool, especially under the horse
 and on the feet. You don't need a very thick coat of varnish.
 commencing varnishing.
Gloss
The models were then given a coat of Humbrol polyurethane
 gloss varnish and set aside for 24 hours to dry completely. Be
 careful not to let the varnish pool, especially under the horse
 and on the feet. You don't need a very thick coat of varnish.
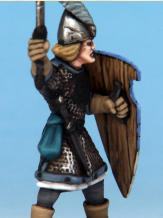
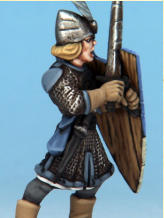
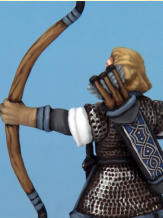
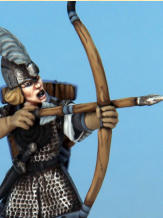
The woodwork.
Matt Varnish
Then they were given two coats of Anti-Shine Matt Varnish. Be
even more careful when painting on the matt varnish. When applying the matt, brush it out well from any nooks and
 crannies where it is likely to collect and pool.
  BASING
The bases are 25mm square plastic. I used superglue to stick the
models in place, blowing over them to prevent the glue
 whitening off on the models. When positioning the models I
 made sure they ranked up okay with each other.
 applying the matt, brush it out well from any nooks and
 crannies where it is likely to collect and pool.
  BASING
The bases are 25mm square plastic. I used superglue to stick the
models in place, blowing over them to prevent the glue
 whitening off on the models. When positioning the models I
 made sure they ranked up okay with each other.
I then filled in between the models bases and square base with household filler and then left that overnight to go hard. I then
 glued on some sharp sand with PVA glue.
When the sand was dried hard I painted the whole base with
1.
 Leather Brown
 2.
2. I then dry-brushed on Desert Yellow
3.
 then I dry-brushed on lightly, Skeleton Bone
I then added some flora. Lots of different Gamers Grass flock
 tufts and then Gale force nine: Meadow Blend Flock, and they
 are ready for battle!
 household filler and then left that overnight to go hard. I then
 glued on some sharp sand with PVA glue.
When the sand was dried hard I painted the whole base with
1.
 Leather Brown
 2.
2. I then dry-brushed on Desert Yellow
3.
 then I dry-brushed on lightly, Skeleton Bone
I then added some flora. Lots of different Gamers Grass flock
 tufts and then Gale force nine: Meadow Blend Flock, and they
 are ready for battle!
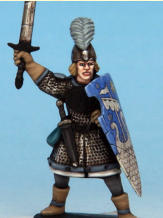
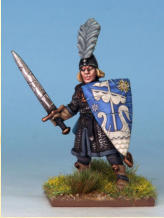
ANOTHER ELF
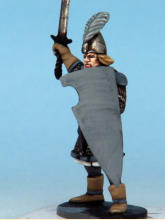
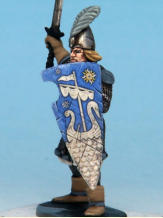
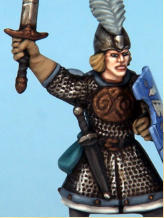
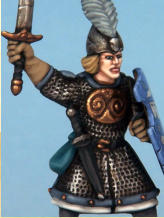
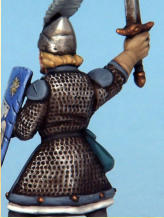
Elf Champion, Shield transfer by Little Big Men Studios. His shield is actually the banner decal cut down to fit and amended
 with painted on sword cuts. The proper shield decals don't fit
 shield is actually the banner decal cut down to fit and amended
 with painted on sword cuts. The proper shield decals don't fit
his larger, slightly different shape shield and I wanted him to match the plastic elves from the box set. The scratches are very
 much inspired (copied from) the LBMS decals. The figure will
 never be available to buy, but he came free during the elf offers,
 which is nice.
 match the plastic elves from the box set. The scratches are very
 much inspired (copied from) the LBMS decals. The figure will
 never be available to buy, but he came free during the elf offers,
 which is nice.
PART 2
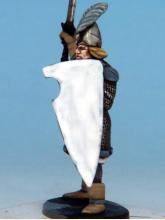
1. Paint the shield Uniform
Grey.
1. Paint the shield Matt
White.
2. Best pair of scissors to cut
out the main shape.
2. Best pair of scissors to cut
out the main shape.
6. Disguising the edges.
6. Disguising the edges.
6. Disguising the edges.
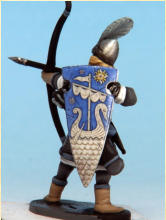
4. The moistened backing
paper comes away.
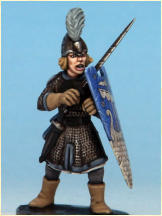
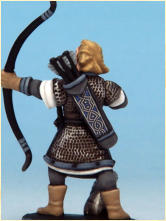
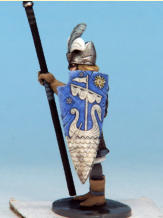
6. Sometimes, as I did, you may not get an exact fit of the transfer and it leaves a bit of the white ground showing without any design on it. Not only does this untidy but it completely gives away the fact you have used transfers!
 design on it. Not only does this untidy but it completely gives away the fact you have used transfers!
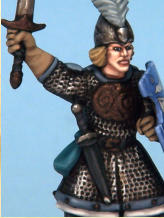
1. Rough Iron.
2. Rough Iron plus True
Copper.
4. Weapon Bronze.
4. Weapon Bronze.
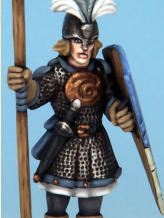
4. Weapon Bronze.
4. Weapon Bronze.
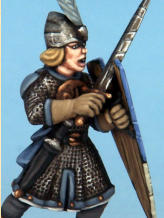
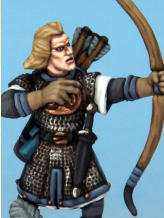
4. Weapon Bronze.
4. Weapon Bronze.
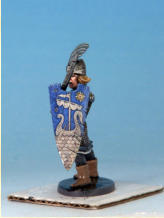
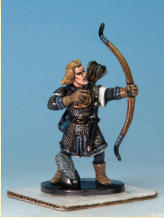
Gloss varnish.
Gloss varnish.
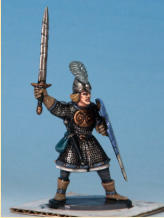
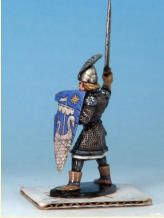
Gloss varnish.
Gloss varnish.
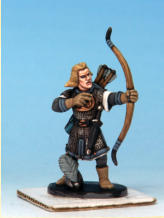
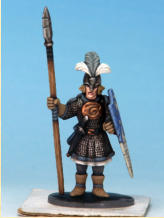
Matt varnish.
Matt varnish.
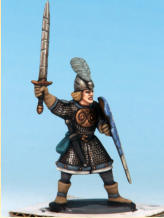
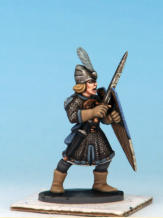
Matt varnish.
Matt varnish.
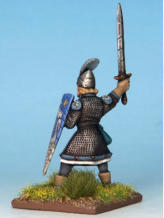
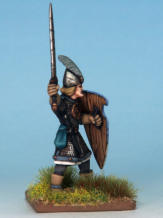
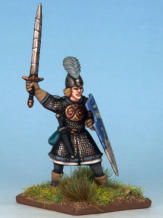
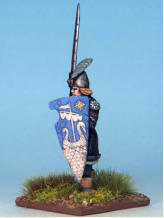
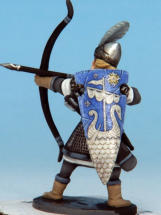
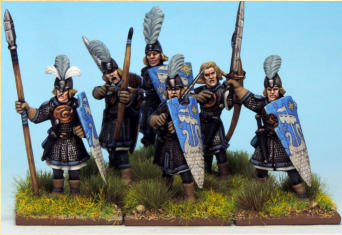
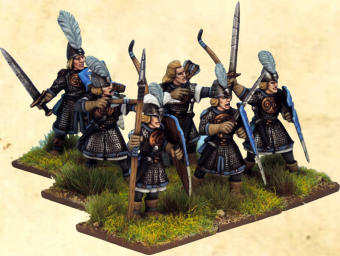
THE ELVES Based and finished ready for battle!
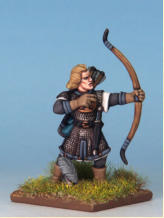
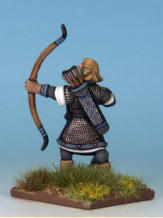
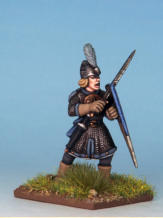
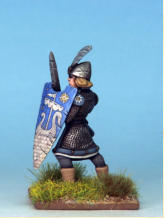
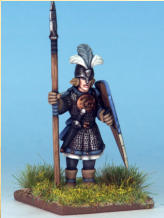
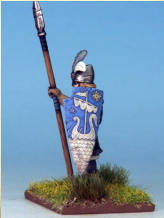
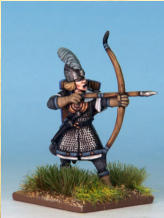
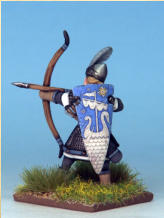
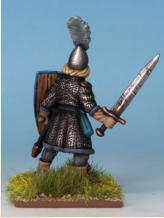
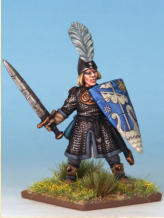
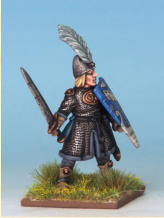
THE ELVES formed up ready for battle!
AND ANOTHER ELF
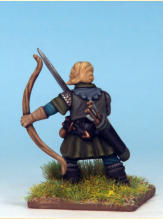
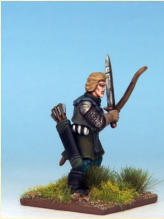
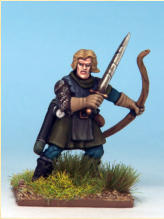
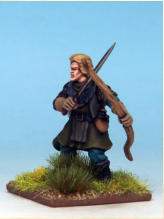
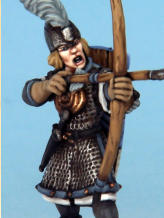
This elf is made using a body from the Frostgrave soldiers set; I was thinking he could be of a woodland elf or a elf adventurer…

