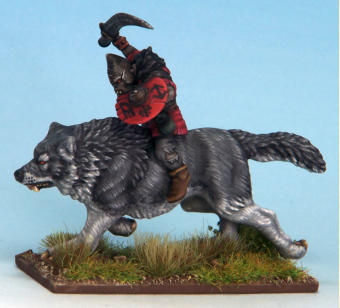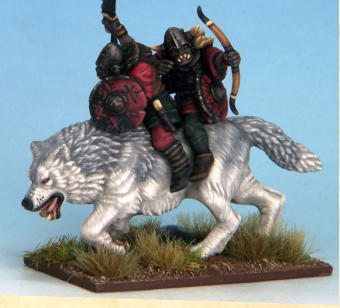



Painting Wolf Riders
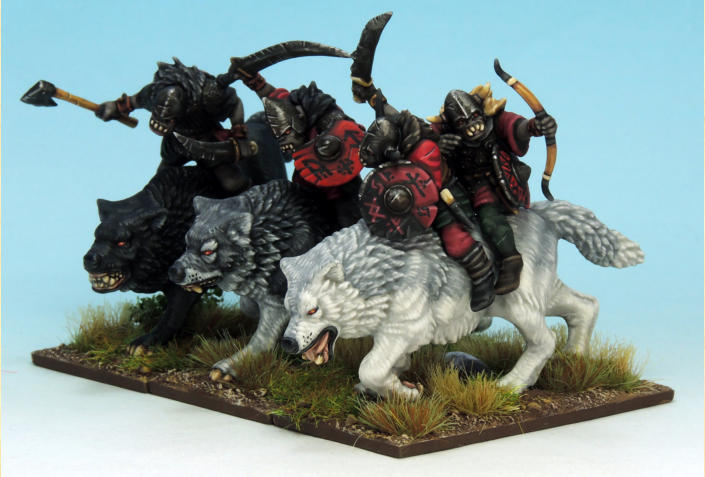
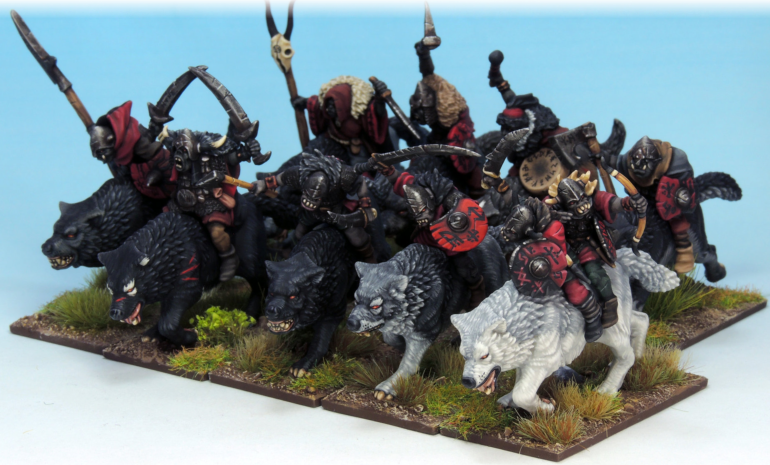
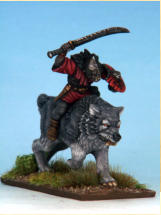
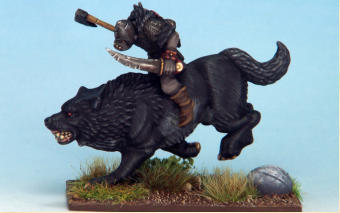
Above. The whole unit of goblin wolf riders.

THE WOLVES
The wolves present an interesting challenge and I have seen many different ways to approach painting these bad boys, this is
just my take on it so if this doesn’t take your fancy there are
 many other ways to achieve a good job on them. I was lucky
 enough to have painted some of the prototypes sometime ago so
I knew the kind of thing I was going to do.
 However I did look at lot of pictures of wolves and it turns put
 they can be almost any colours within the black/grey/brown
 spectrum, in any combination. So see what takes your fancy,
 many different ways to approach painting these bad boys, this is
just my take on it so if this doesn’t take your fancy there are
 many other ways to achieve a good job on them. I was lucky
 enough to have painted some of the prototypes sometime ago so
I knew the kind of thing I was going to do.
 However I did look at lot of pictures of wolves and it turns put
 they can be almost any colours within the black/grey/brown
 spectrum, in any combination. So see what takes your fancy,
you might want more uniform creatures that I have done here, or go for a wild mix!
 I had already painted in the eyes and teeth and claws when I
 was doing the goblins so then I painted in the gums and tongues
as follows:
 1.
1. Fur Brown
 2.
2. plus Matt White
3.
 plus Matt White
4.
 plus more Matt White
5.
 and plus more Matt White
 or go for a wild mix!
 I had already painted in the eyes and teeth and claws when I
 was doing the goblins so then I painted in the gums and tongues
as follows:
 1.
1. Fur Brown
 2.
2. plus Matt White
3.
 plus Matt White
4.
 plus more Matt White
5.
 and plus more Matt White
THE WOLF FUR
Trying to follow the scheme I had decided on I painted the undersides in light grey as follows:
1.
 Uniform Grey.
 2.
2. I then went round “roughed up” the edges of the grey
 with some Matt Black to make the edges look less defined and
 furrier.
 undersides in light grey as follows:
1.
 Uniform Grey.
 2.
2. I then went round “roughed up” the edges of the grey
 with some Matt Black to make the edges look less defined and
 furrier.
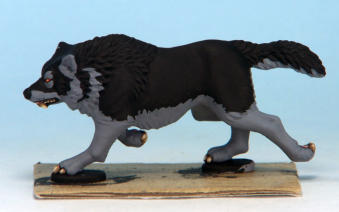
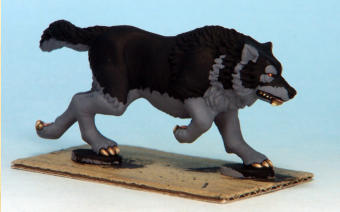
1. Uniform Grey.
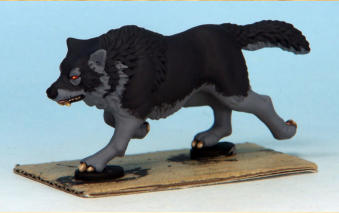
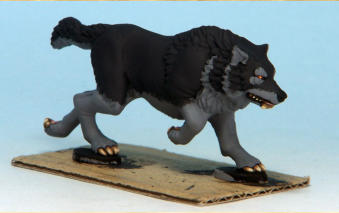
2. edges “roughed up” with some Matt Black
I then started on the top of the beast in a much darker grey before I finished the undersides, I’m not too sure why I did this
 but it seemed like a good idea at the time.
  3.
3. Uniform Grey mixed with Matt Black, as you can see
 this went on in quite a rough manner, allowing some of the
 black to show trough from the undercoat. (Continued below)
 before I finished the undersides, I’m not too sure why I did this
 but it seemed like a good idea at the time.
  3.
3. Uniform Grey mixed with Matt Black, as you can see
 this went on in quite a rough manner, allowing some of the
 black to show trough from the undercoat. (Continued below)
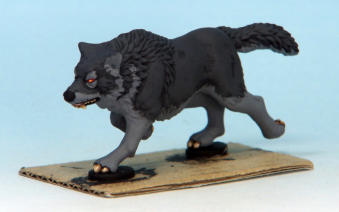
3. Uniform Grey mixed with Matt Black.
4. plus Matt White, you can see here I have done some dry
brushing and leaving in brush marks to represent fur.
 plus Matt White, you can see here I have done some dry
brushing and leaving in brush marks to represent fur.
6. plus more Matt White, similar thing to the last layer.
 plus more Matt White, similar thing to the last layer.
Back to the undersides
3. (continued) plus Matt White, again I have done some
 dry brushing and leaving in brush marks to represent fur.
 (continued) plus Matt White, again I have done some
 dry brushing and leaving in brush marks to represent fur.
5. plus Matt White, for this layer I have gone even further
 and painted on fur with a fine brush, I have tried to keep the fur
 direction all going in a realistic manner, it doesn’t take as long
 as it looks and you can be fairly rough about it!
 plus Matt White, for this layer I have gone even further
 and painted on fur with a fine brush, I have tried to keep the fur
 direction all going in a realistic manner, it doesn’t take as long
 as it looks and you can be fairly rough about it!
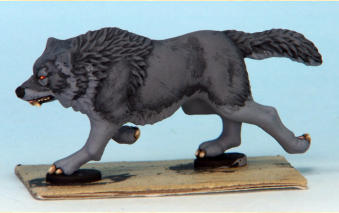
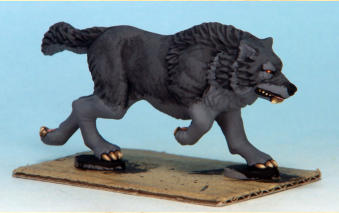
4. plus Matt White, you can see here I have done some dry brushing.
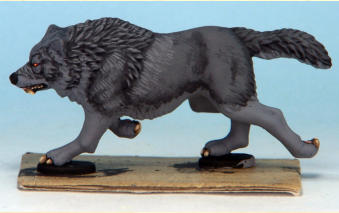
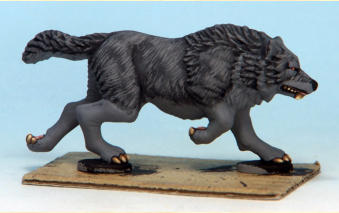
5. plus Matt White, for this layer I have gone even further and painted on fur with a fine brush.
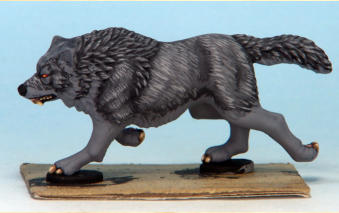
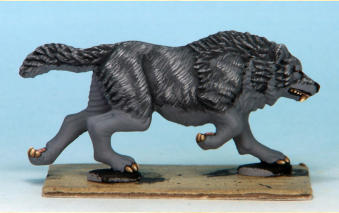
6. plus more Matt White, similar thing to the last layer.
7. and plus more Matt White, this time much smaller
 strokes to represent the final ends of the fur hairs.
 and plus more Matt White, this time much smaller
 strokes to represent the final ends of the fur hairs.
7. and plus more Matt White.
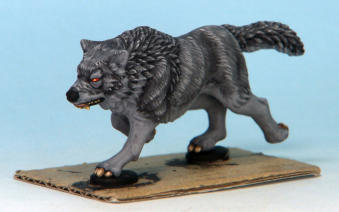
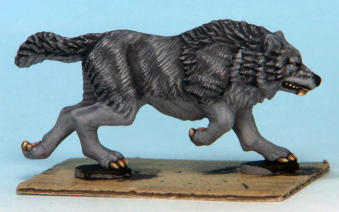
3. (continued) plus Matt White, again I have done some dry brushing and leaving in brush marks to represent fur.
4. plus Matt White, for this again layer I have gone further
 and painted on fur with a fine brush.
5.
 plus more Matt White, again a similar thing to the last
 layer.
 plus Matt White, for this again layer I have gone further
 and painted on fur with a fine brush.
5.
 plus more Matt White, again a similar thing to the last
 layer.
6. and plus more Matt White, this time much smaller
 strokes to represent the final ends of the fur hairs.
MORE WOLF FUR
This is another of the wolves, this time the top was in the light
 grey and the underneath in white as follows:
1.
 Ash Grey
2.
 plus Matt White
3.
 plus Matt White
4.
 plus more Matt White
5.
 and plus more Matt White
The last of the three wolves I did at this time, with a dark grey
 under and black top, I think he really does look mean! At this
 point I painted the black bits like the noses on all of the wolves.
The black fur colours as follows:
 1.
1. Matt Black mixed with Skeleton Bone
  2.
2. plus Skeleton Bone
3.
 plus more Skeleton Bone
  4.
4. plus more Skeleton Bone
 5.
5. plus Matt White
 and plus more Matt White, this time much smaller
 strokes to represent the final ends of the fur hairs.
MORE WOLF FUR
This is another of the wolves, this time the top was in the light
 grey and the underneath in white as follows:
1.
 Ash Grey
2.
 plus Matt White
3.
 plus Matt White
4.
 plus more Matt White
5.
 and plus more Matt White
The last of the three wolves I did at this time, with a dark grey
 under and black top, I think he really does look mean! At this
 point I painted the black bits like the noses on all of the wolves.
The black fur colours as follows:
 1.
1. Matt Black mixed with Skeleton Bone
  2.
2. plus Skeleton Bone
3.
 plus more Skeleton Bone
  4.
4. plus more Skeleton Bone
 5.
5. plus Matt White
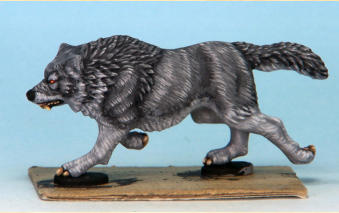
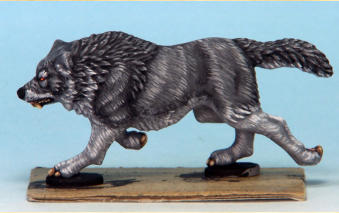
4. plus Matt White, for this again layer.
5. plus more Matt White.
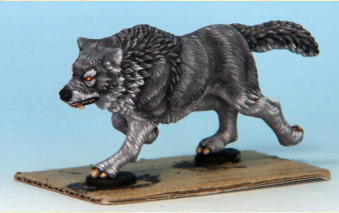
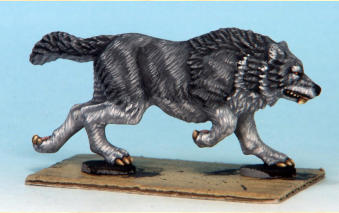
6. and plus more Matt White, this time much smaller strokes to represent the final ends of the fur hairs.
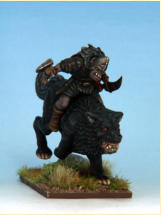
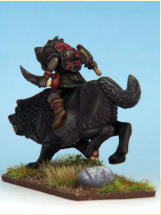
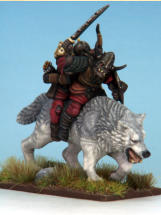
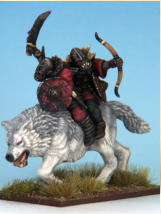
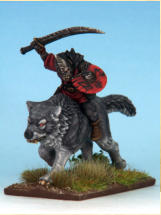
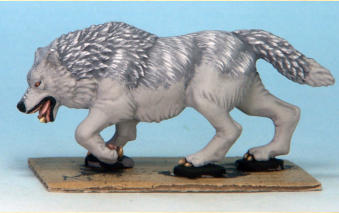
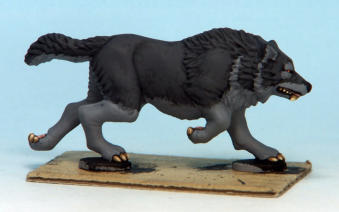
1-2. Ash Grey plus Matt White.
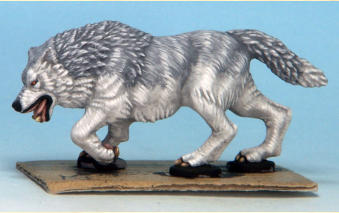
3-5.plus Matt White and plus more Matt White.
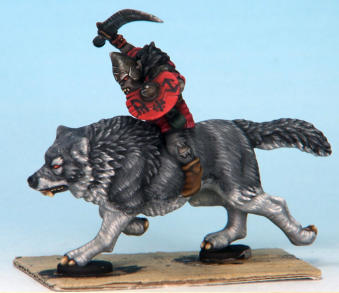
THE WOLF RIDER MOUNTED
You know it’s always wise to make a note of which rider you have worked out to fit on which wolf, I thought I would
 remember, I didn’t an had to spend some time working it out.
 This was of particular relevance as I had initially decided to
 mount two goblins on one of the wolves!
VARNISH
Make sure all the paint on the model is thoroughly dry before
 commencing varnishing.
Gloss
The models were then given a coat of Humbrol polyurethane
 gloss varnish and set aside for 24 hours to dry completely. Be
 careful not to let the varnish pool, especially under the horse
 and on the feet. You don't need a very thick coat of varnish.
Matt
Then they were given two coats of Anti-Shine Matt Varnish. Be
even more careful when painting on the matt varnish. When
 applying the matt, brush it out well from any nooks and
 crannies where it is likely to collect and pool.
 have worked out to fit on which wolf, I thought I would
 remember, I didn’t an had to spend some time working it out.
 This was of particular relevance as I had initially decided to
 mount two goblins on one of the wolves!
VARNISH
Make sure all the paint on the model is thoroughly dry before
 commencing varnishing.
Gloss
The models were then given a coat of Humbrol polyurethane
 gloss varnish and set aside for 24 hours to dry completely. Be
 careful not to let the varnish pool, especially under the horse
 and on the feet. You don't need a very thick coat of varnish.
Matt
Then they were given two coats of Anti-Shine Matt Varnish. Be
even more careful when painting on the matt varnish. When
 applying the matt, brush it out well from any nooks and
 crannies where it is likely to collect and pool.
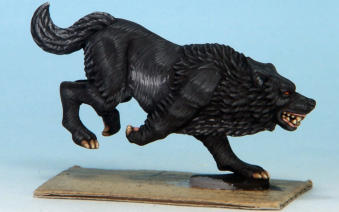
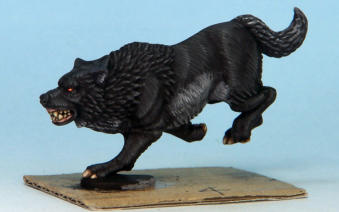
1-5. Matt Black mixed with Skeleton Bone.
BASING
The bases are 25mm square plastic. I used superglue to stick the
models in place, blowing over them to prevent the glue whitening off on the models. When positioning the models I
 made sure they ranked up okay with each other.
 whitening off on the models. When positioning the models I
 made sure they ranked up okay with each other.
THE FINISHED WOLF RIDERS
