










Inspiration and Assembly
I was inspired to do a fast paint up on these boys by Nick’s excellent article on painting his
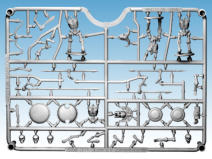
ACW rebs. The assembly is pretty straightforward on these chaps, they are robust enough not
snap under your fingers but fine enough to look convincing when made up. For more tips on plastic
assembly see my article on the Oathmark elves, but my top tip is always use the sharpest blade
you have for their clean up, I have a scalpel that I use for nothing else but cleaning plastics.

PAINTING
WARGAMES ATLANTIC
SKELETONS
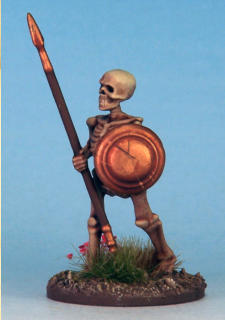
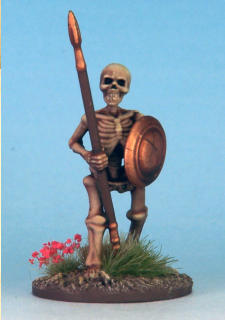
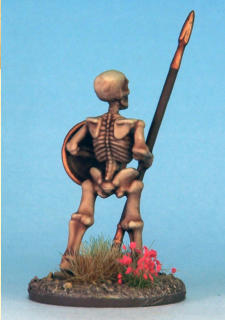
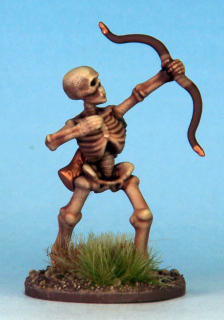
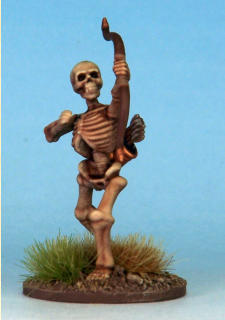
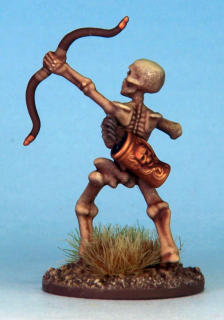
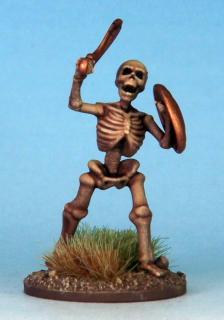
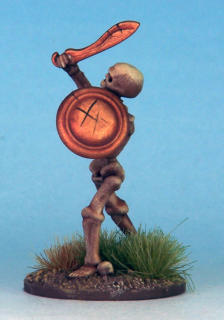
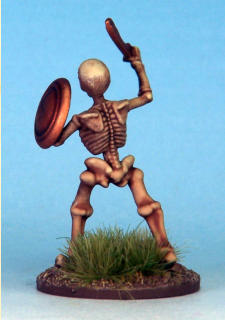
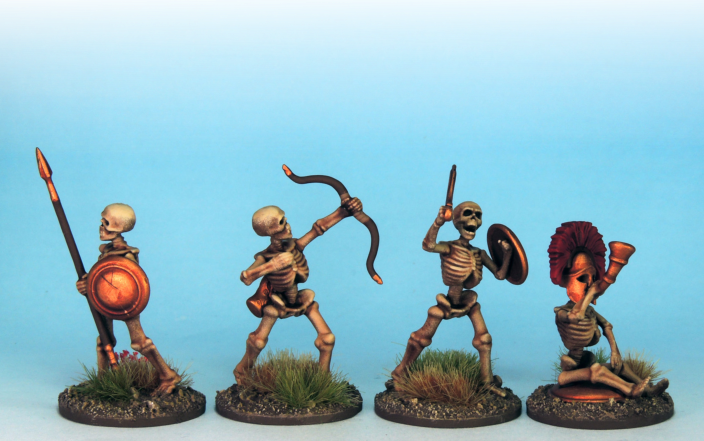
Plastic skeletons from Wargames Atlantic.
Bone
The next step was to spray them with The Army Painter: Skeleton Bone Colour Primer. However I
didn’t spray it on like an undercoat in a random head on, all over kind of way. With the models now
blue tacked to a piece of scrap card, this coat was sprayed from just one angle and this was from
the top spraying towards the feet of the models while holding the spray can in the same plain as
the models, not spraying directly at them like you would normally when undercoating. Again be light
in the spraying as these cans put out a lot of paint! This mono directional technique is to try and
create a shadow effect on the models. But it only works if you spray it from that one top down
direction, it’s called Zenithal highlights.
Shading
This was the more interesting bit for me as it is alien to how I usually paint. I applied a liberal coat
of Quickshade Mid Brown Wash all over the models. And it works a treat, so don’t be afraid to slop
it all over. I did go back a blob some more on in places that I had either missed or I felt needed a bit
more shade and I did remove some of the bigger pools with my brush if to much had collected in
particular place. Before the stuff was dry I wiped a bit off from the crown of the skulls with my
thumb to make that bit look cleaner (a bit of spare foam packaging might be better to wipe thing
with…). They were then put aside to dry, for a while.
Quick highlights
I then painted on some highlights using the same colours as before on the now shaded models.
The only area I didn’t do much too was the bone as it looked pretty good, I only touched up the
teeth a little and did a very few small highlights here and there.

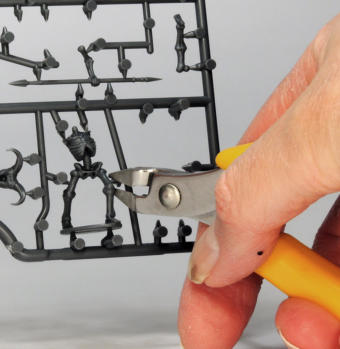
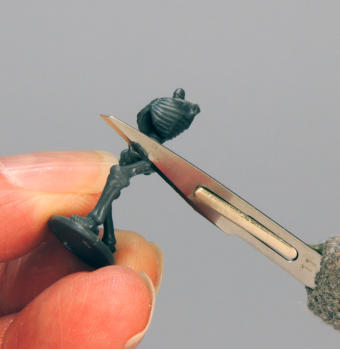
Snipping parts off the frame.
I have a scalpel that I use for nothing else but cleaning
plastics.
SPRAY PAINTING
Grey
They were first primed grey, front and back, (but only lightly - with car primer), not because they
needed a primer (see later). I prime most things grey for initial photography, even if I then
undercoat them black for normal painting. I didn’t undercoat these black…
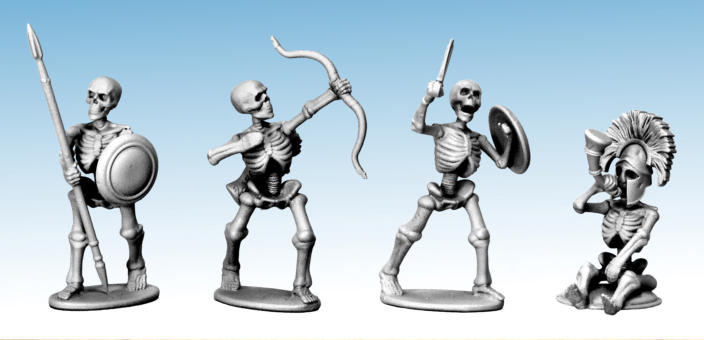
The models were first primed grey.
Brown
The next thing I did was to give them a spray coat of The Army Painter: Leather Brown Colour
Primer Spray. These sprays are very pigment heavy so be gentle with them, but make sure the
grey is covered. You can get the Army Painter sprays from our chums at Great Escape Games.
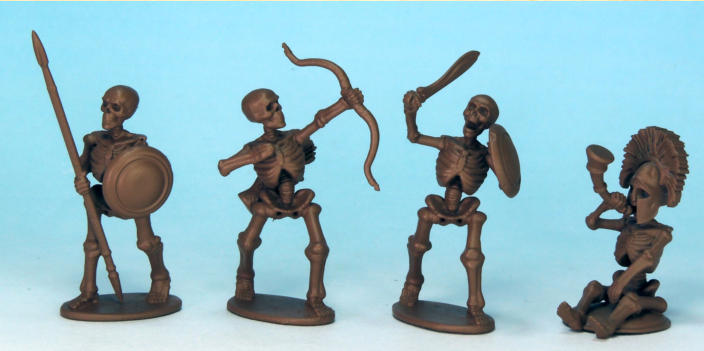
Spray coat of The Army Painter: Leather Brown Colour Primer Spray.
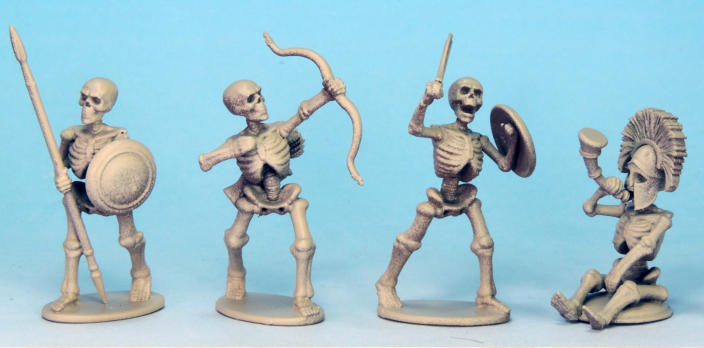
The next step was to spray them with The Army Painter: Skeleton Bone Colour Primer.
Proper Painting
I then painted in all the rest of the skeletons that aren’t bone! Using Army Painter Warpaints, the
bow, arrow shafts, spear-shaft and back of shields in Werewolf Fur – all the metalwork in Weapon
Bronze – crest in Dragon Red – some small details in Leather Brown – and the flechings in Uniform
Grey. Also I painted in black the open end of the horn and quiver.
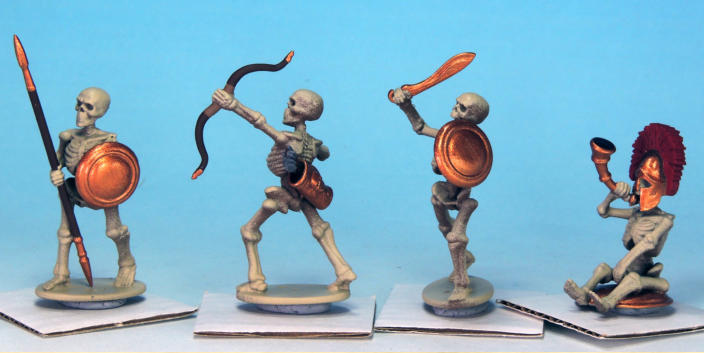
Paint in all the rest of the skeletons that aren’t bone!
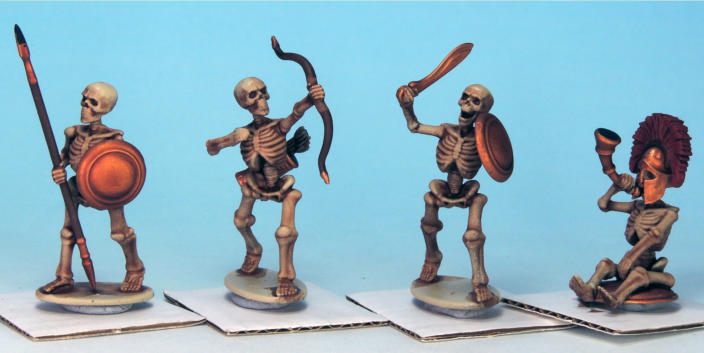
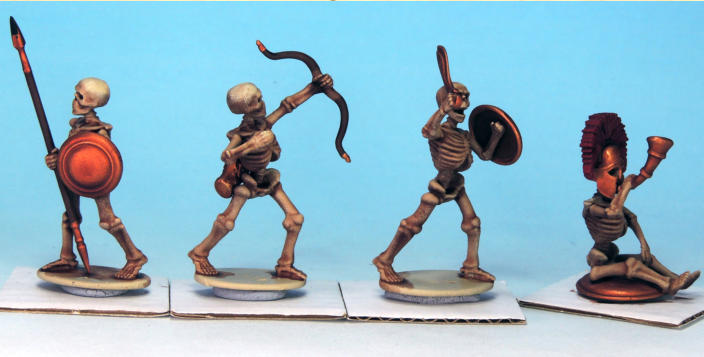
A liberal coat of Quickshade Mid Brown Wash all over the models.
Remove some of the bigger pools with my brush if to much had collected in particular place.
Details
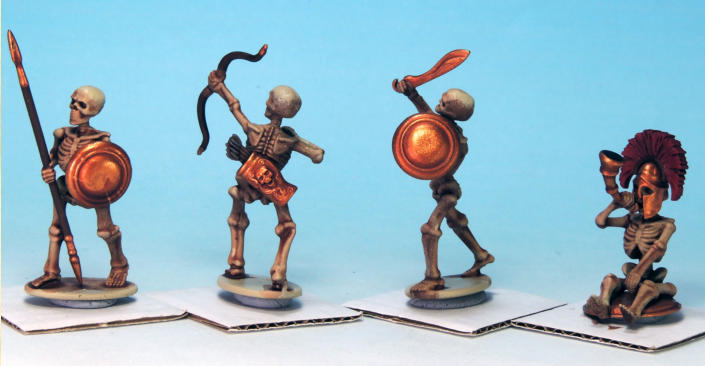
Then I painted on some damage marks in black, just a few slashes on the shields.
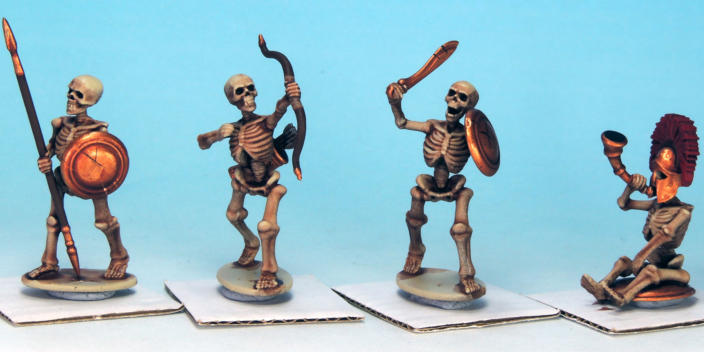
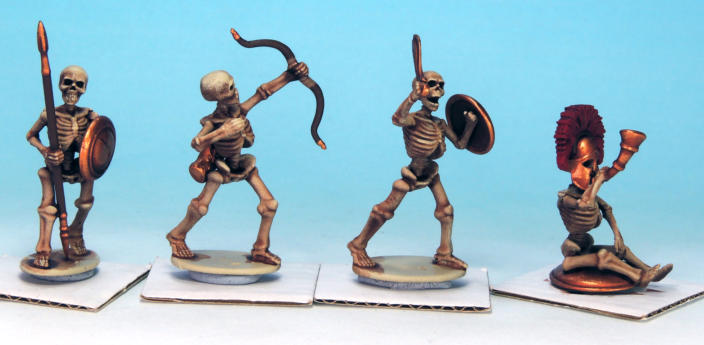
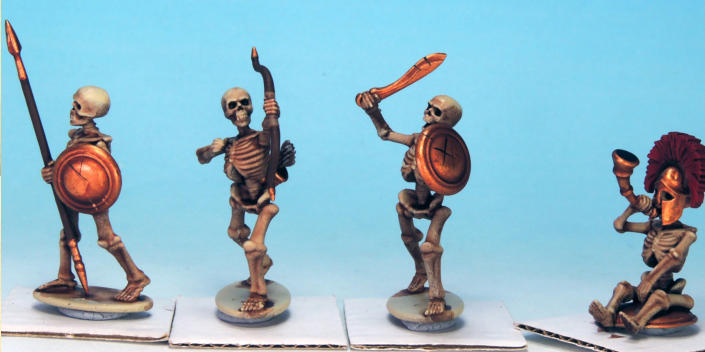
Paint on some damage marks in black, just a few, don't over do it!
Varnishing
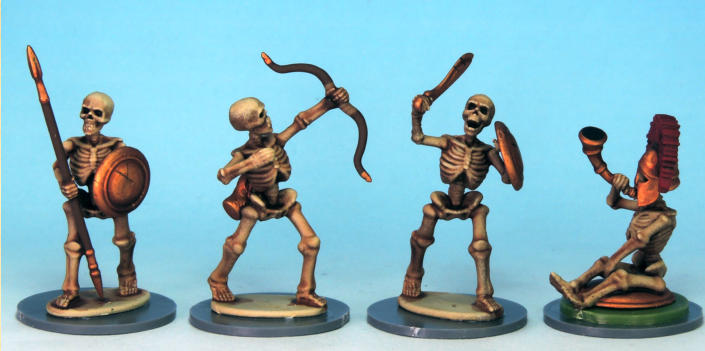
They were given a coat of gloss, then matt varnish, like I do for almost everything I paint.
Basing
The bases are Renedra plastic items built up with filler and then give a coating of rough sand for
texture. Once dry and hard they were painted with Oak Brown, and then highlighted lightly with
Monster Brown, then Desert Yellow and finally a lightest touch with Skeleton Bone to match the
models I had been painting for Rangers of Shadow Deep. The tufts are Gamers Grass again from
Great Escape Games.
Finally
I was actually surprised and pleased with the results, I think they do the job fine and stand up as
good gaming painting; however this method really comes into its own when you have forty or four
hundred, not just four models to paint like I have done here. So I can highly recommend giving it
go, it is a very satisfying and above all quick process to complete many models for the table.
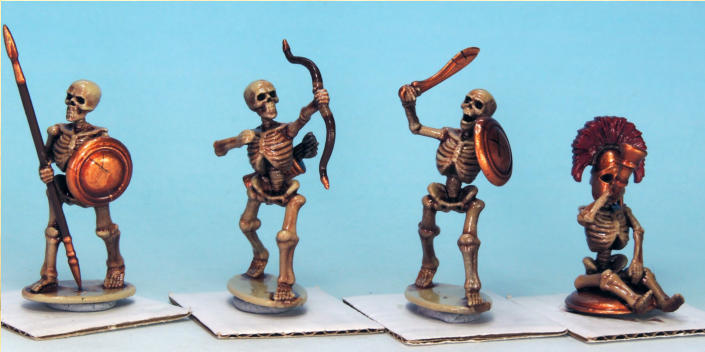
Varnished with gloss varnish.
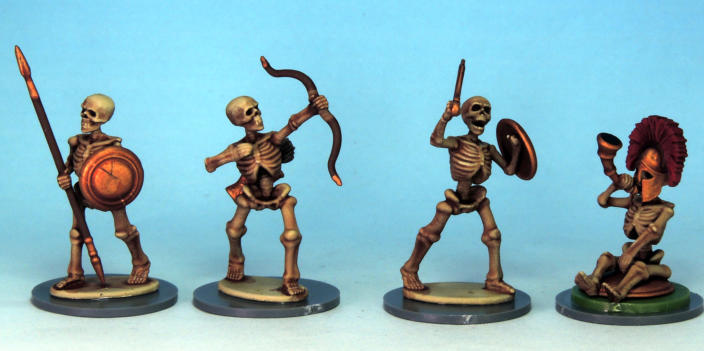
Varnished with matt varnish.
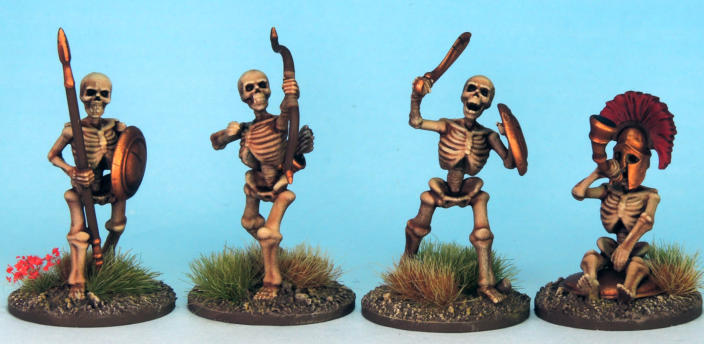
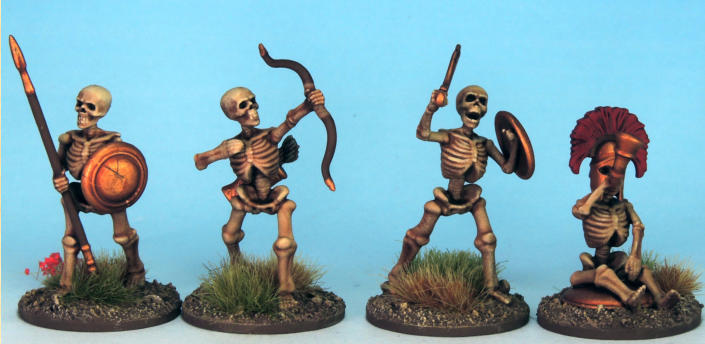
The bases are Renedra plastic items built up with filler.
Once dry and hard they were painted.
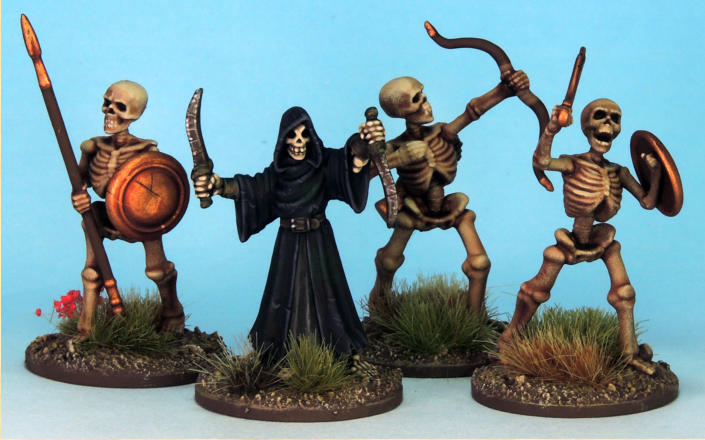
Plastic skeletons from Wargames Atlantic, with a Rangers of Shadow Deep skeleton.
