











WHY?
I started with a frame of Elves that was meant for exploded-view shots on the back of the Oathmark
 box. But leaving them unused seemed like a waste,
 so I decided to put them to good use. That sparked an
idea: why not test Speedpaints on miniatures with
 lots of armour to see how well they handle it? And
 then it hit me, I could also turn them into a unit of
 Elves for my Oathmark army, with more troops.
MORE
As luck would have it, the first frame had a fault and had to be redone. It didn’t affect the initial batch of
 Elves I built, but it did leave me with an extra frame to
 use! Then came the metal Elf characters, which I
 added to the mix, and just when I thought I was done,
 my mate John Treadaway (editor of Miniature
 Wargames) passed me the frame of Elves he’d had
 for a review sample. With all these pieces coming
 together, I suddenly had enough (20) for a full
 Oathmark Elf unit. It would have been a shame not to
 assemble and use them all!
OTHERS
This is my fourth Speedpaints article, so if Elves aren’t your thing, I’ve also covered Stargrave
 Automatons, American War of Independence and
 Fantasy, plus I managed to sneak in some shots of
 Frostgrave Ghost Archipelago crews too. [CLICK
 HERE] to check them out!
  For Oathmark devotees, there’s an extensive series
 on fast-painting armies using The Army Painter’s
 Quickshade washes and Quickshade Varnish, all
 under Oathmark Express banner. [CLICK HERE] to
 explore those guides.
THOUGHT
Speedpaints require more planning than traditional paints, particularly when it comes to preparation and
 technique. The key is to anticipate how they will flow
 and interact with the surface, ensuring a controlled
 application. Once you get the hang of it, though, the
 process becomes second nature, making painting
 both efficient and rewarding
TIME
Although Speedpaints accelerate the painting process, they do not reduce the effort required for
 preparation and finishing. Cleaning up, assembling,
 varnishing, and basing remain essential steps. To
 maintain consistency with my previous Oathmark
 units, I opted to paint the bases with standard
 Warpaints rather than using Speedpaints.
TOP
For the Elves, I used a zenithal white undercoat, sprayed from above with my trusty old airbrush. This
 was layered over a Humbrol matt black base coat. If
 you're curious about achieving a zenithal undercoat
 with spray cans, my Zanzibar Express article provides
 a useful guide, CLICK HERE to check it out, though
 that wasn’t using white.
  The same principles apply whether using an airbrush
 or cans, and there are countless YouTube tutorials
 showcasing different techniques. One important note:
 The Army Painter spray cans release a lot of paint, so
 a careful touch is essential, you don’t want to swamp
 the figures and clog the details. Alternatively, you can
 achieve a zenithal effect by dry-brushing white, a
 technique known as "slap chop", another great topic
 for a YouTube search.
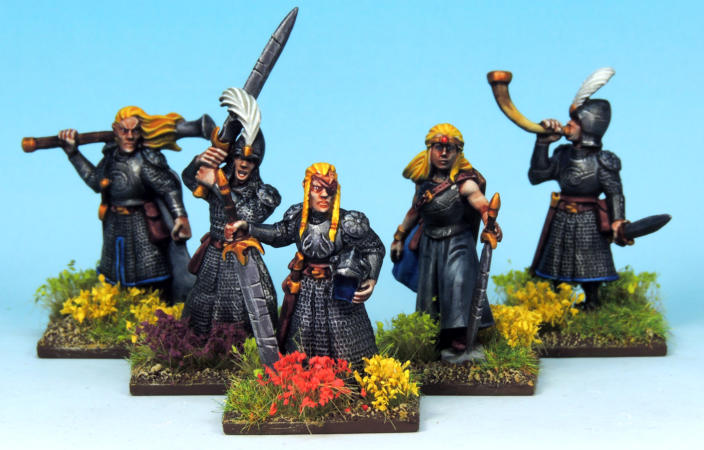
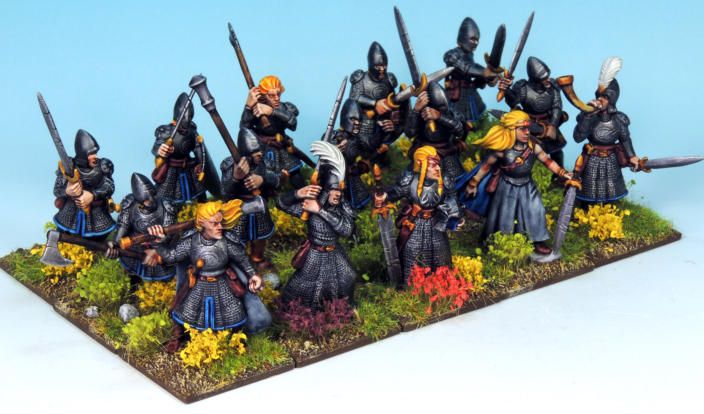
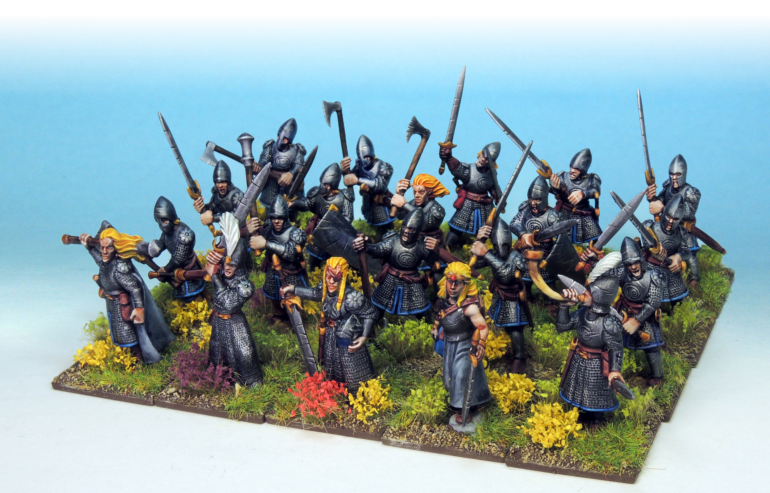
Above. The full Oathmark Elf Heavy Infantry unit, ready to
join their less-armoured comrades in battle.
COLOURS
I opted for a traditional approach with the colours for these Elves, staying true to the standard Oathmark
 schemes. Maintaining consistency across my Elf units
 was key, even though they were painted using a
 different method. This ensured they fit seamlessly
 with the rest of my collection while allowing me to
 experiment with technique.
PAINTS
All the usual principles still apply, planning ahead is always worthwhile. Keep in mind that mistakes are
 harder to correct in darker colours. This doesn’t
 necessarily mean you have to start with the light
 colours, but I usually begin with lighter shades and
 gradually work toward darker ones to minimize errors.
 For this project, I tackled the metallic paints first,
 expecting some cleanup since certain areas were
 tricky to reach without accidentally getting paint where
 it wasn’t meant to go. As always, thoroughly cleaning
 up the figures before painting is essential.
BRUSHES
Avoid using your best or most expensive brushes, the Speedpaints will wear them out quickly.
Above. I used a zenithal white undercoat, sprayed from above with my trusty old airbrush. This was layered over a Humbrol
matt black base coat. If you're curious about achieving a zenithal undercoat with spray cans.
SHAKE
Still make sure you shake the Speedpaints up well, they really need it.
APPLICATION
Take your time and don’t rush, the Speedpaints largely handle the work of generating shades and
 highlights, provided your models come with ample
 detail. If you find that a particular area isn’t quite right,
 perhaps it’s too dark, wipe away some of the paint
 with your thumb or a sponge. And if it looks too light,
 add another coat until you achieve the desired effect.
SPEEDPAINTS
As I mentioned earlier, I didn’t start with flesh this time, even though that’s usually my approach.
 Instead, I began with their armour, expecting a few
 mistakes, especially around the faces, where the
 close-fitting helms made precise application tricky.
 Fortunately, it wasn’t too bad, and I only needed a
 little touch-up work.
TIDY
I used Warpaints Fanatic: Matt White to tidy up areas where the Speedpaint had inadvertently strayed, such
 as the belts and around the helmets.
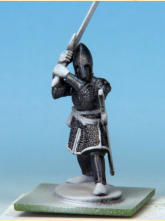
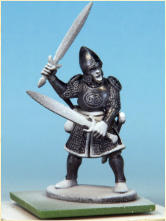
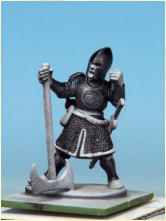
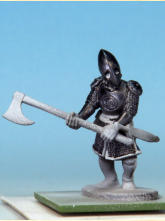
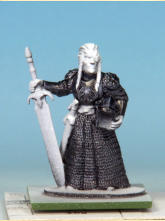
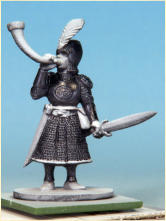
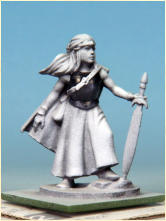
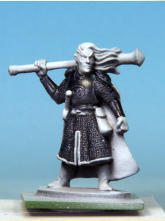
ARMOUR, CHAINMAIL, Enchanted Steel.
FLESH, Crusader Skin.
EDGE TRIMS, HELMET LINER, CLOAK,
WIZARDS ROBE. Highlord Blue.
BELTS, SCABBARDS, POUCHES & BOOTS.
Dusk Red.
HAIR. Ancient Honey.
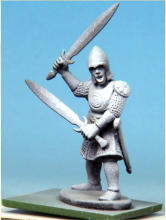
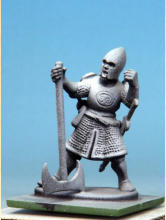
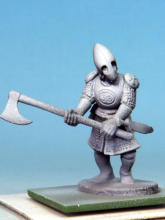
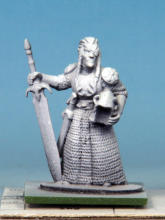
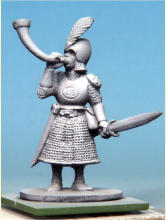
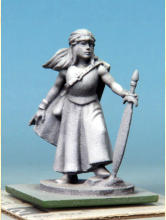
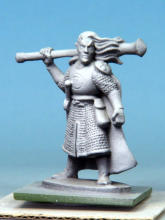
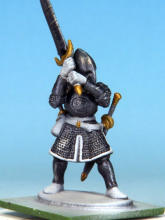
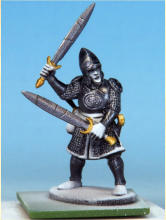
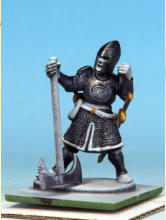
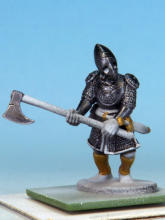
Above. The armour, chainmail, greaves, vambraces and helmets, all painted in Enchanted Steel Speedpaint.
Above. Weapons etc. painted in, I then lightly dry-brushed the armour with Warpaints Fanatic Metallic Mithril, using the
same to add battle damage to both the armour and the swords.
WEAPONS & SHIELDS, Broadsword Silver.
Above & right. Edge trims,
helmet liner, cloak, and
wizard's robe are Highlord
Blue. Belts, scabbards,
pouches, and boots are Dusk
Red. Hair is Ancient Honey.
Skirt & officer's cloak get
two coats of Runic Grey.
Plumes & wizard's robes are
Holy White, wiped off with a
thumb for a softer effect and
to expose more white.


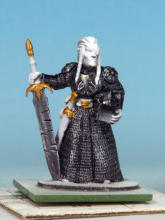
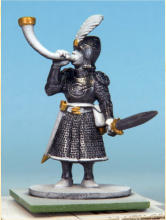
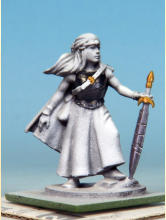
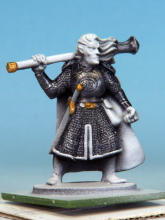
SWORD HILT GUARDS, POMMELS,
BUCKLES & SOME GRIEVES, Glittering Loot.
Then I lightly dry-brushed the armour with Warpaints Fanatic Metallic Mithril and added
 damage to it and the swords with the same.
Above. The flesh is painted with Crusader Skin. I applied a coat of Crusader Skin to the sword hilts, buckles, and sections of
the greaves, muting the Glittering Loot and sharpening the details.
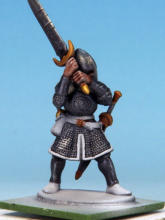
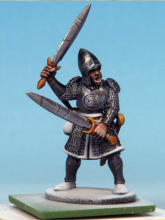
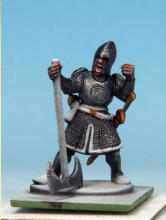
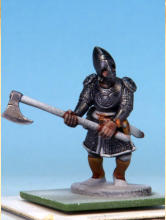
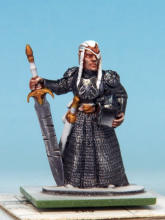
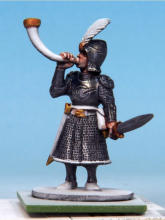
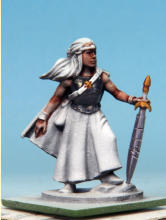
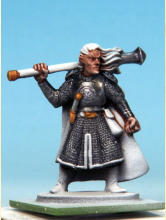
I also gave the sword hilts, buckles, and some of the greaves a coat of Crusader Skin to dull the
 Glittering Loot a bit and enhance the detail.
 greaves a coat of Crusader Skin to dull the
 Glittering Loot a bit and enhance the detail.
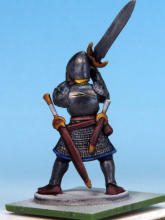
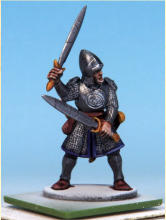
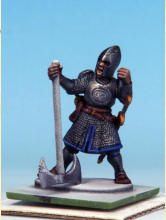
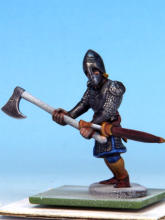
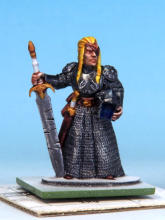
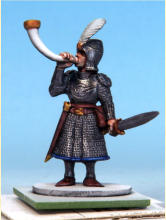
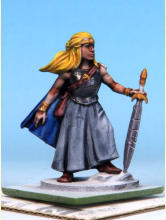
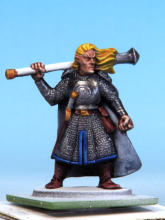
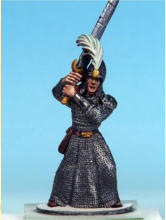
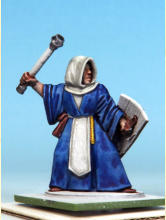
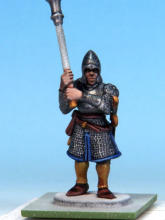
SKIRT & OFFICERS CLOAK. Runic Grey (two
coats).
PLUMES & WIZARDS ROBES. Holy White
(wiped off with thumb to expose more white).
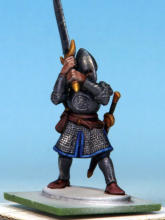
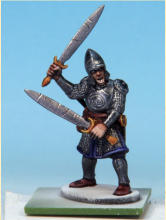
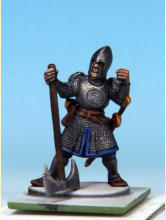
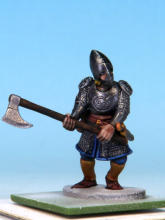
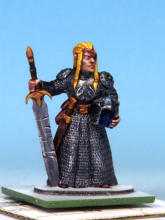
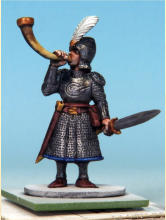
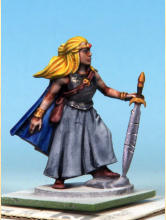
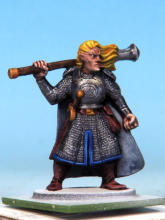
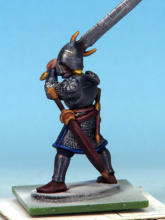
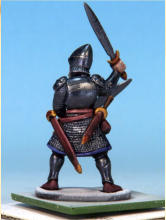
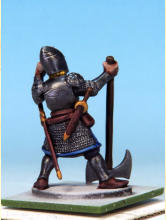
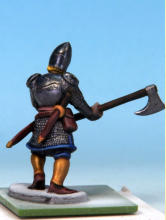
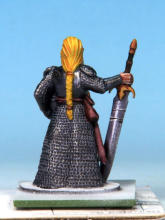
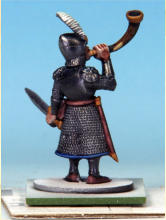
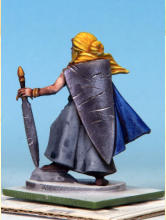
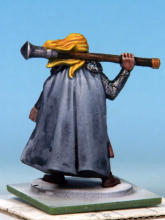
I then dotted in the eyes and teeth with Fanatic: Matt White and added any other missing bits.
 White and added any other missing bits.
CIRCLET, AMULET, HORN FITTINGS,
Golden Armour.
WEAPON HAFTS, SWORD GRIPS, SHIELD
BACKS, Dark Wood.
HORN, Pallid Bone (two coats).
ROCK, Ashen Stone.
JEWEL IN THE CIRCLET, Carmine Dragon.
FINISHING
I finished them off with a coat of spray Anti Shine Matt Varnish. It’s a good choice for Speedpaints, as it
 doesn’t give a completely flat finish but instead
 provides a low level sheen, particularly useful for
 enhancing the look of darker colours like the armour. I
applied a tiny drop of gloss varnish to jewels to make
 them shine out.
BASING
I applied sharp sand with PVA glue, allowing it to fully harden before painting with Army Painter Warpaints
 Fanatic to match my existing figure bases.
  BASES, I started with Oak Brown, followed by a dry-
 brush of Desert Yellow, and then finished with a light
 dry-brush of Skeleton Bone. To complete the look, I
 added Gamers Grass flower tufts and flock, keeping
 consistency with my Oathmark army. You can find
 more details on basing in my many other painting
 articles in the magazine.
Eyes and teeth were dotted in with Fanatic: Matt White. Circlet, amulet, and horn fittings in Golden Armour; weapon hafts,
sword grips, and shield backs in Dark Wood. The horn received two coats of Pallid Bone, and the rock was painted Ashen
Stone. The jewel in the circlet finished in Carmine Dragon.
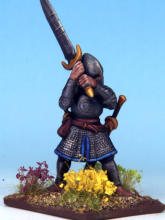
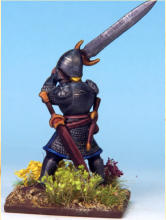
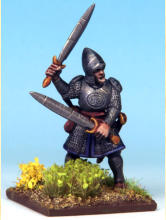
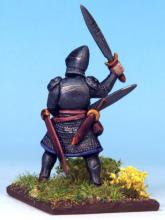
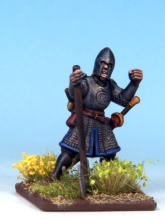
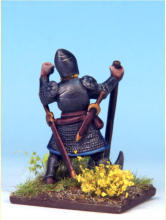
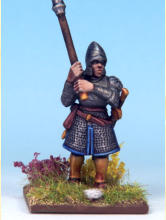
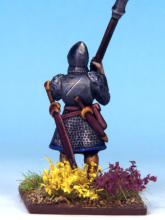
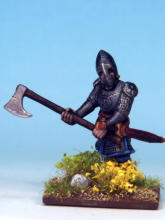
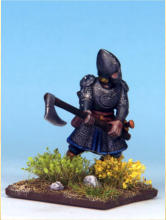
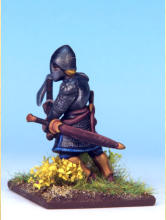
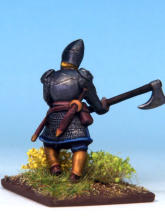
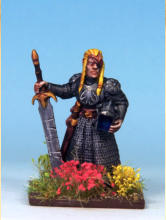
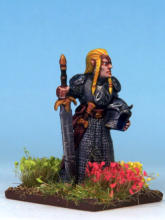
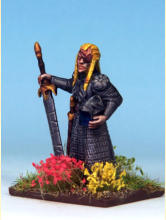
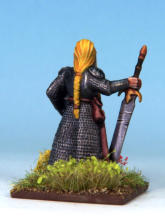
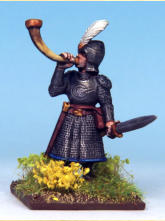
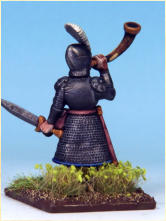
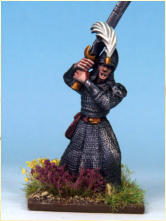
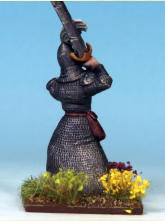
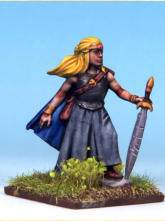
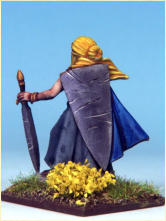
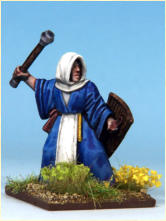
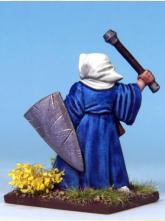
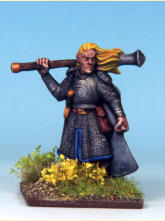
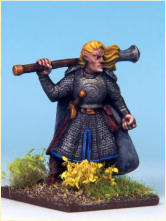
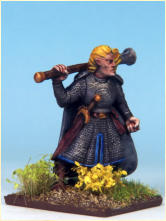
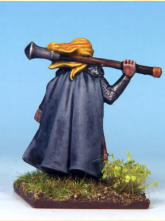
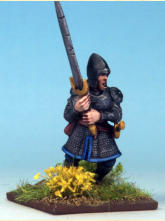
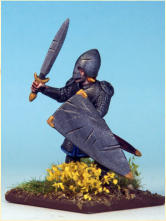
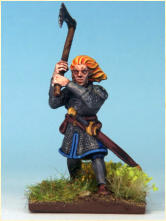
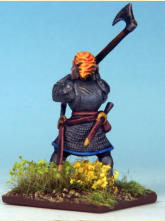
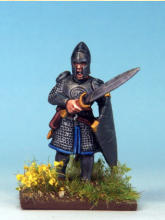
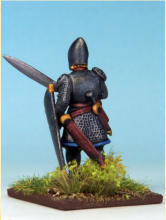
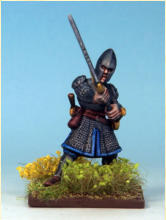
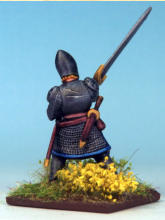
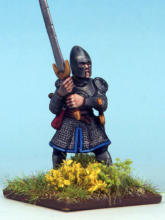
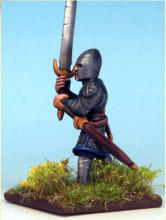
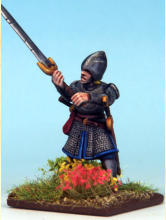
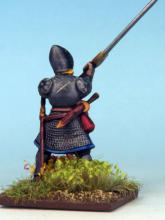
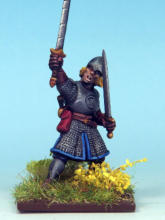
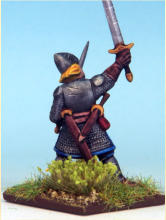
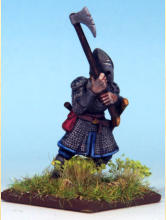
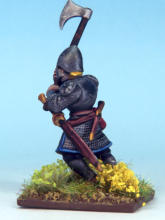
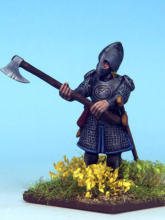
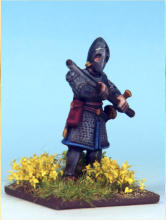
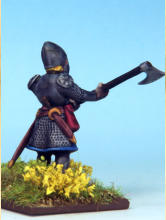
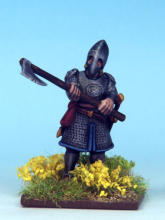
All around. Finished with a spray of Anti Shine Matt
Varnish for a subtle sheen, enhancing darker tones like
armour. A drop of gloss varnish on jewels adds a final
highlight.
