









Bones. 3. plus more Skeleton
Bone.
Bones. 3. plus more Skeleton
Bone.
Bones. 4. pure Skeleton
Bone.
Bones. 4. pure Skeleton
Bone.
Bones. 5. Skeleton Bone plus
Matt White.
Bones. 5. Skeleton Bone plus
Matt White.
Bones. 2. Brown Leather plus
Skeleton Bone.
Metal. 1. Rough Iron.
Metal. 1. Rough Iron.
Metal. 2. plus Weapon
Bronze.
Metal. 2. plus Weapon
Bronze.
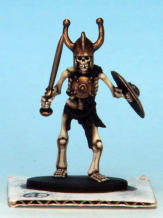
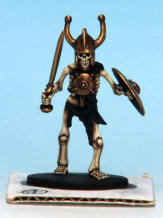
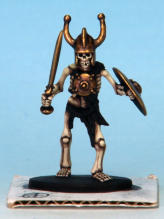
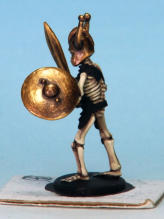
Metal. 3. plus more Weapon
Bronze.
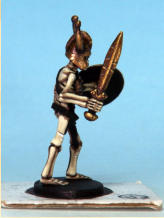
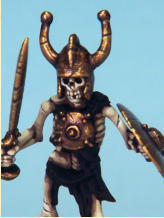
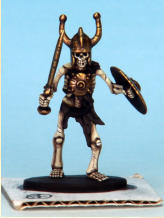
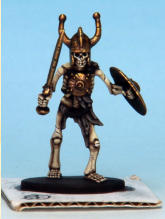
Distress. 3. Bright Gold highlight on the metal, Skeleton Bone plus more Matt White highlight on the bone.
 plus more Matt White highlight on the bone.
Remnants of Clothing. 1.
Oak Brown plus Matt Black.
Finished Remnants of
Clothing.
Straps.
Straps.
Some damage to the straps.
Back of Shield.
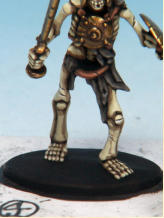
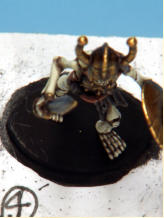
Basing. 1. the base is already black (undercoat).
Basing. 2. The design in
Uniform Grey and Matt Black.
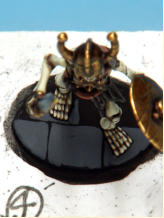
Basing. 3. The rest of the
design painted in.
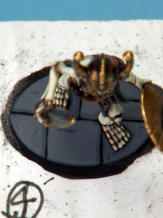
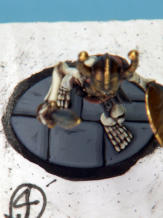
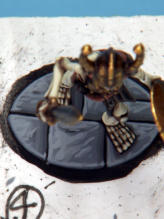
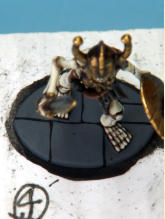
Basing. 4. plus Uniform
Grey.
Basing. 5. pure Uniform
Grey.
Basing. 6. Uniform Grey plus
Matt White.
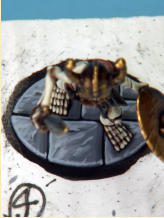
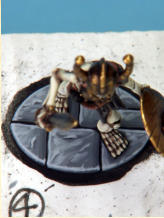
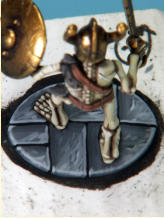
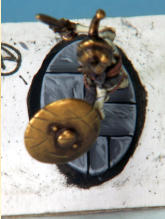
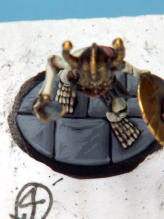
Basing. 8. plus more Matt
White.
Basing. 9. finally plus yet more Matt White.
How to Paint
Oathmark Skeletons
from Scratch
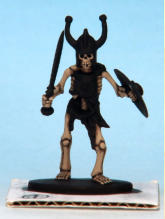
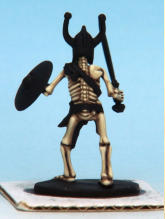
Bones. 5. Skeleton Bone plus
Matt White.
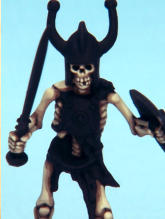
Bones. 5. Skeleton Bone plus
Matt White.
Metal. 5. plus Bright Gold.
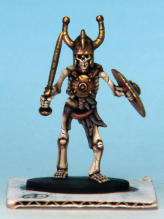
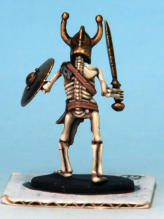
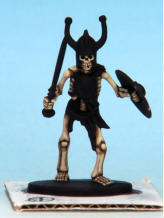
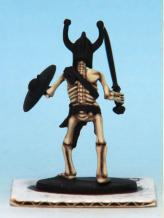
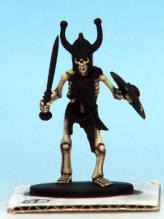
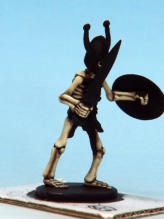
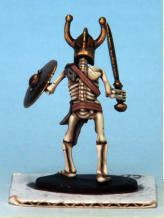
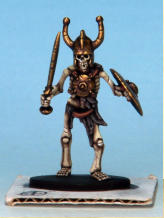
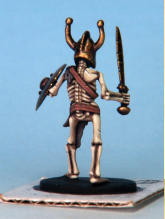
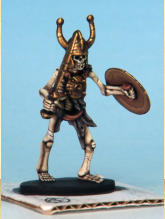
Finished Painting Almost.
Finished Painting Almost.
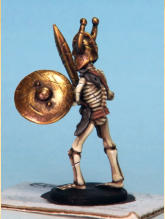
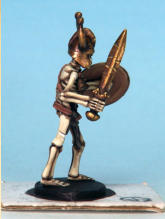
Finished Painting Almost.
Finished Painting Almost.
Basing. 7. plus Matt White.
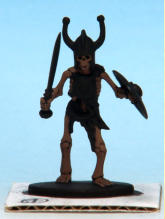
4. Skeleton
Distressed Bronze Armour
Undercoated
In Humbrol enamel matt black.
Bones
1.
Brown Leather.
2.
Brown Leather plus Skeleton Bone.
3.
plus more Skeleton Bone.
4.
pure Skeleton Bone.
5.
Skeleton Bone plus Matt White.
Bones. 1. Brown Leather.
Metal
1.
Rough Iron. 2.
Rough Iron plus Weapon Bronze.
 2.
Rough Iron plus Weapon Bronze.
Distress
1.
Dark Stone cut marks.
2.
Bright Gold highlight on the metal. 3.
Skeleton Bone plus more Matt White highlight on
 the bone.
 3.
Skeleton Bone plus more Matt White highlight on
 the bone.
Metal. 4. plus Greedy Gold.
Metal. 5. plus Bright Gold.
3.
plus more Weapon Bronze.
4.
plus Greedy Gold.
5.
plus Bright Gold. 

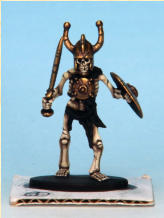
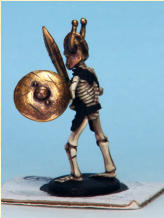
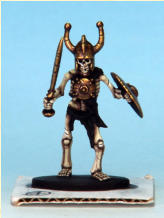
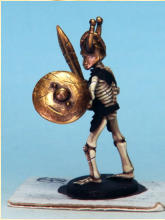
Distress. 1. Cut marks in
Dark Stone.
Distress. 1. Cut marks in
Dark Stone.
Distress. 3. Bright Gold highlight on the metal, Skeleton Bone plus more Matt White highlight on the bone.
 plus more Matt White highlight on the bone.
Remnants of Clothing
1.
Oak Brown plus Matt Black.
2.
plus Matt White.
3.
plus Matt White.
4.
plus more Matt White.
5.
plus yet more Matt White.
Straps
1.
Fur Brown plus Oak Brown. 2.
plus Fur Brown.
3.
pure Fur Brown.
4.
plus Matt White.
5.
plus Matt White, edges only.
6.
I couldn’t resist adding some more damage!
 2.
plus Fur Brown.
3.
pure Fur Brown.
4.
plus Matt White.
5.
plus Matt White, edges only.
6.
I couldn’t resist adding some more damage!
Back of Shield
1.
Dirt Splatter.
2.
plus Desert Yellow.
3.
plus more Desert Yellow, plus Matt White.
Finished Painting Almost
And that’s his painting almost completed.
Basing
No added base for this chap, as I had decided to paint him for Frostgrave, and that meant I would have to finish
 his base to match most of the rest of the many, many
 Frostgrave miniatures I have painted over the years. For
 these I normally paint the actual base of the miniature
 rather than adding an extra base, and the bases have a
 fake stone paving trompe l’oeil effect. As follows.
  1.
the base is already black (undercoat).
  2.
Uniform Grey mixed with Matt Black, I start to
 work out the design.
3.
Uniform Grey mixed with Matt Black. The rest of
 the design painted in.
 4.
plus Uniform Grey. The next layer is painted up to
 him for Frostgrave, and that meant I would have to finish
 his base to match most of the rest of the many, many
 Frostgrave miniatures I have painted over the years. For
 these I normally paint the actual base of the miniature
 rather than adding an extra base, and the bases have a
 fake stone paving trompe l’oeil effect. As follows.
  1.
the base is already black (undercoat).
  2.
Uniform Grey mixed with Matt Black, I start to
 work out the design.
3.
Uniform Grey mixed with Matt Black. The rest of
 the design painted in.
 4.
plus Uniform Grey. The next layer is painted up to
the left and top edges of the fake stones, leaving a tiny gap on the right showing the last layer.
5.
pure Uniform Grey. Again this layer is painted
 right up to the left and top edges leaving both underneath
 layers showing a tiny bit.
6.
Uniform Grey plus Matt White. Trying to make a
 more stone like pattern and only highlighting about half
 across each of the stones.
 7.
plus Matt White. Highlight the design always on
 the left and top of the pattern and also around all of the
 edge of the base itself.
  8.
plus more Matt White. Highlight following the
 pattern of the stones and also the edge of the base.
  9.
finally plus yet more Matt White. Highlight just the
 very edges of the base.
 gap on the right showing the last layer.
5.
pure Uniform Grey. Again this layer is painted
 right up to the left and top edges leaving both underneath
 layers showing a tiny bit.
6.
Uniform Grey plus Matt White. Trying to make a
 more stone like pattern and only highlighting about half
 across each of the stones.
 7.
plus Matt White. Highlight the design always on
 the left and top of the pattern and also around all of the
 edge of the base itself.
  8.
plus more Matt White. Highlight following the
 pattern of the stones and also the edge of the base.
  9.
finally plus yet more Matt White. Highlight just the
 very edges of the base.
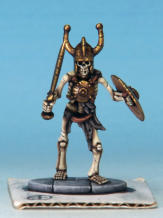
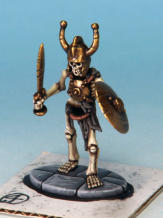
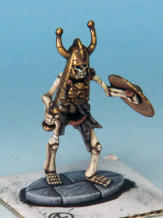
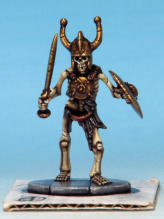
Finished Painting.
Gloss Varnish.
Finished Painting
When I write it out, it does seem a long process, but it doesn’t take as long as it looks and is very satisfying and
 you can shortcut the steps and still achieve a good effect.
 And that’s him painted.
 doesn’t take as long as it looks and is very satisfying and
 you can shortcut the steps and still achieve a good effect.
 And that’s him painted.
Gloss Varnish
The model was then given a coat of polyurethane gloss Humbrol varnish and set aside for 24 hours to dry
 completely. Be careful not to let the varnish pool,
 especially on the feet. You don't need a very thick coat of
 varnish.
 Humbrol varnish and set aside for 24 hours to dry
 completely. Be careful not to let the varnish pool,
 especially on the feet. You don't need a very thick coat of
 varnish.
Matt Varnish
Then they were given two coats of Anti-Shine Matt Varnish. Be even more careful when painting on the matt
 varnish.
 Varnish. Be even more careful when painting on the matt
 varnish.
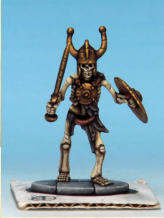
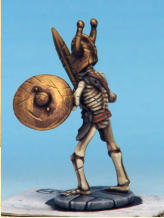
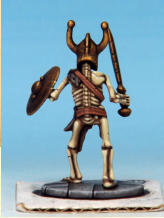
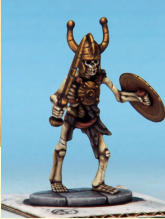
Finished
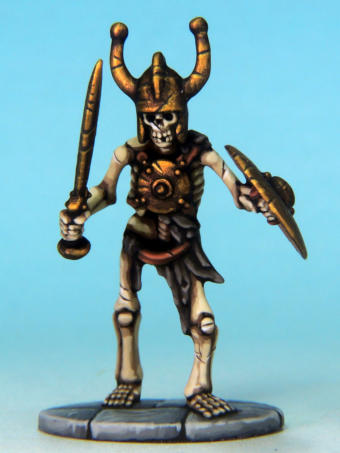
And that’s him done and ready for action.

Matt Varnish.
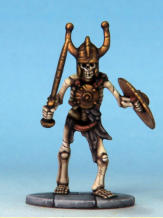
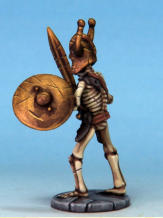
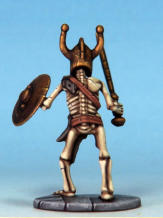
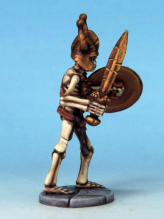
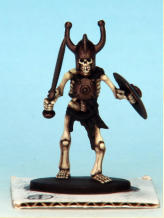
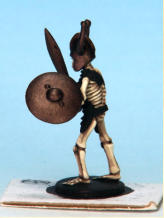
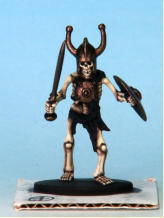
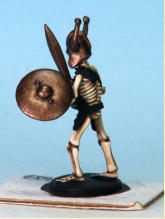
Finished Skeleton in Distressed Bronze Armour
Conclusion
I Hope this gives you some new things to try when you decide how to paint your skeletons for Oathmark (or for
 Frostgrave).
 decide how to paint your skeletons for Oathmark (or for
 Frostgrave).
